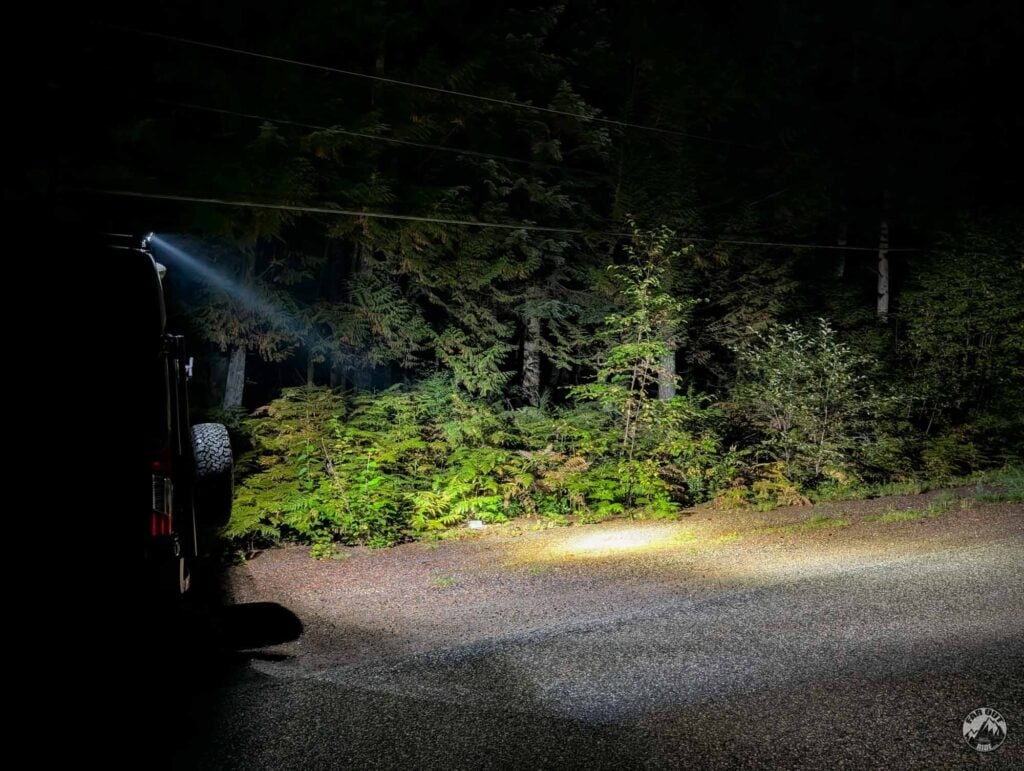
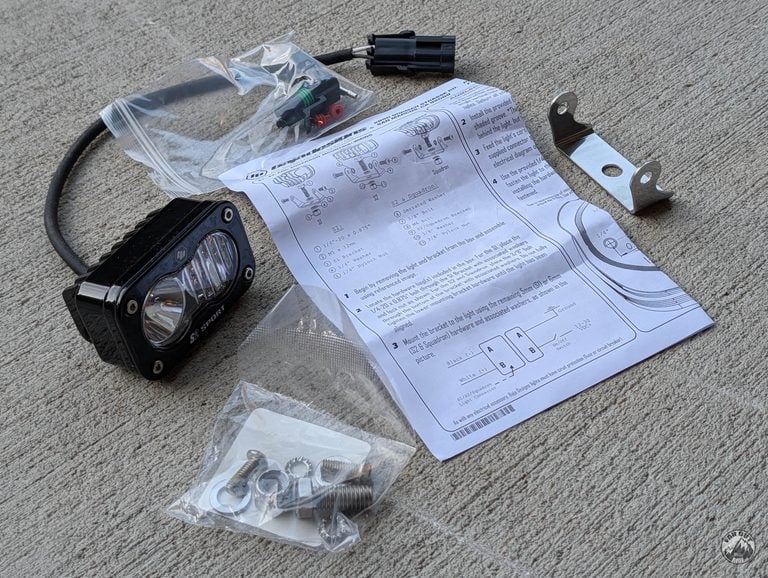
This is the installation of a Baja Designs S2 Sport LED pod on the roof rack of our Ford Transit, wired to Upfitter Switch #1. Its job: a reverse light for backing into camp spots after dark.
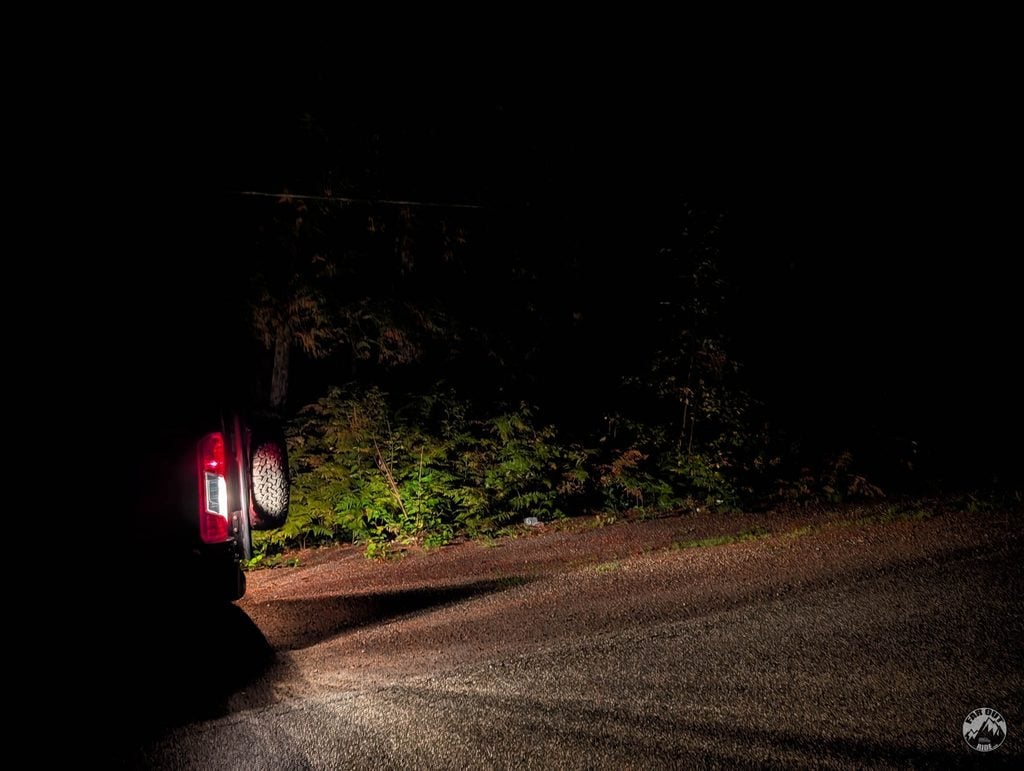
The factory reverse lights are fine in a parking lot, but pretty useless when you’re reversing between two trees on a forest road at night. A single pod on the roof, aimed down and back, lights the whole scene behind the van. And since it’s on a manual switch rather than the reverse circuit, it doubles as a camp light while we set up.
Material and Resources
Time
4 hours
Cost
~$250 USD
Weight
0.5 lbs
Material
| Item | Description | Quantity | Buy |
|---|---|---|---|
| Baja Designs S2 Sport | We chose the Clear Work/Scene lens (diffuses light) | 1 | Amazon |
| Lens Kit | To change the lens pattern | 1 | Amazon |
| T-Nut Hardware (1/4-20) | To mount the light to the crossbar | 1 | T-Nut Screw Washer |
| Cable Entry Pad | No-drill, no-screw, roof pass-through for the Ford Transit | 1 | FarOutRide |
| Ford Transit Upfitter Switch Guard (2020+) | Prevents humans and animals from accidentally flipping the switches | 1 | FarOutRide |
| 18 AWG 2-Conductor Wire | 50 ft spool of red/black tinned-copper stranded wire, PVC jacket (round) | 1 | Amazon |
| Solar Cable Clips | To hold the cable to the roof rack | VAR | Amazon |
| ATM Inline Fuse Holder 3A Fuse | Protects the 18 AWG run (the factory 20 A fuse on AUX 1 protects won’t protect 18 AWG) | 1 | Fuse Holder ATM Fuse Kit |
| Ancor Heat-Shrink Butt Connectors | To connect cables | 1 | Amazon |
| Step-Down Heat Shrink Butt Connector | To connect dissimilar gauge wire (22-18 to 16-14 AWG) | 2 | Amazon |
| Labeling Zip-Tie | To identify the electrical wires | VAR | Amazon |
| P-Touch | To identify the electrical wires | 1 | P-Touch |
| Label for P-Touch | To identify the electrical wires and the Upfitter Switch Guard | 12mm White Text on Black Label 12mm White Text on Black Label |
Tools
- Socket Set & Allen Keys
- Wire Stripper / Crimper
- Heat Gun
- Trim removal tool
Why a Roof-Mounted Backup/Reverse Light
The Problem With Factory Reverse Lights
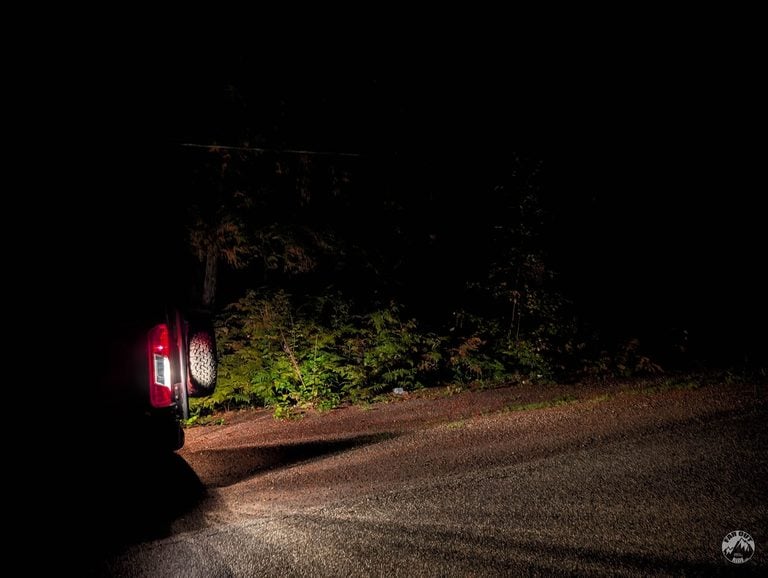
Reverse lamps are designed to tell the car behind you that you’re about to move, not to light up a campsite. On the Transit they sit low in the taillight cluster and point straight back, so the usable light ends a few feet behind the bumper. Add a bike rack or a spare tire carrier on the rear doors and part of that light is blocked too. And without light, the backup camera is almost useless.
Roof vs Bumper Mounting
Baja Designs sells the S2 Sport as a “Reverse Kit” meant for the rear bumper, and that’s a perfectly good product for a pickup. On a high-roof van we think the roof is the better spot:
- Coverage. From about 9 feet up, a pod aimed down and back covers the width of a campsite instead of painting a stripe on the ground. Height is what turns a light into a scene light.
- It stays clean. The bumper gets mud, slush and road spray. The roof gets rain, which is what an IP69K pod is built for.
- No drilling the bumper. With a roof rack, mounting is two T-nuts in the crossbar. The roof pass-through uses a factory plug hole (more on that below).
- The downside. One more cable through the roof, but it’s easily done with the Ford Transit Cable Entry Pad.
Upfitter Switch vs Reverse Circuit
The obvious wiring is to tie the pod to the reverse lamp circuit so it comes on in reverse, automatically. We didn’t, because:
- You choose when it’s on. A 1,500-lumen pod at roof height is a lot of light to throw at the car behind you in a grocery store parking lot, or at the neighbor’s tent when you reposition at 11 PM. On the upfitter switch, it’s on when we want it and off the rest of the time.
- It doubles as a camp light. Backing in is a two-minute job; setting up camp in the dark takes longer. Flip the switch, set up, flip it off.
- Simpler wiring. Tapping the reverse lamp circuit properly means a relay triggered by the reverse lamp wire, plus a fused feed from somewhere. The upfitter switch already is a fused, switched 12 V feed with a wire waiting in the glove box.
Heads up on the “powered at ignition only” default. Per Ford’s documentation, the upfitter switches only work with the key in “run” unless jumper fuse F15 is moved to position B (“powered at all times”). If you want a camp light with the engine off, that jumper matters. Ours came from the factory in position B; check yours. Details in the upfitter switches wiring guide.


Good To Know
Choosing the Beam Pattern
The S2 Sport is the same housing with four different lenses, and the lens decides everything. Two of the four are driving patterns and make poor backup lights:
| Pattern | Beam | As a backup / camp light |
|---|---|---|
| Spot | About 9°, long and narrow | No. A bright dot 100 feet behind the van and darkness around it. |
| Driving / Combo | Spot + Wide Cornering blended | No. Still built for distance, and the hot spot glares off wet ground. |
| Wide Cornering | About 44°, flattened horizontal | Good. Wide with some reach; the better choice if you back up long distances on trails. |
| Work / Scene | About 120°, smooth circle, ~40 ft | Best for a campsite. Baja says it’s not a driving pattern, which is exactly the point here. |
We went with Work/Scene.
You can swap your existing lens: Baja Designs S2 Lens Kit
Current Draw, Wire Gauge and Fuse
Wire Gauge
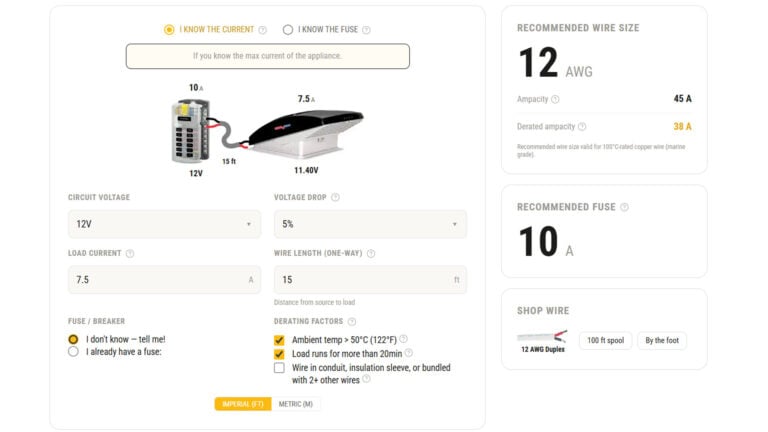
This is where “LED light bar” instincts make people buy 10 AWG cable for a light that draws less than a phone charger. Quick math:
- Current: 12 W ÷ 12.8 V ≈ 0.9 A (Baja’s own number).
- Voltage drop: about 60 ft round trip of 18 AWG (6.4 Ω per 1,000 ft) is 0.38 Ω, so 0.9 A × 0.38 Ω ≈ 0.35 V, or 2.7%.
- Does it matter? No. The pod has a regulated driver, so it makes the same light at 12.5 V as at 12.85 V. The 3% limit is for loads that care about voltage (pumps, chargers, incandescent bulbs); a camp light gets the lenient 10%.
What actually sizes the wire is surviving a short until the fuse opens, and surviving vibration at the crimps. 18 AWG covers both for a single pod. We used a 50 ft spool of 18 AWG two-conductor tinned-copper wire and had plenty left. Different run, second pod, or a real load? Our Wire Gauge Calculator does the math.
Fuse Size
AUX 1 has a 20 A fuse in the van’s auxiliary panel. It protects Ford’s wiring, not an 18 AWG wire feeding a 0.9 A light. So we added a 3 A inline fuse where our wire leaves the upfitter connector. Anything from 3 A to 5 A works.
Passing the Cable Through the Roof
The Transit roof has factory plugs (the pass-through holes Ford uses for their own upfits). Our Cable Entry Pad replaces one plug with a sealed gland, no drilling and no screws, and we’ve used it for the Solar, Starlink, and the WeBoost (we retired the WeBoost and installed a MIMO antenna instead).

Roof Installation
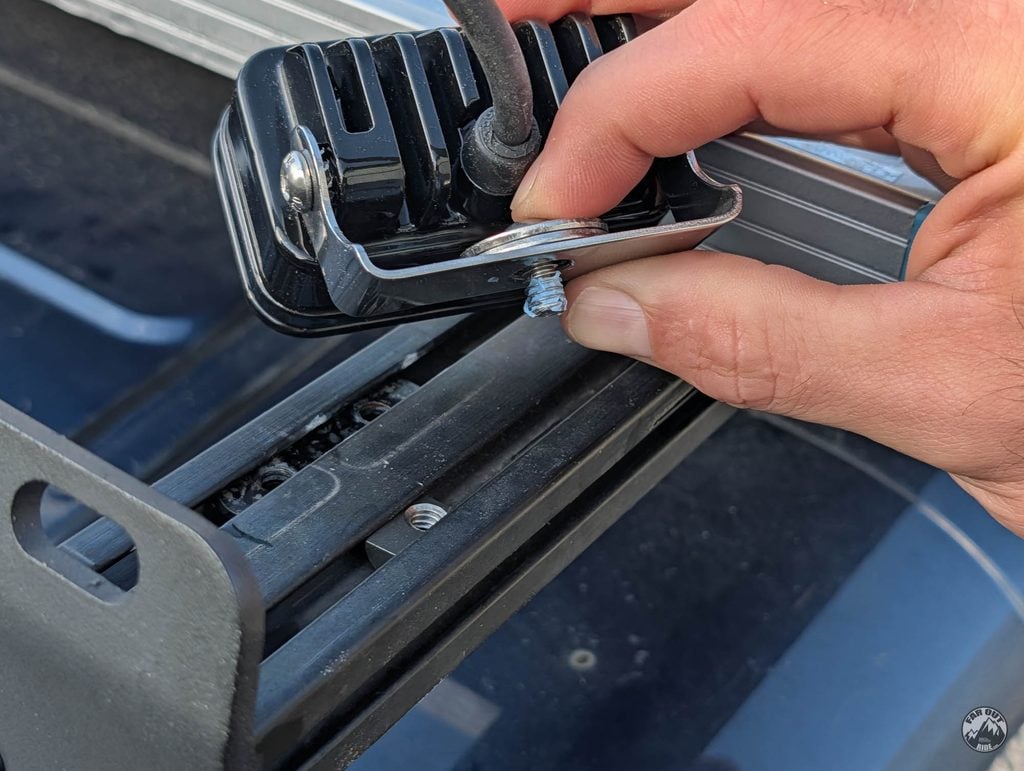
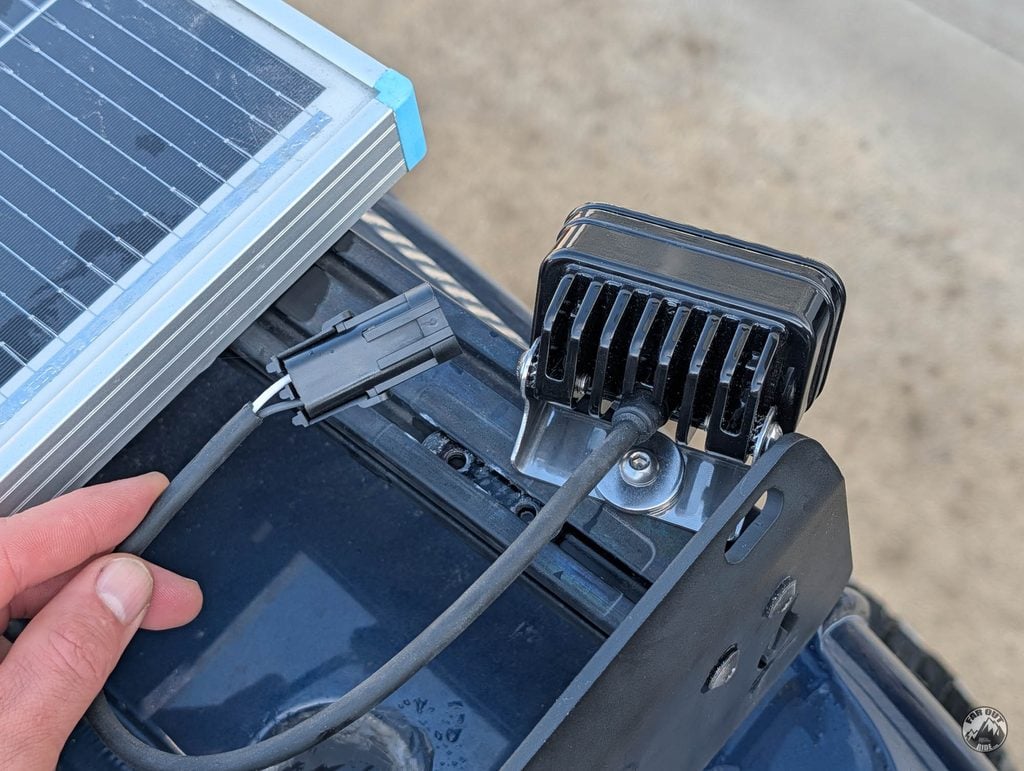
We installed the light on top of the rear crossbar of our FVC Roof Rack. The crossbar is 10-Series 80/20, so we used a 1/4-20 Stainless Steel Roll-In T-Nut with a 1/4-20 x 3/8″ Stainless Steel Button Head Screw (as usual, use blue Loctite with 80/20):
(we stacked washers because we used a 1/2″ screw length – we didn’t have 3/8″ length at hand)
Looking from the top:
Looking from the side:
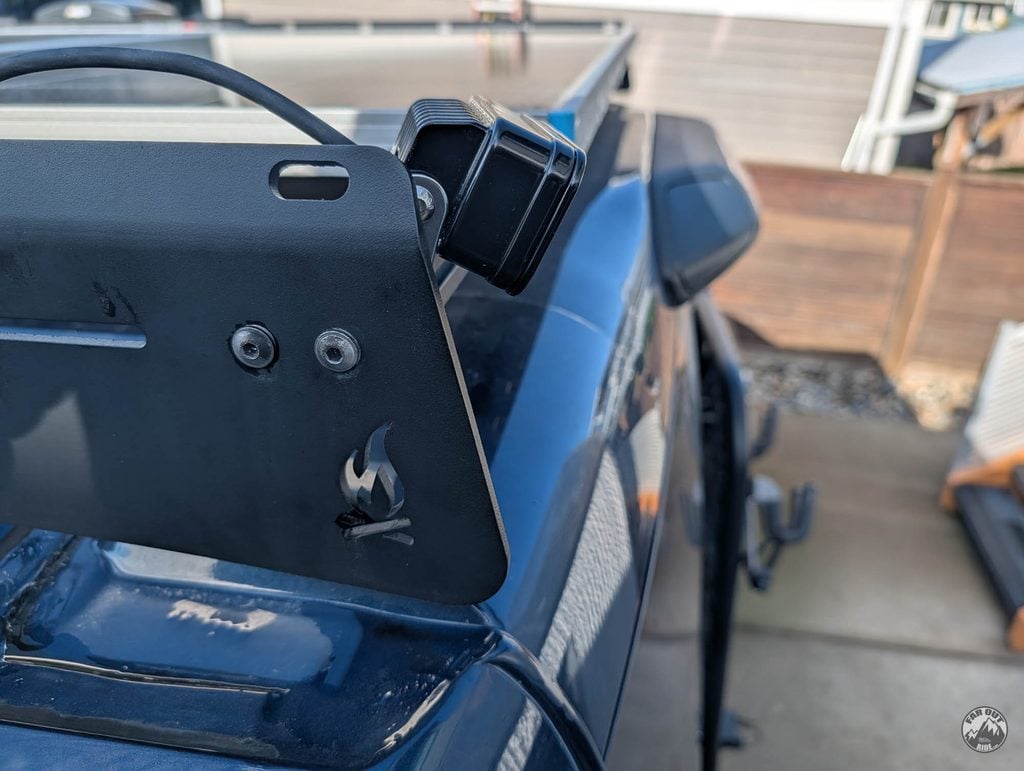
All the angles!
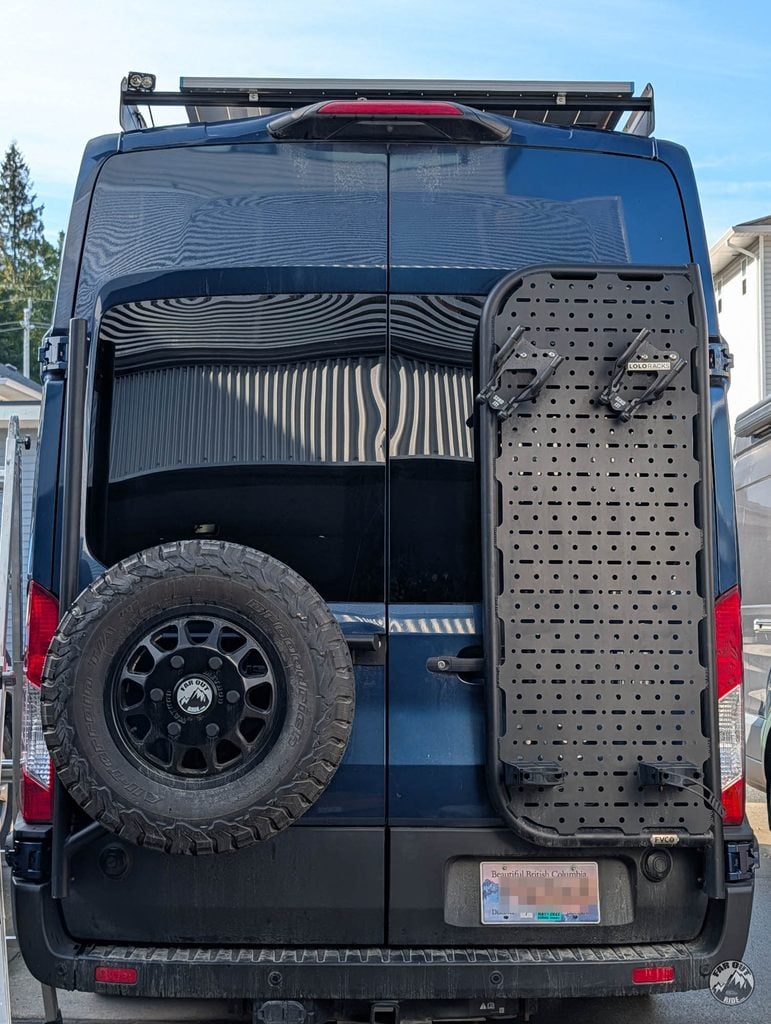
Wiring
Connect at the Upfitter Connector
Here we assume you already gained access to the switches and prepared the harness. Refer to our Upfitter Switches Guide:
We’re connecting the light to the auxiliary upfitter switch #1, so we’re using the yellow wire (positive).
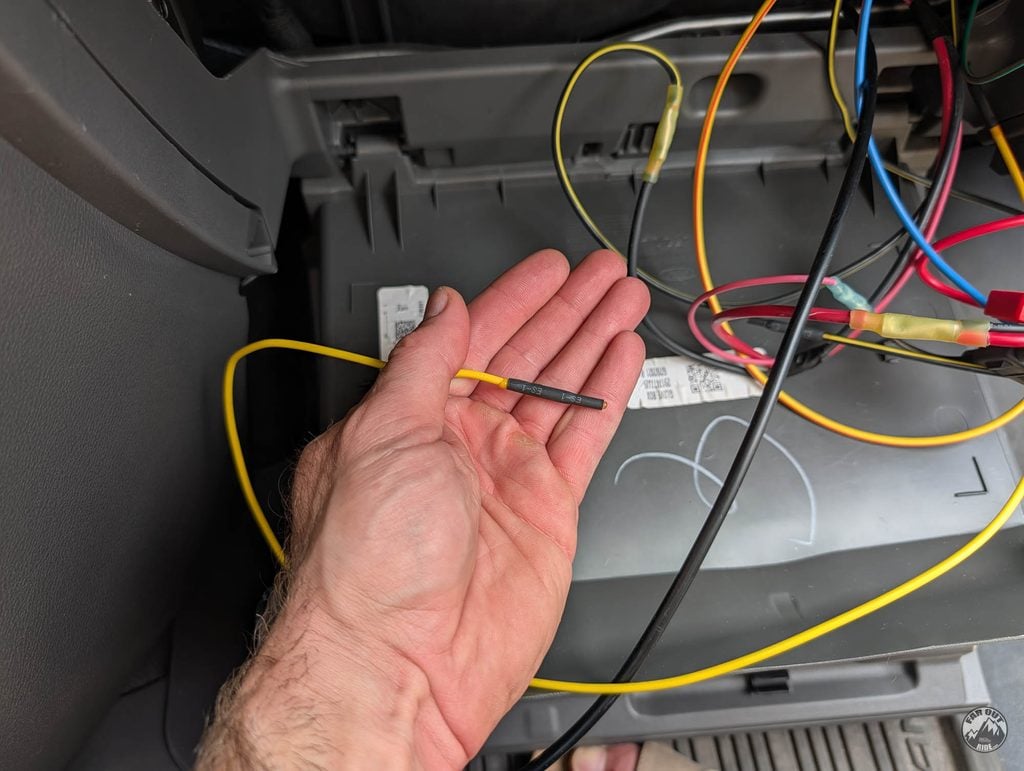
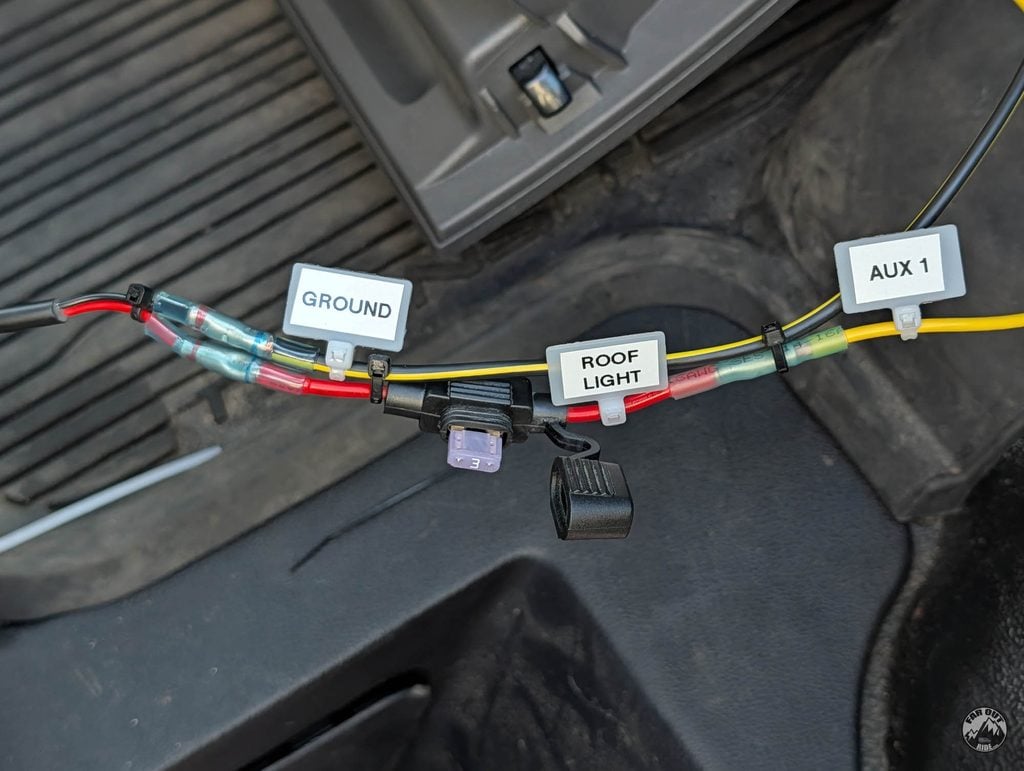
Positive: Light Cable (18 AWG) > Step Down Butt Connector > Inline ATM Fuse Holder (with 3A ATM fuse) > Butt Connector > Aux 1 Upfitter Switch Cable
Negative (ground): Light Cable (18 AWG) > Step Down Butt Connector > Aux 2 or 3 Ground Cable (C33-H harness)
Note: a step down butt connector may not be needed, or located somewhere else, depending on your fuse holder gauge.
Cable routing from switch to light
There is a large opening to get the the floor, at the back of the glove box compartment:
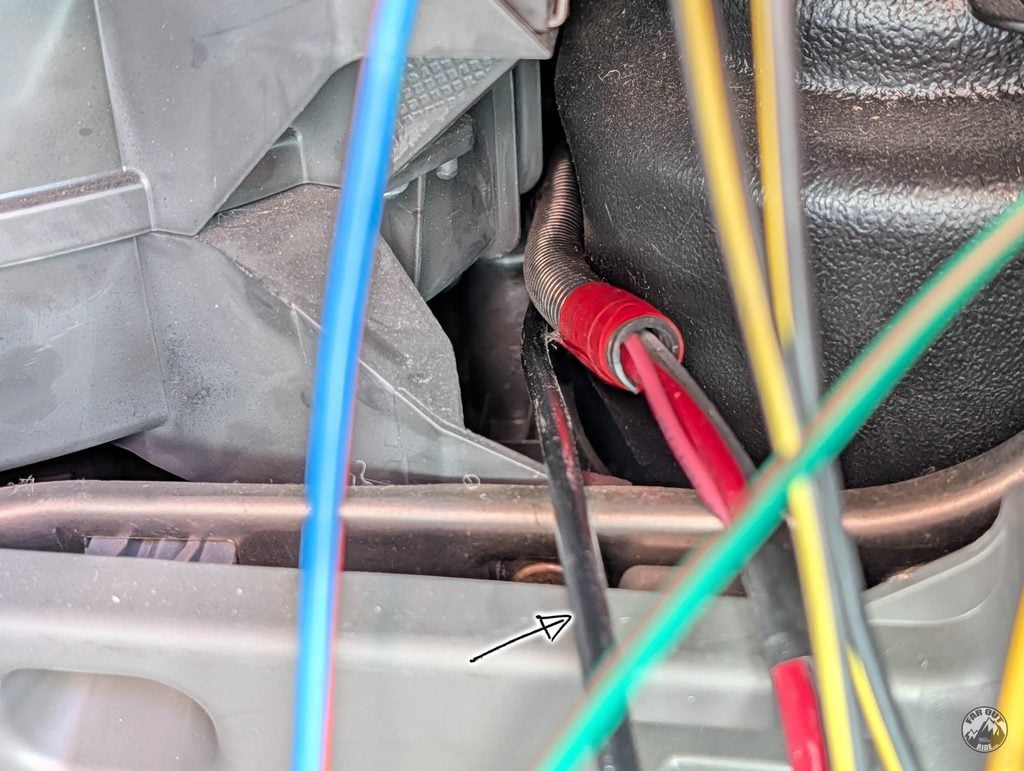
From there, the cable is routed under the floor mat:
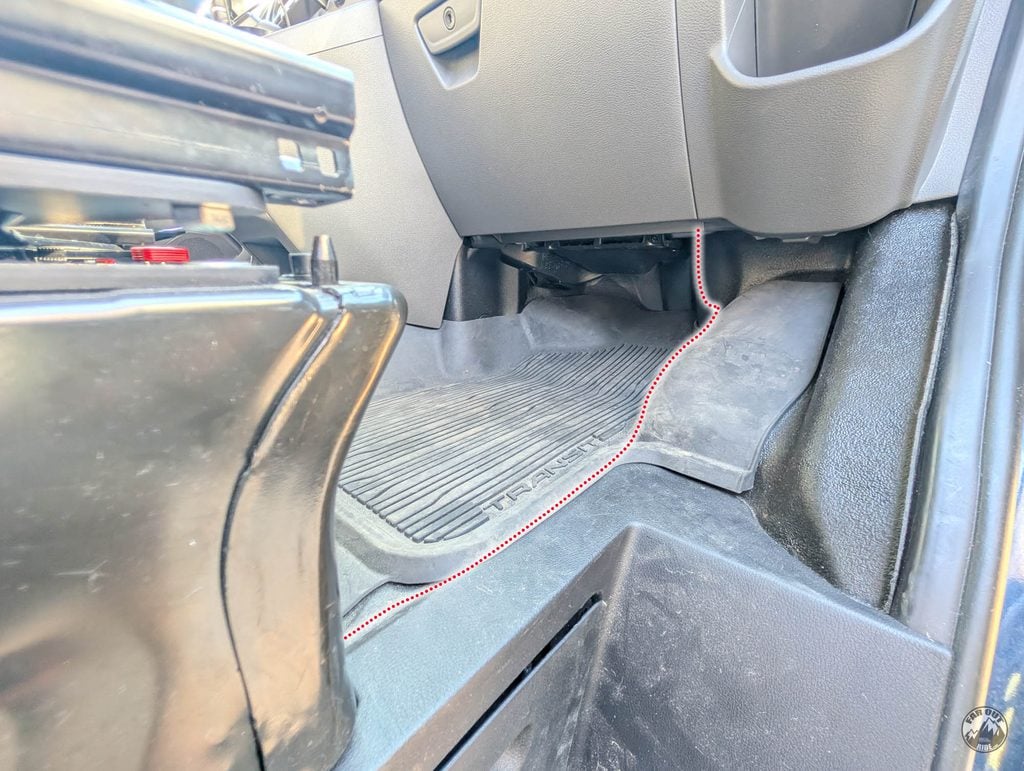
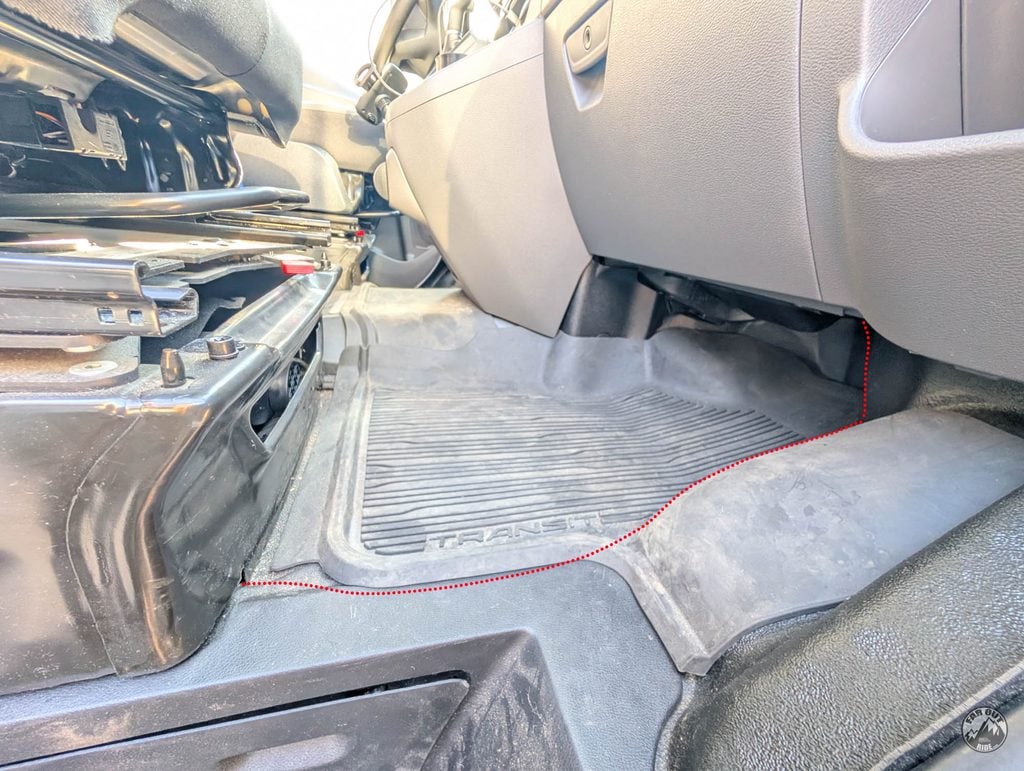
The cable goes under the passenger seat pedestal (no need to remove it, you can slide the cable under):
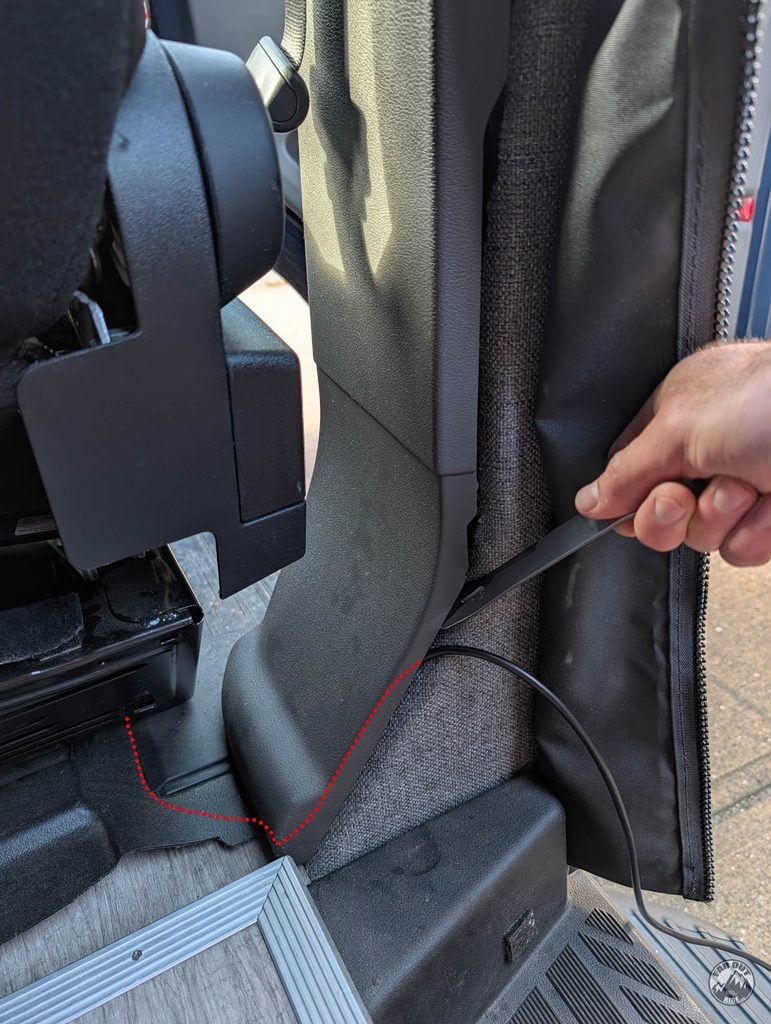
After the pedestal, it’s routed inside the B-Pillar plastic trim:
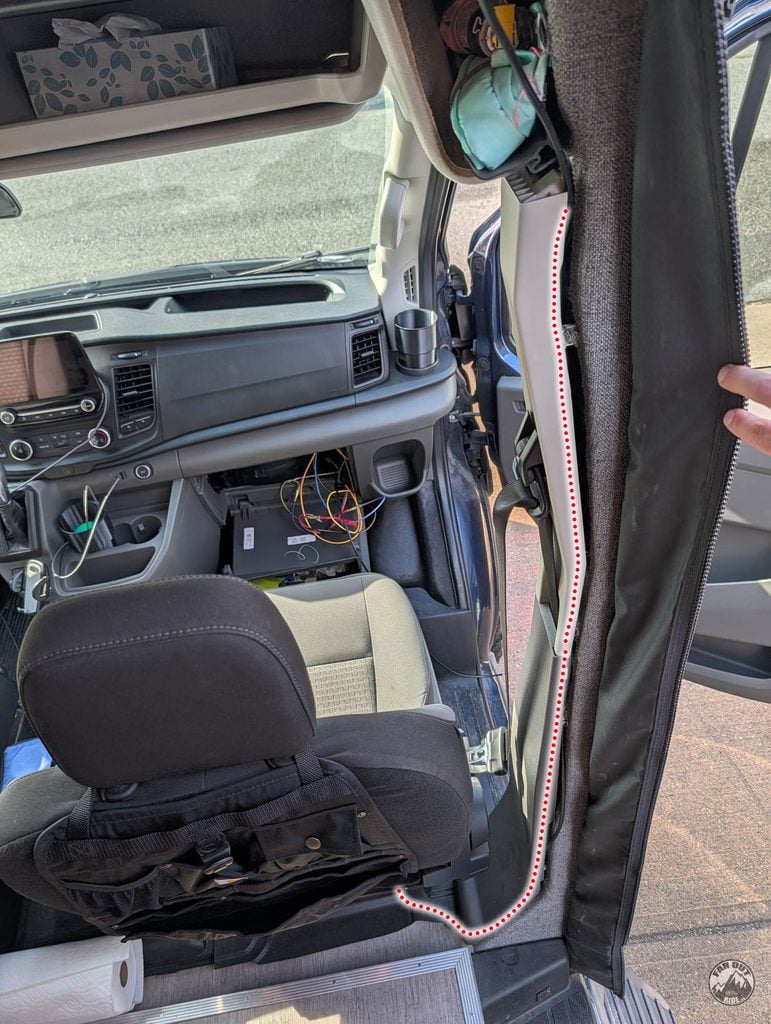
All the way up the B-Pillar:
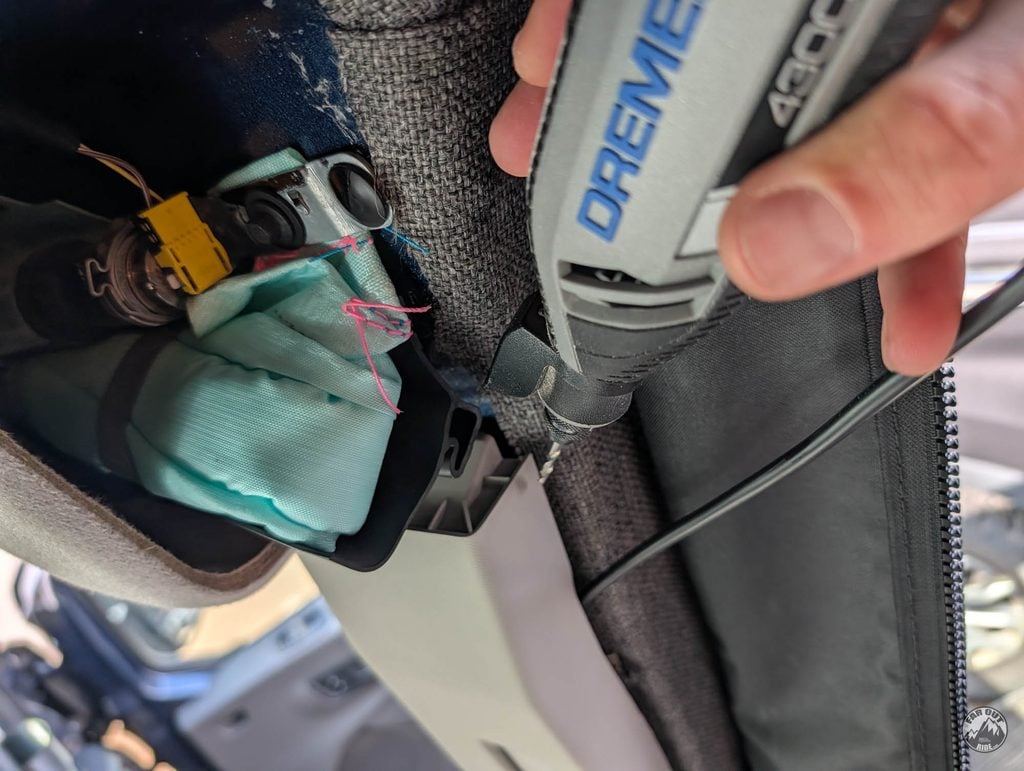
On top, we used a Dremel to make a cutout for the cable to come out:
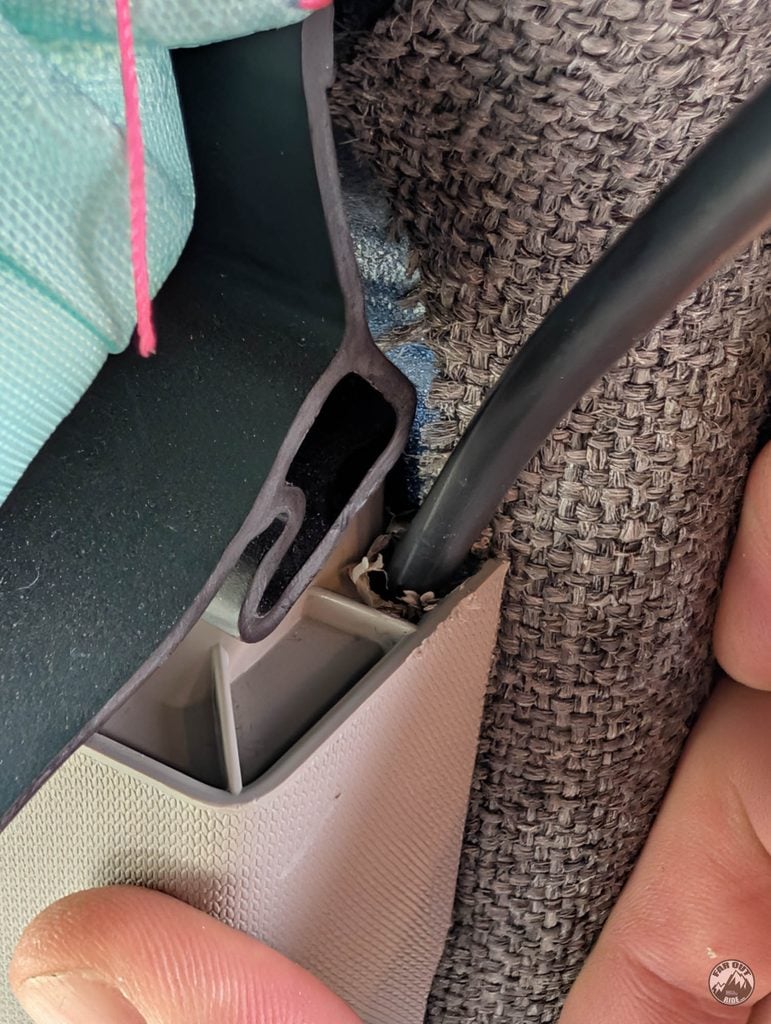
Cable coming out the plastic trim on top:
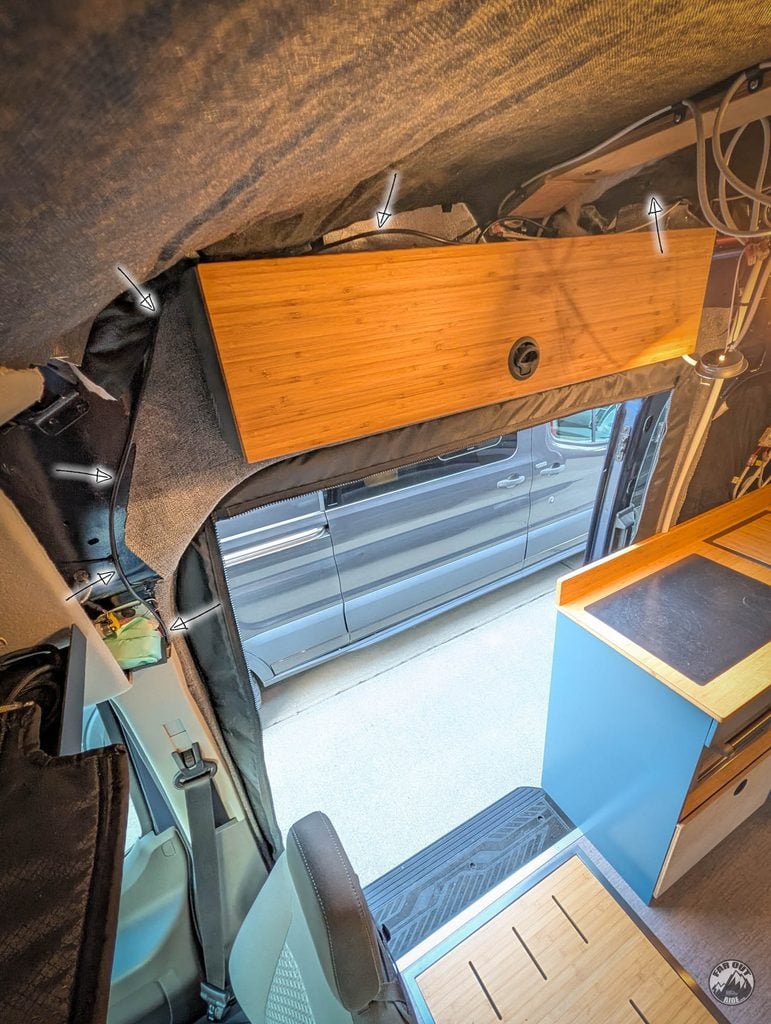
It’s then routed to the most forward (passenger side) factory pass-through hole (we’ll reinstall the foam blob later):
On the roof, remove the factory plug:
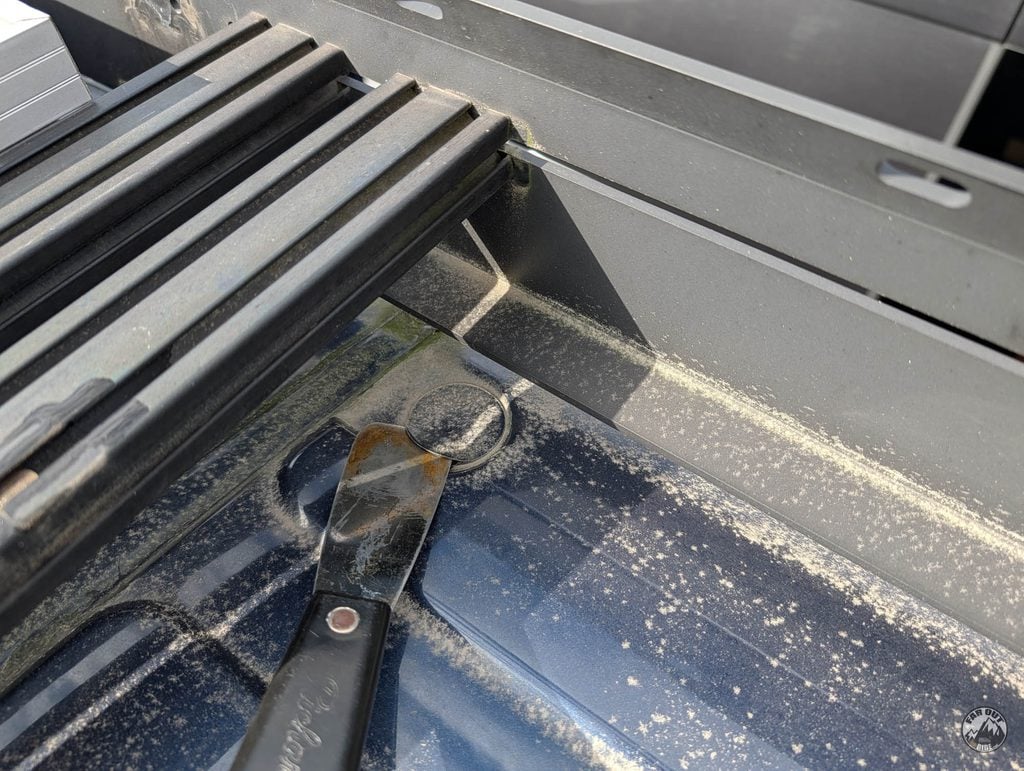
Clean with Isopropyl alcohol or mineral spirit:
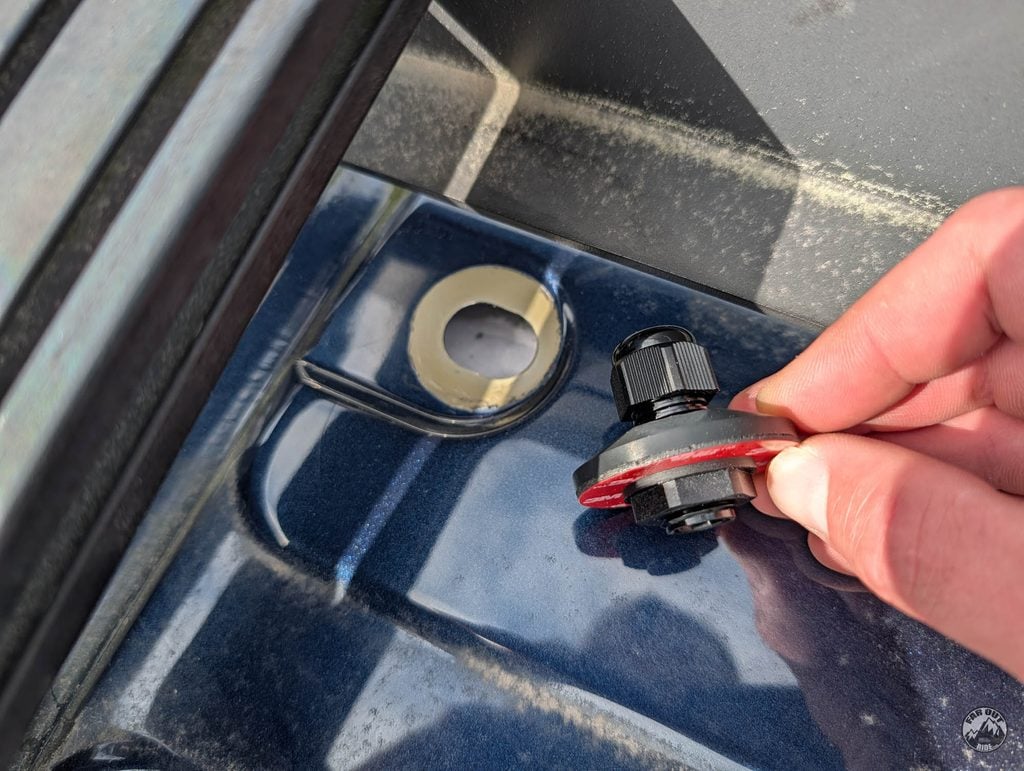
Remove the adhesive protective film and install the Cable Entry Pad:
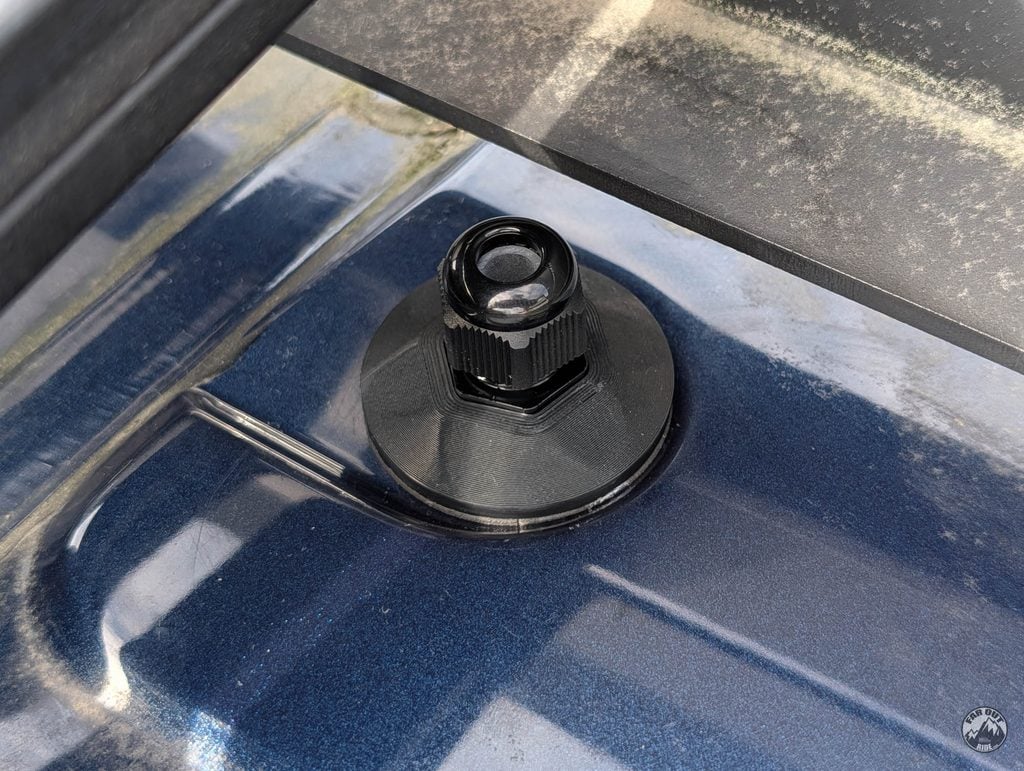
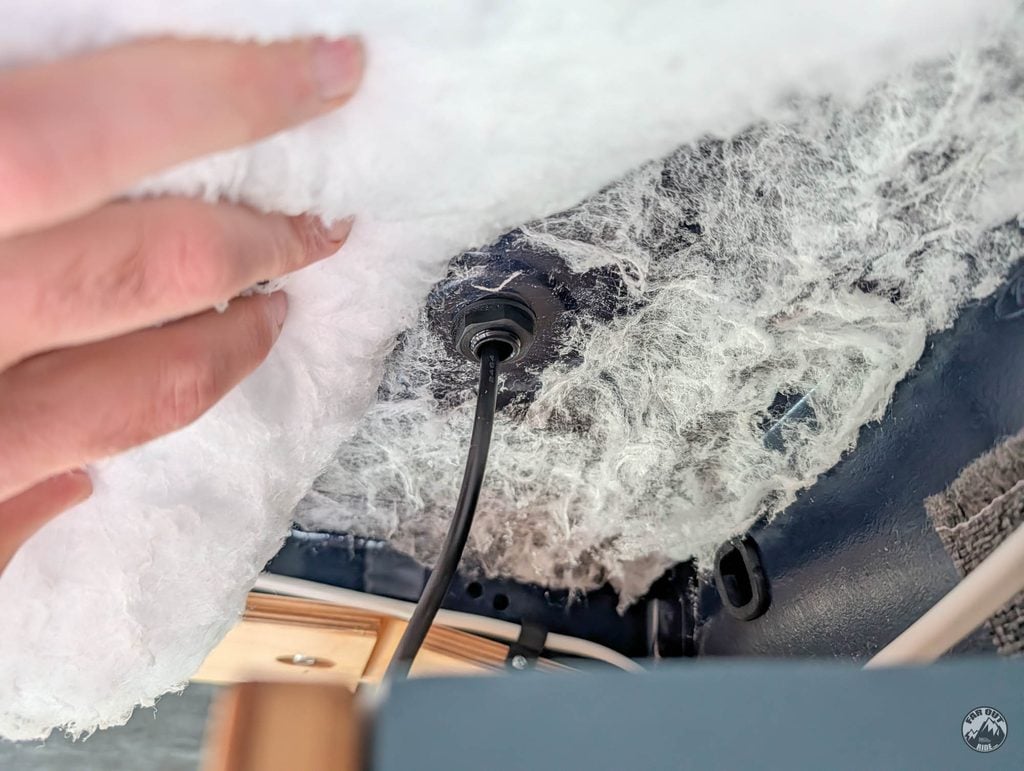
Install the washer and nut from inside, and route the cable through it:
You can pull the cable out from the roof:
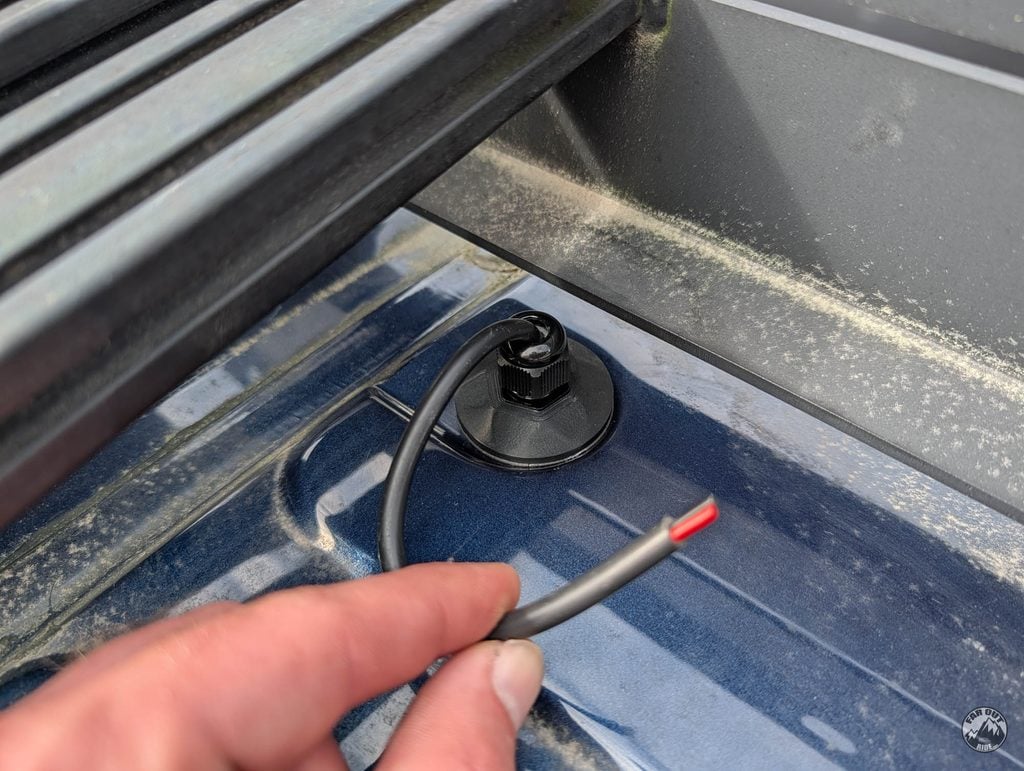
We used Solar Cable Clips to secure the cable every 8-12in or so:
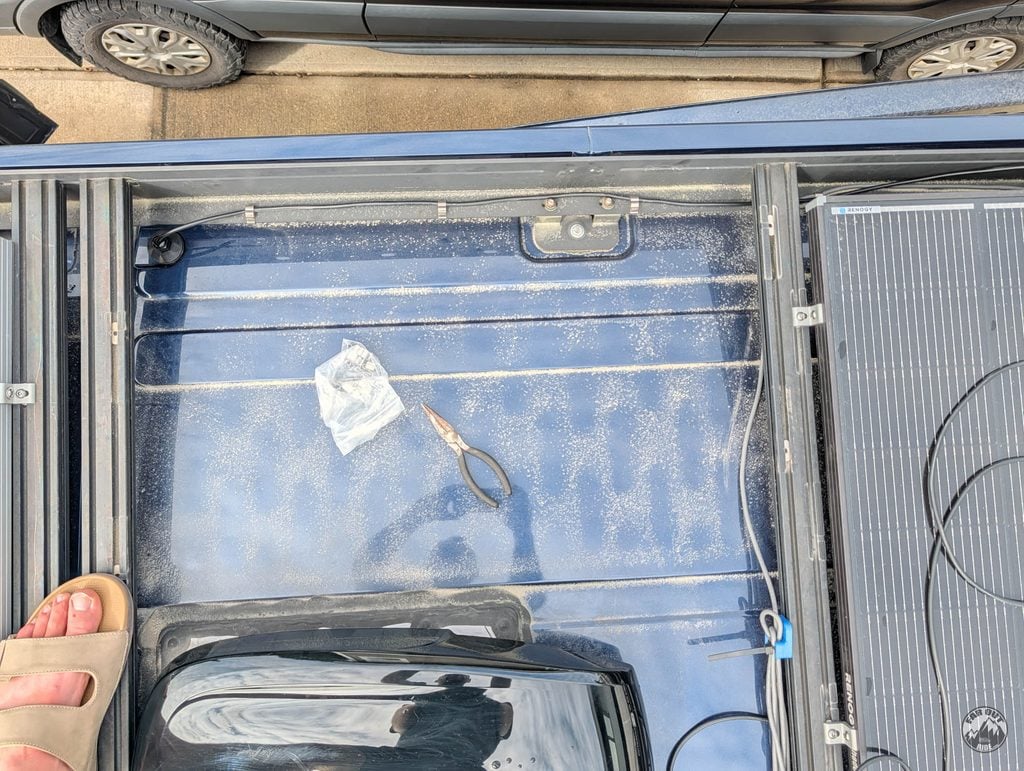
Connect the Light
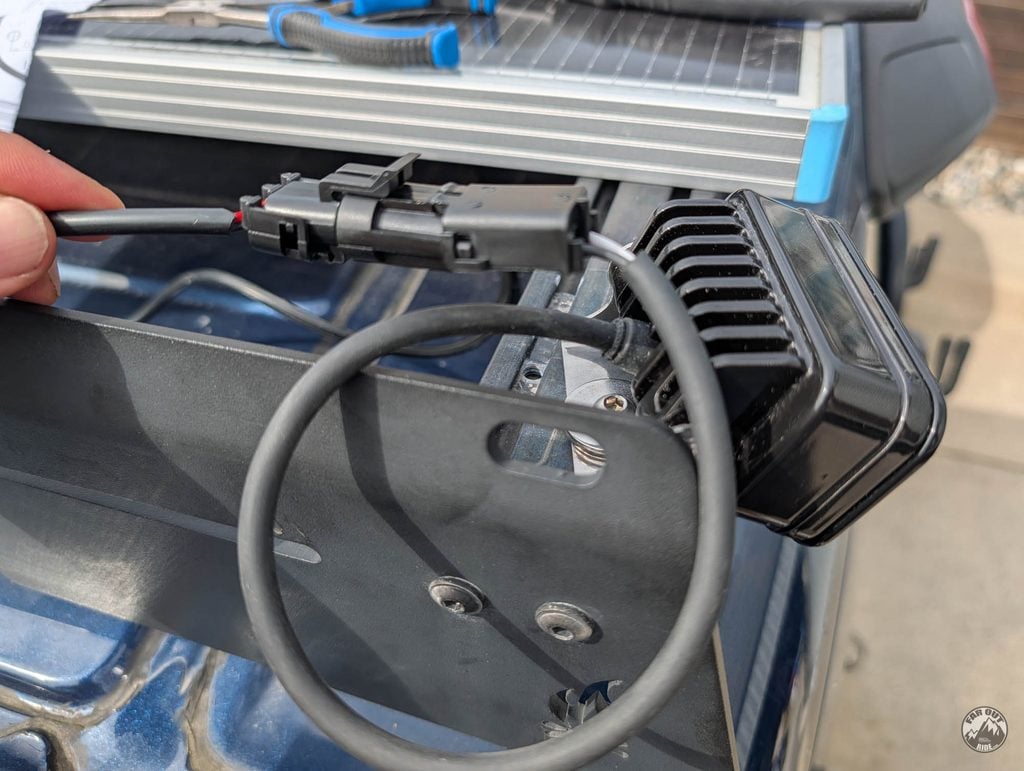
The female connector is preinstalled on the light, but the male connector (included) has to be install to the cable (white = positive and black = negative):
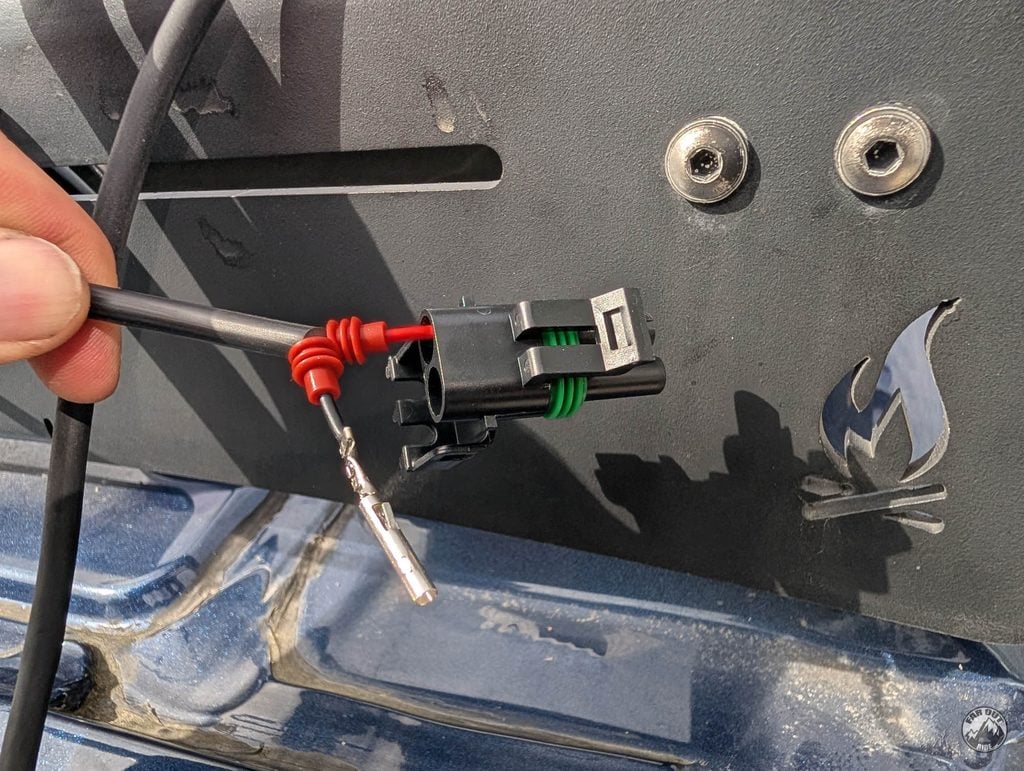
Connected!
Switching The Light On and Off
It’s a well known fact that the upfitter switches are easy to flip ON/OFF accidentally, so we designed an Upfitter Switch Guard/Cover (fits Ford Transit 2020+):

Flip the aux switch up to turn the light on:
Flip the aux switch down to turn the light off:
Night Test: Before and After
Changing the Lens Pattern
Want to change the lens pattern (spot -> work/scene, etc.)? You can buy a Baja Design S2 Sport Lens Kit.
It’s a 5 minute job, easy!
The lens kit comes with the lens and a gasket:

Remove the 4 screws with a 3mm hex key. Be ready to catch the reflectors (aluminum cups) – it’s easier to do it with the light facing up:

The said reflectors (top of photo):

Behind the lens!

Reinstall the reflectors, the new lens, the cover, and the 4 screws. That’s it!