


30A Marinco Shore Power Entry Box for Ford Transit (No Drill / No Screw)
$64.95
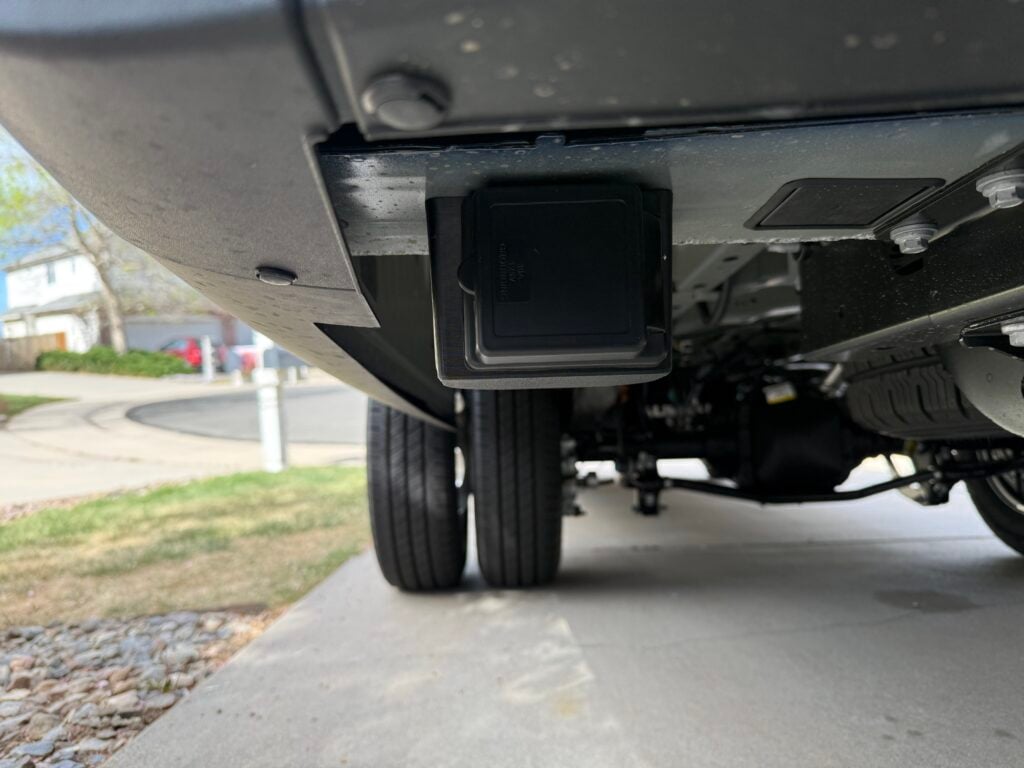
This Entry Box for 30A Marinco Shore Power Inlet installs in seconds into the Ford Transit D-Pillar cutout (driver or passenger side), thanks to the snap-fit design (no drill, no screws!).
INCLUDES:
- 1 x Entry Box.
- 4 x M4 Screws.
- 4 x M4 Square Nuts (pre-installed).
-> 30A Marinco Shore Power Inlet NOT INCLUDED. <-
Scroll down for Installation Instructions.
(Entry Box also available for 15A NOCO Shore Power Inlet, Blank/DIY without hole, and Starlink Mini/Solar)

Installation
To complete this DIY project, you will also need:
- Park Power (by Marinco) 30 Amp Inlet (Amazon | Camping World | Panther RV)
- Also compatible: Ficstar 30 Amp Inlet (Amazon)
- 10/3 AWG Triplex Flat Wire (Amazon | BayMarineSupply).

Also refer to: Park Power (Marinco) 30A Shore Power Inlet Installation Guide (pdf)
1. Route the 10/3 AWG cable through the strain relief clamp of the safety enclosure and slide the gasket in:
2. Remove 1½” of the outer jacket, strip off 5/8″ of the colored insulation, then connect to the corresponding colored holes:
3. Insert the 4 screws (included with the entry box) through the inlet and gasket. This helps holding them together! Slide the safety enclosure in place, and tighten the screws of the strain relief clamp:
4. Route the 10/3 AWG cable through the entry box, and clock the safety enclosure so that the strain relief is at the BOTTOM of the box (to create a drip loop, read more below):
5. Tighten the four screws until the gasket makes a good contact with the entry box and the inlet (don’t overtighten):
Heads Up: Drip Loop!
Drip loops prevent water from reaching a connector, terminal, and mitigate the risk of corrosion, which is often the cause of a bad connection (more resistance = overheat = fire hazard). Indeed, water from condensation (or such) flows down the wire and drips off at the lowest point. You can control where the water drips and evacuates, as shown in this cross-section view:
The entry box fits the driver or passenger side. Driver side is shown below.
6. Under the D-Pillar, grab an edge of the rubber cover:

7. Pull down to remove the cover:

8. Route the 10/3 AWG wire through the D-Pillar cutout:

9. Grab and pull the wire from inside the van:

10. Start with the front of the entry box:
11. Press on the back side(squeeze) and push up to snap the entry box in place:
(To remove the entry box press on the back side first, then pull down.)
That’s it!
Electrical System Wiring
For years, we routed the charger/converter’s power cord through the doors or through the D-Pillar cutout… It worked OK, but the Entry Box is definitely more convenient! It works great with a DIY electrical system (e.g. FarOutVan1), or a Power Kit (e.g. FarOutVan2):


Compatibility
- Van Models: Ford Transit (2015-Present).
- Shore AC Plug Inlet:
- Wire: 10/3 AWG Flat Triplex Wire.
Specifications
- Outside Dimensions: 5in x 3.5in x 4in (127mm x 89mm x 102mm).
- Material: Polycarbonate/PETG.
- Temperature Resistance: Up to 221F (105°C).
- Hardware Included: M4 Flanged Button Head Screws with Square Nuts (4 of each)
Shipping
- Ships From: British Columbia, Canada.
- Carrier: Canada Post / USPS.
- Cost: Actual carrier shipping rate calculated at checkout. You can combine other items from our Store to save on shipping.
Warranty, Returns & Refunds
Warranty:
- If there is an issue or manufacturing defect, we’ll be happy to send you another free of charge! 🙂
- “Crash” replacement: if the Entry Box breaks during normal usage (rock, snow bank, etc.), we offer 70% discount on a new one (plus shipping). All we ask is a photo of the damaged box. We still think the box should be the weakest link to prevent damage to the van structure.
Return & Refund: See our Return and Refund Policy.
ABOUT THIS PRODUCT
Do It Yourself.
We wanted a better shore power entry box for the Ford Transit, so we made one.
This is an homemade product.
Each part is individually 3D printed and assembled by us. This is not a mass-produced product. This is a crafted, hand-made product.
Low Volume.
We created this product for our own needs, to make just a few units. There is no way for us to ramp up the production and lower the price, unless we take it to injection molding manufacturing but that’s a whole another level we’re not considering at the moment.
Also Available

17 reviews for 30A Marinco Shore Power Entry Box for Ford Transit (No Drill / No Screw)
| 5 star | 100% | |
| 4 star | 0% | |
| 3 star | 0% | |
| 2 star | 0% | |
| 1 star | 0% |
Customer Images


La prise 30A s’insère facilement dans la boîte sur mesure. Super produit!
Merci! 🙂
Building three vans in the shop at Funtrail West. Two for Demo/rental/For Sale Two with 30 amp and one with 20 amp. These save time and are a perfect fit. Completely eliminates drilling a hole in the side of the van. Each one took maybe 10 minutes to install.
Worked a treat. Nicely engineered and great for being stealthy!
Fit my Explorist.lift outlet perfectly. Seems snug enough to stay put. So much better than drilling more holes in the van.
Great product thank you. You guys have been a life saver on my van build!
Amazing solution to cutting hole in side the van. Well made and quick install.