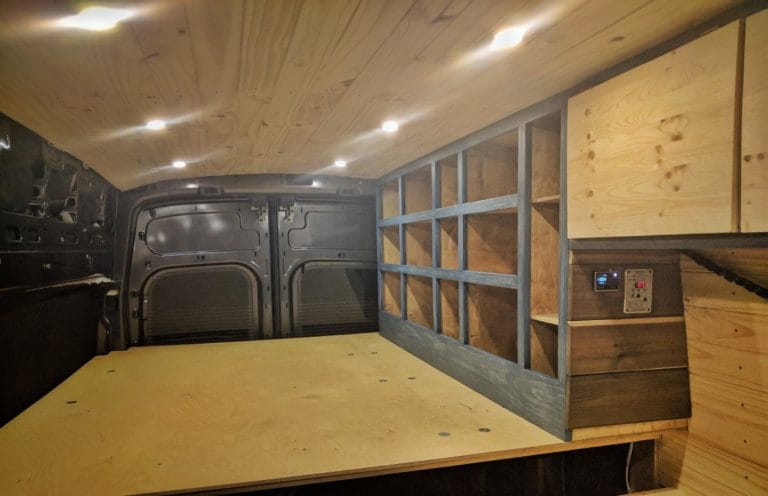
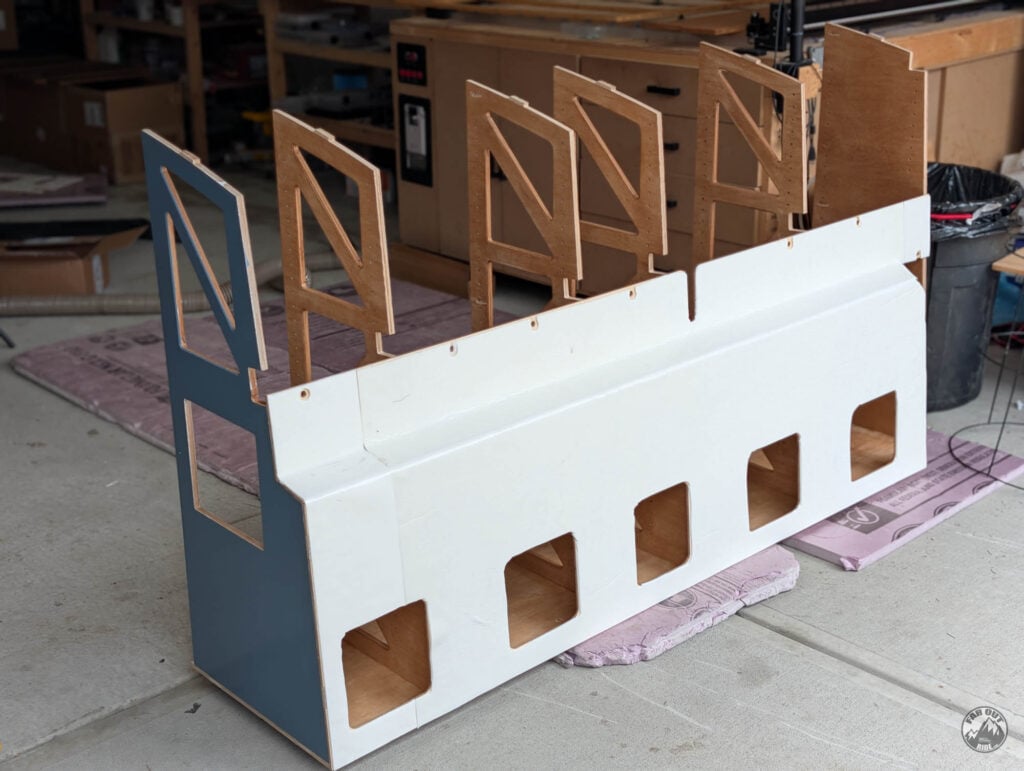
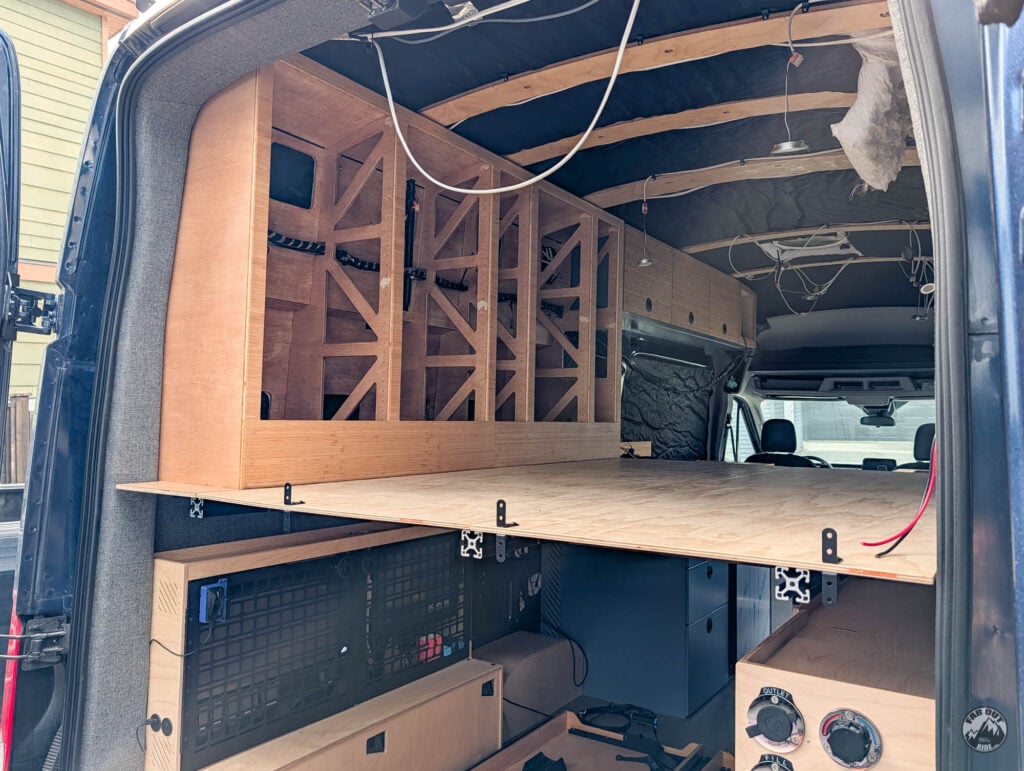
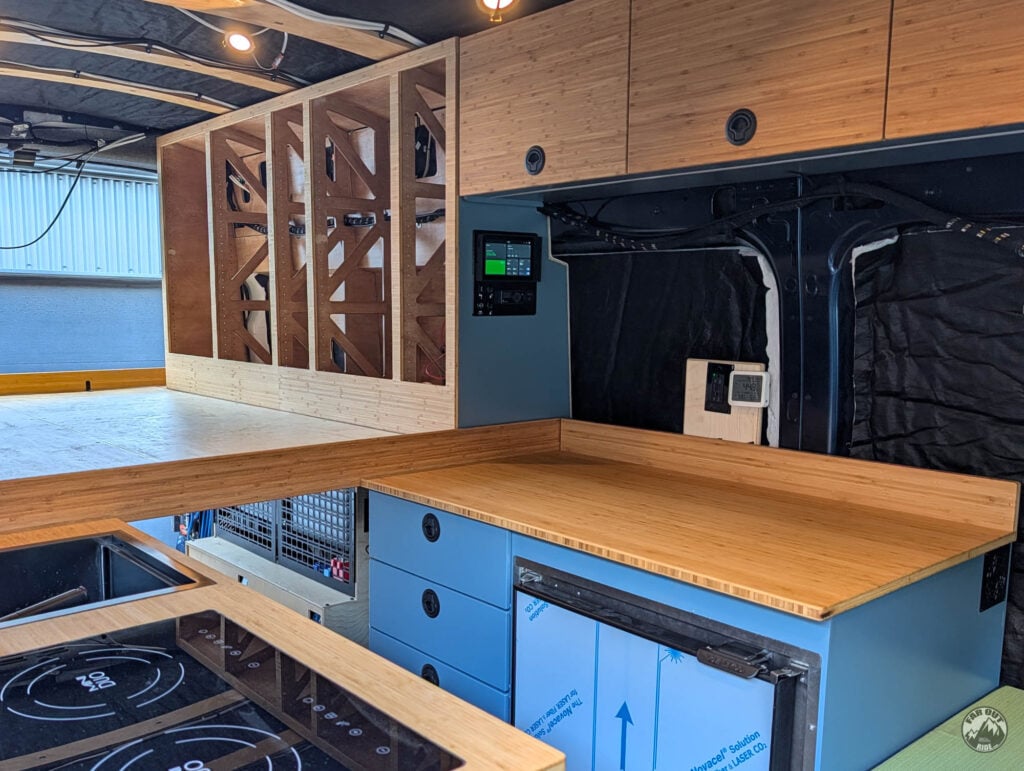
Here is how we built the driver-side bedroom storage cubbies for FarOutVan 2. The cabinet lines the wall above the 80/20 bed platform, adding a row of open cubbies for everyday gear — while neatly hiding the van’s factory wiring harness and housing the pre-wiring for our electrical system. It bolts to the van wall with rivet nuts and to the bed frame with t-nuts, so it’s solid yet removable. Let’s get to work!
The cubbies are installed and in use, but a few details are still in progress (shelves, wiring conduit, dashboard). We wanted to share anyway and will update as we go 🙂
Material & Resources
Time
xx hours
Cost
$TBD USD
Weight
60 lbs
Material
| ITEM | DESCRIPTION | QTY | BUY |
|---|---|---|---|
| 6mm (1/4″) Plywood | Wall panels, top panels, and shelves. | Source Locally | |
| 9mm (3/8″) Plywood | Bottom panel. | Source Locally | |
| 12mm (1/2″) Plywood | Front, rear, & divider panels. | Source Locally | |
| 13mm (1/2″) Bamboo Plywood | Face frame. | Source Locally | |
| #4 x 1in Flat head screws | To clamp panels together during glue operation. | Amazon | |
| Wood glue | Titebond III Ultimate Wood Glue. | Amazon | |
| 1/8″ Landau Foam | Thermal break behind wall panels. | Campervan-HQ | |
| M6 threaded inserts | These go into the van’s factory holes. | Amazon | |
| M6 flanged button head screws (Stainless) | To fasten wall panels to the van. | Amazon | |
| 5/16″-18 x 3/4″ button head screws (Stainless) | To fasten bottom panel to bed frame. | Amazon | |
| 5/16″-18 t-nuts for 15-Series 80/20 (drop-in with ball spring) | To fasten bottom panel to bed frame. | Amazon | |
| 5/16″ stainless washers | To fasten bottom panel to bed frame. | Amazon | |
| 1/16″ thick x 1/2″ wide foam tape | Between 80/20 aluminum and cabinet. | Amazon | |
| Water-based polyurethane | To finish and seal the plywood. | Amazon | |
| Tung oil | To finish and seal the bamboo. | Amazon |


Prerequisite
Bed must be completed first:

Plan and route electrical wiring first:

Fabrication
Cut and Finish
We first cut the parts on our hobby-grade 4’x4′ CNC. We then sanded with an orbital sander, stained, and sealed with water-based polyurethane. We seal ALL the wood in our van, even the non-visible surfaces, to protect against moisture and mold.
Because Isabelle chose to apply the finish before assembly, she masked the mating surfaces (bare wood = better bonding).

This video shows the process of cutting the parts for our Hidden Shower Cabinet using our hobby-grade CNC. Different cabinet, but similar process!
Bottom Panel Holes
The wall panel holes, which are common with the van’s wall, are CNC’d because we know their exact positions thanks to the Ford Transit 3D Scan.
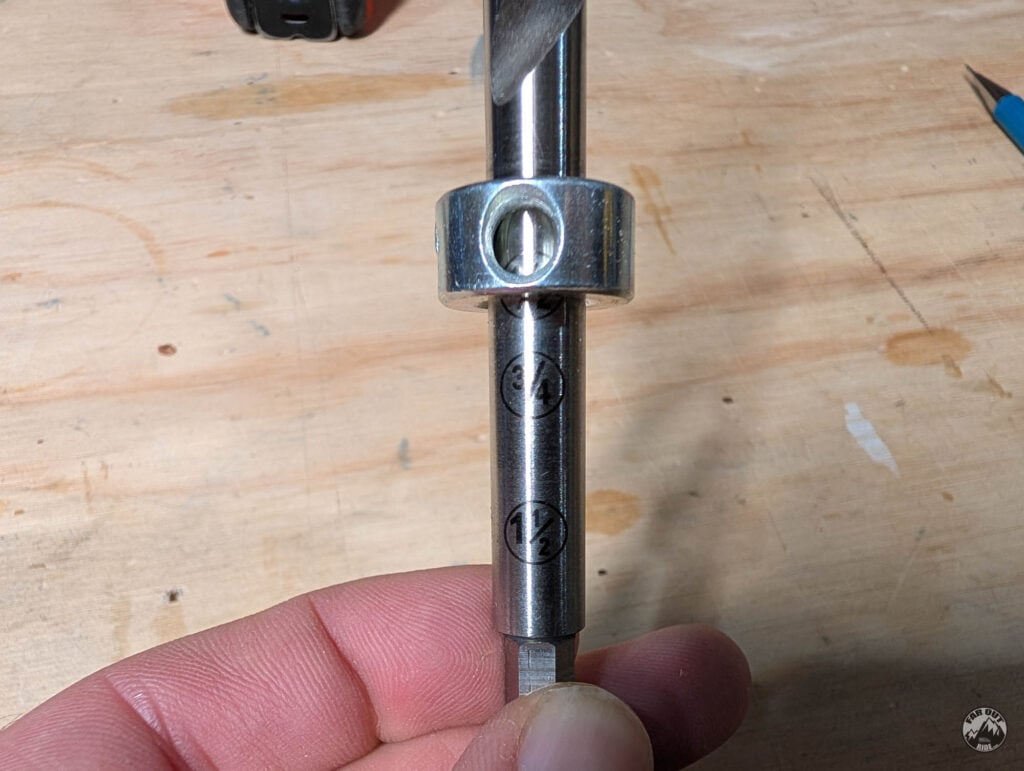
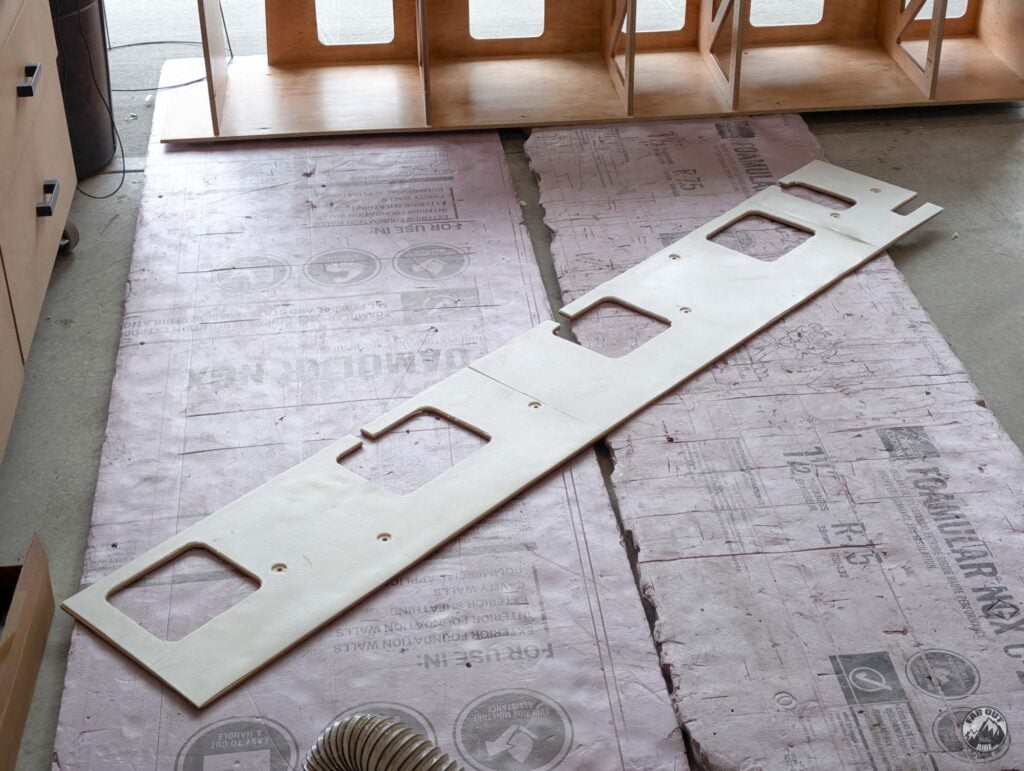
The bottom panel holes, common with the 80/20 Bed Platform, are drilled by hand because the bed platform may not be 100% representative of the 3D model (tolerance during hand assembly). We used transfer screws to precisely transfer the hole pattern from the bed to the bottom panel:
We loaded all the Roll-In T-Nuts into the bed platform’s cross-bars at their final locations, and added the transfer screws:
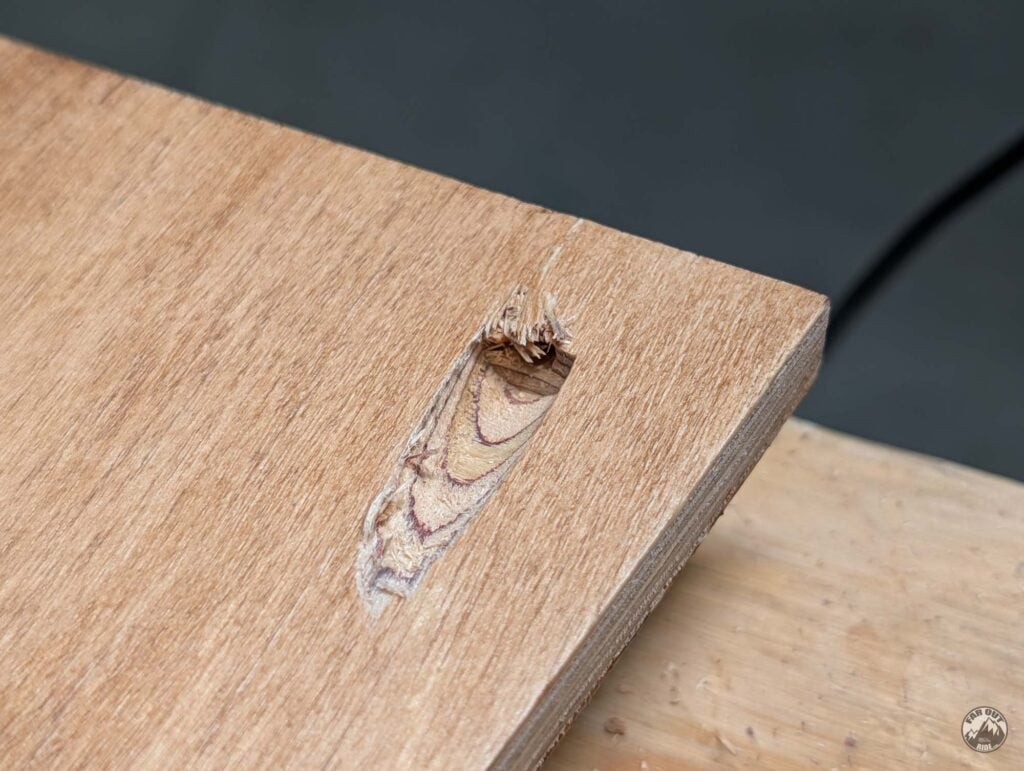
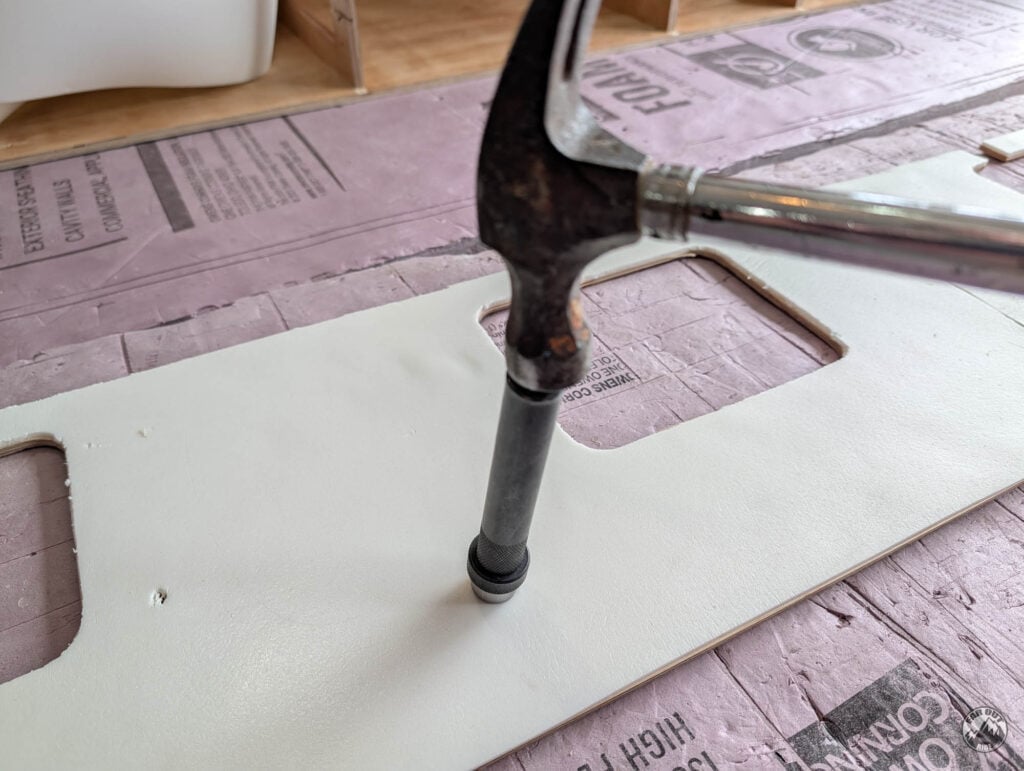
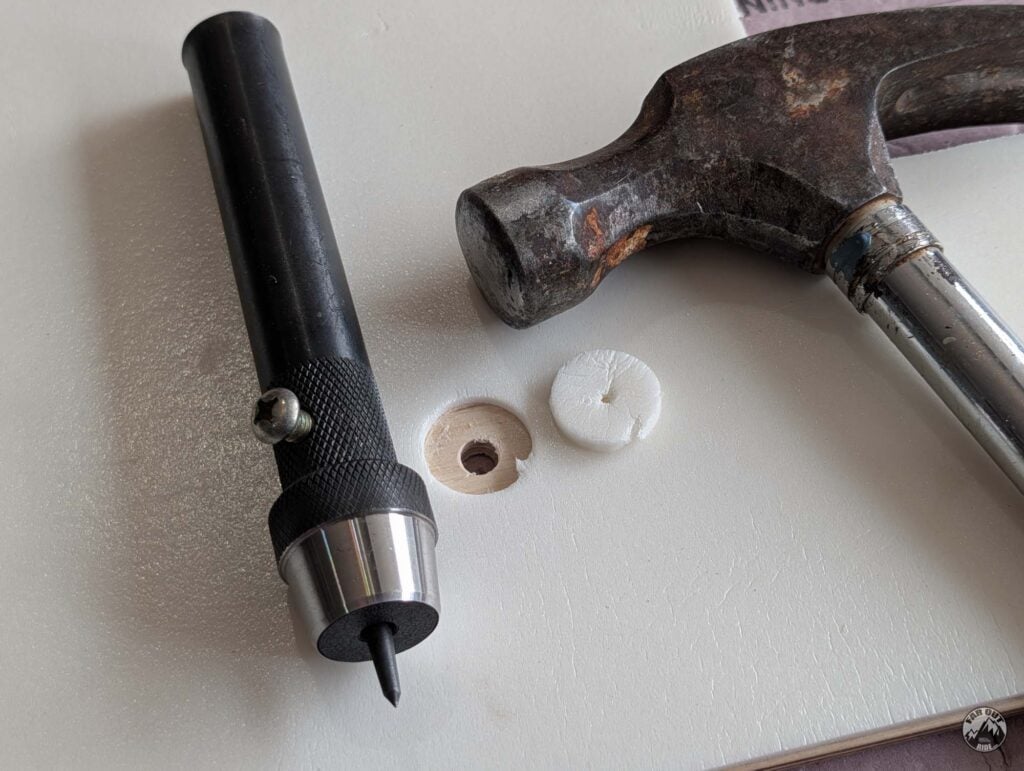
We then brought the bottom panel to its final location and applied pressure over each transfer screw to leave an impression:
The impression prevents the drill bit from roaming onto the surface, so it’s very precise:
Face Frame Pocket Holes
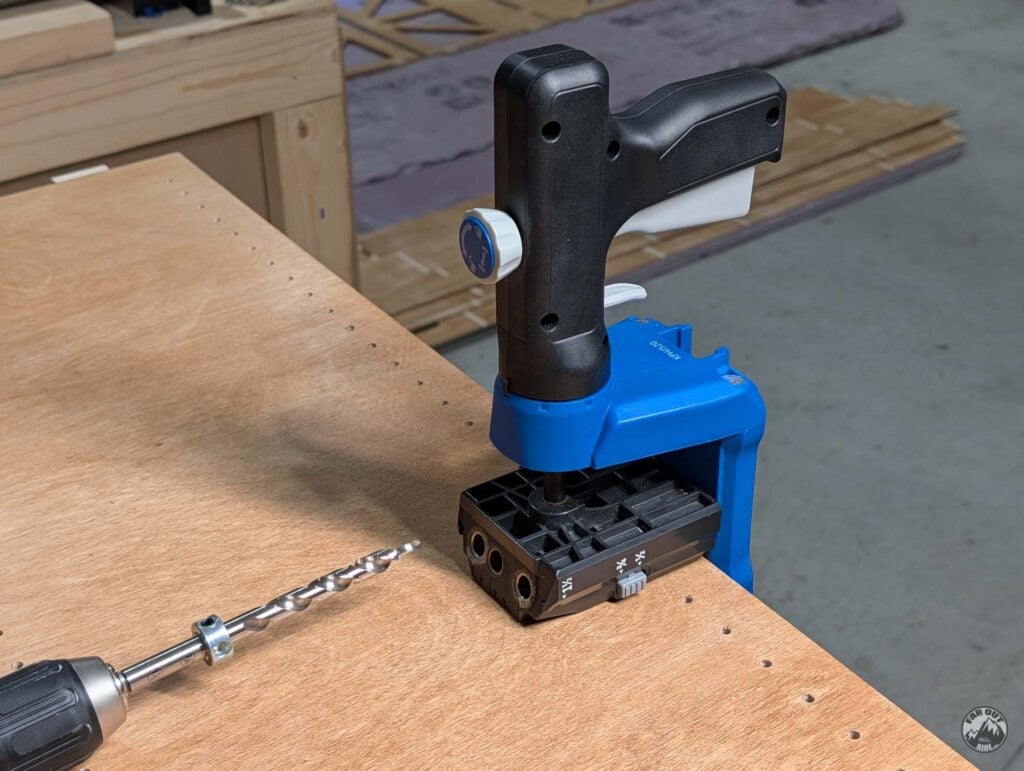
We don’t want any visible screws/nails on the face frame, so we’ll do the same trick as for FarOutVan 1 Bedroom Storage: pocket screws. While the face frame will be added after, we figured it would be much easier to drill the pocket holes now.
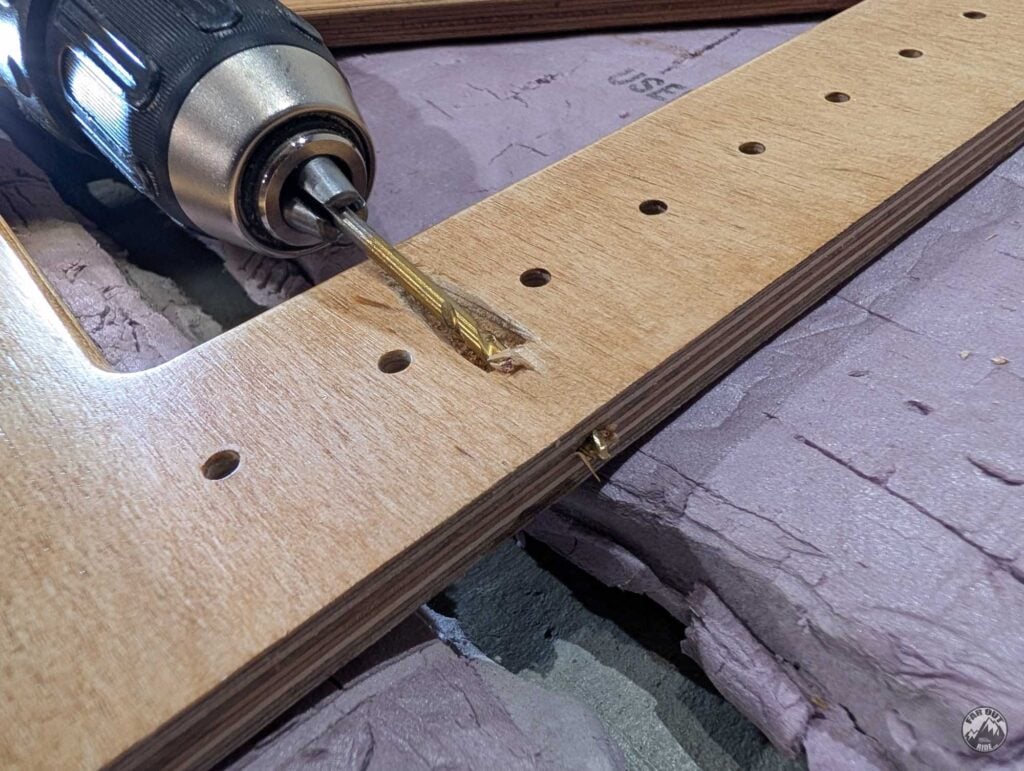
We used the Kreg Pocket-Hole Jig, with the material depth set to 1/2″:
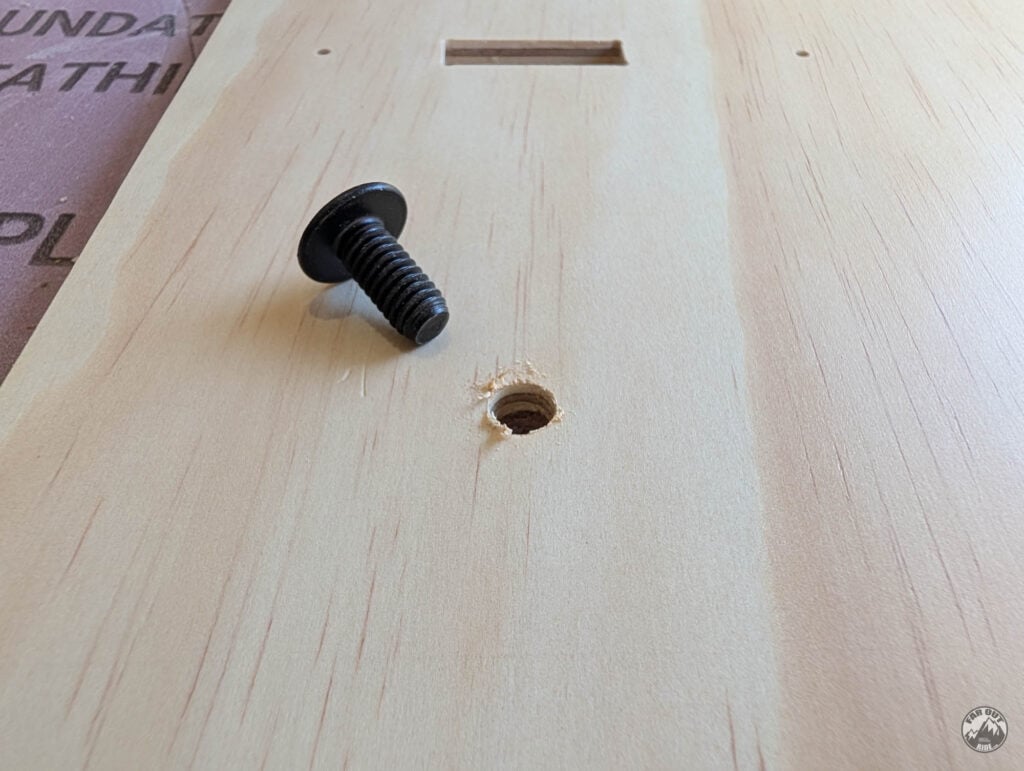
To prevent the screws from poking through the front of the face frame, we reduced the depth of the holes slightly:
Not super happy with the finish, but the holes will be mostly hidden behind the frame…
Because we reduced the depth of the holes, we had to “clean” them with a regular drill bit:
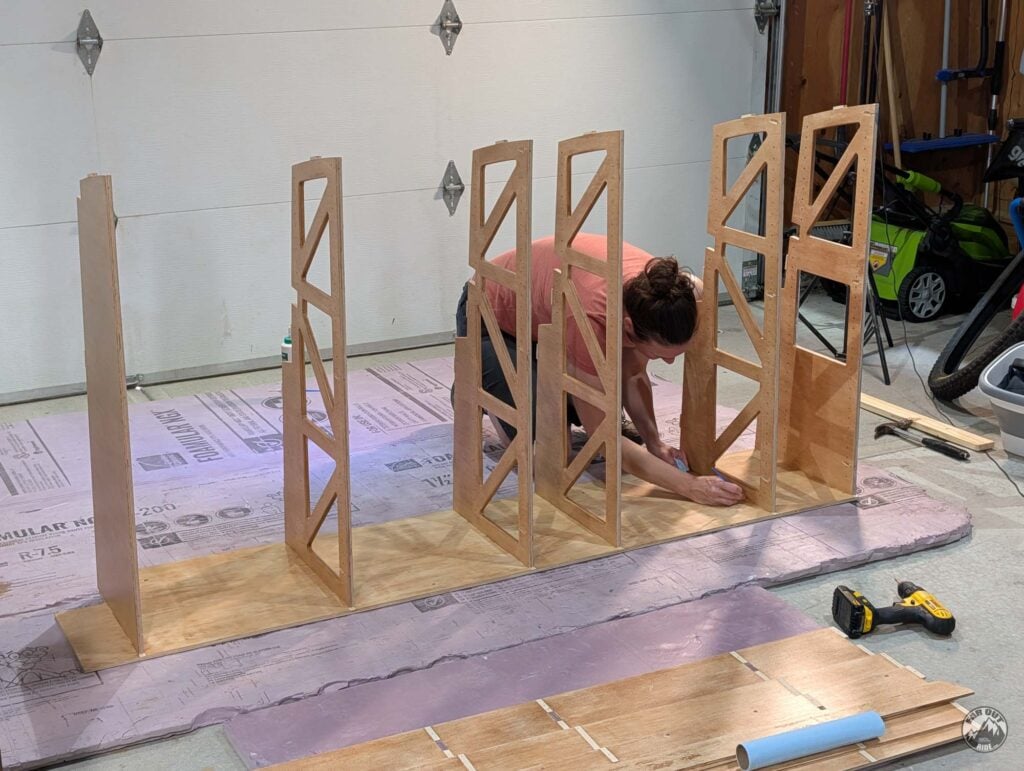
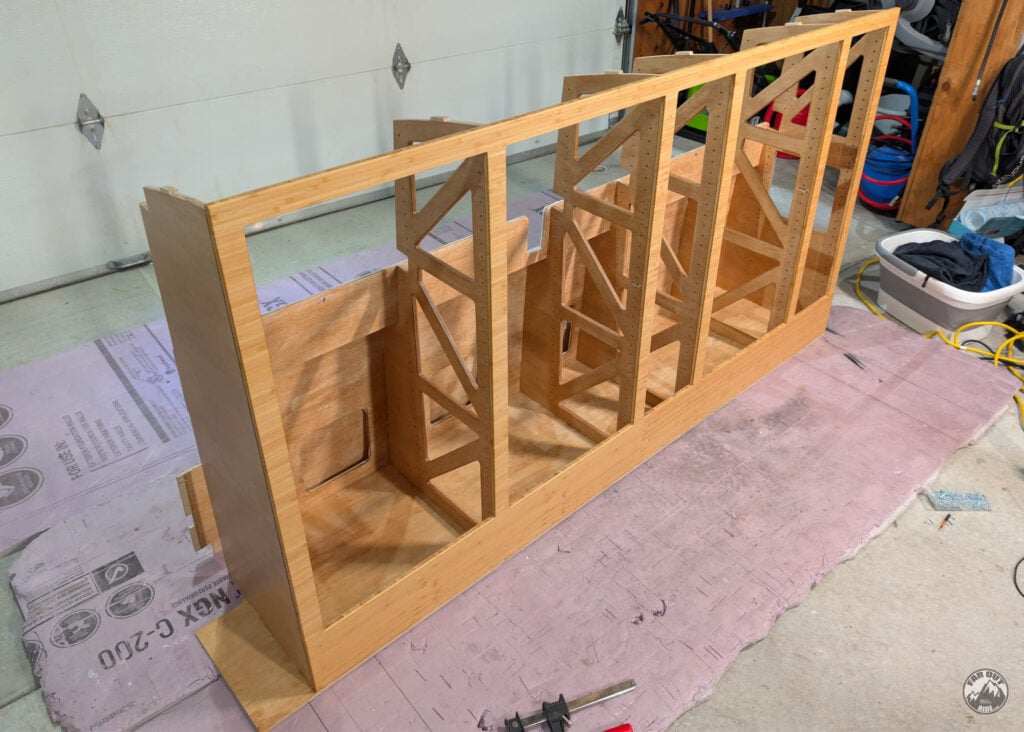
Assemble
As usual, we use glue on all mating surfaces (including fingers) to add strength and prevent squeaks:
Adding a divider…
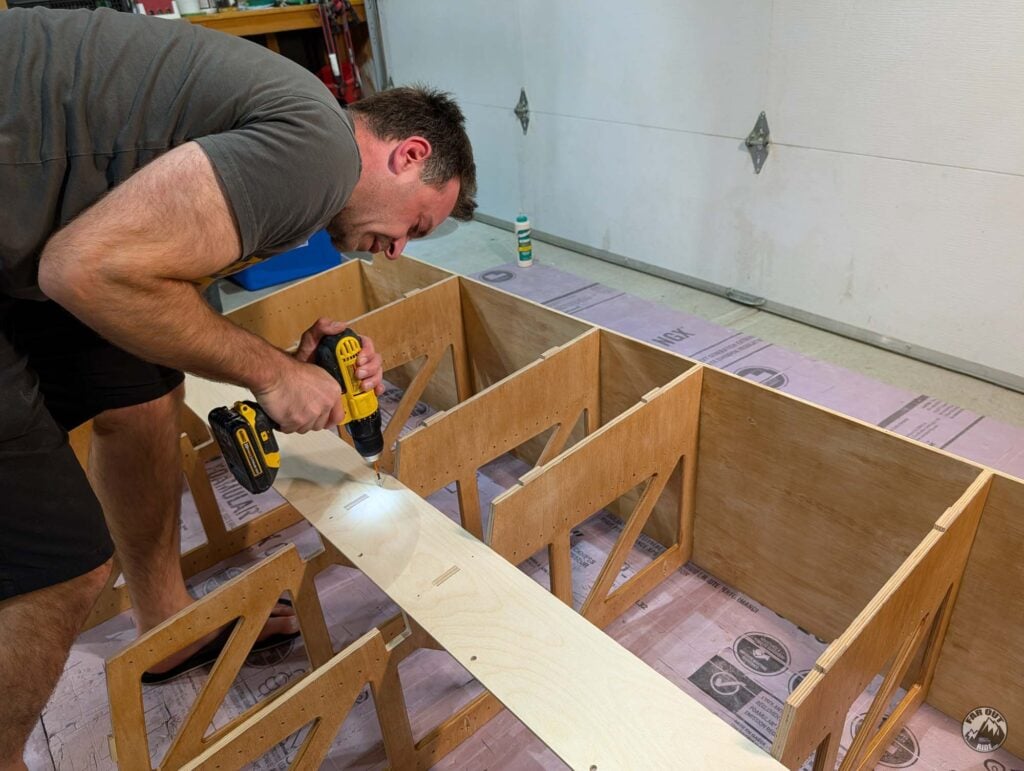
We learned it’s easier and faster to back-screw (with #4 screws) than to use clamps… For non-visible surfaces only:
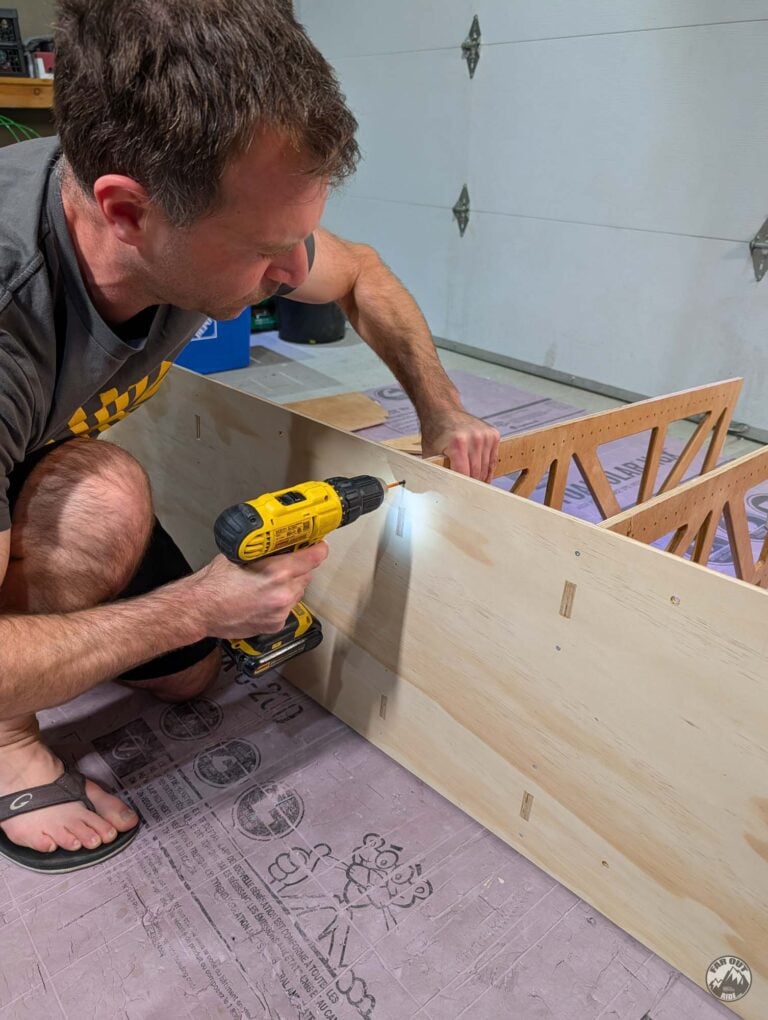
Front panel, rear panel, and all dividers in place. As usual, Antoine makes the mess, and Isabelle cleans up after:
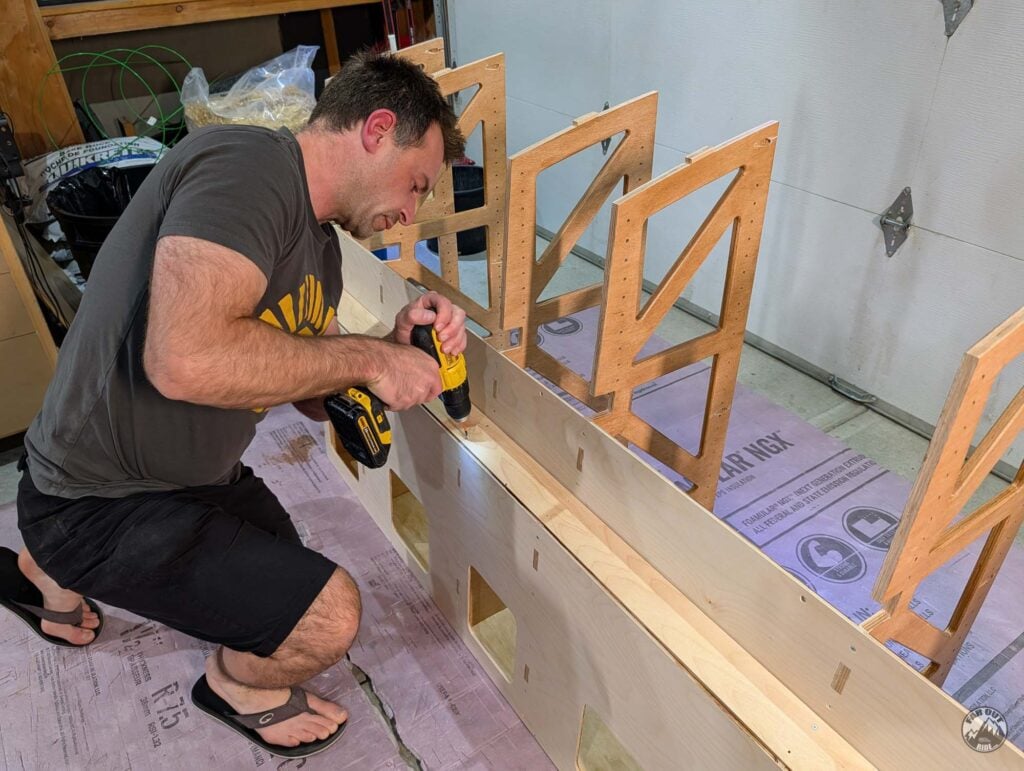
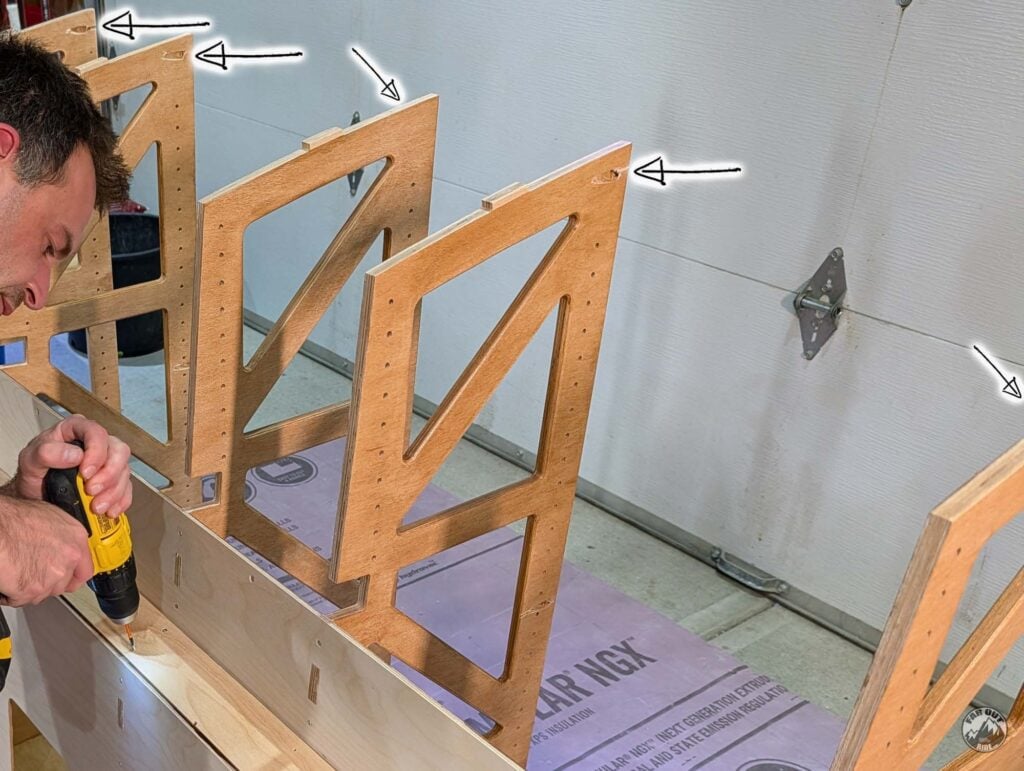
We then added the wall panel (mid):
Then the wall panel (lower):
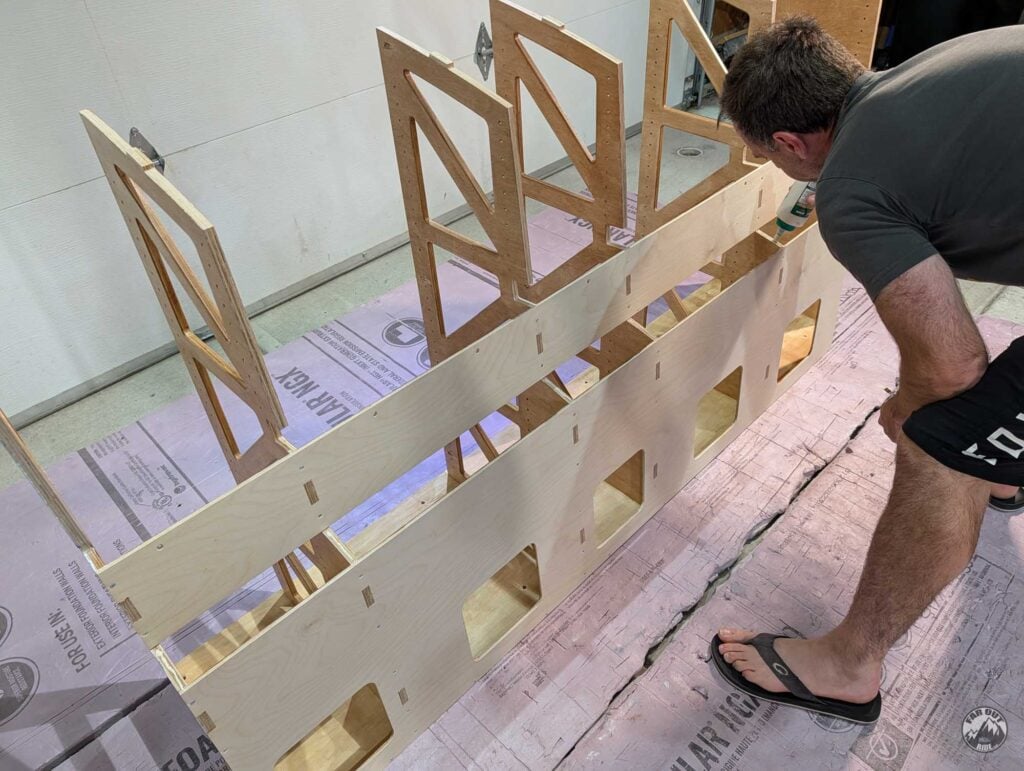
And then the wall panel (junction):
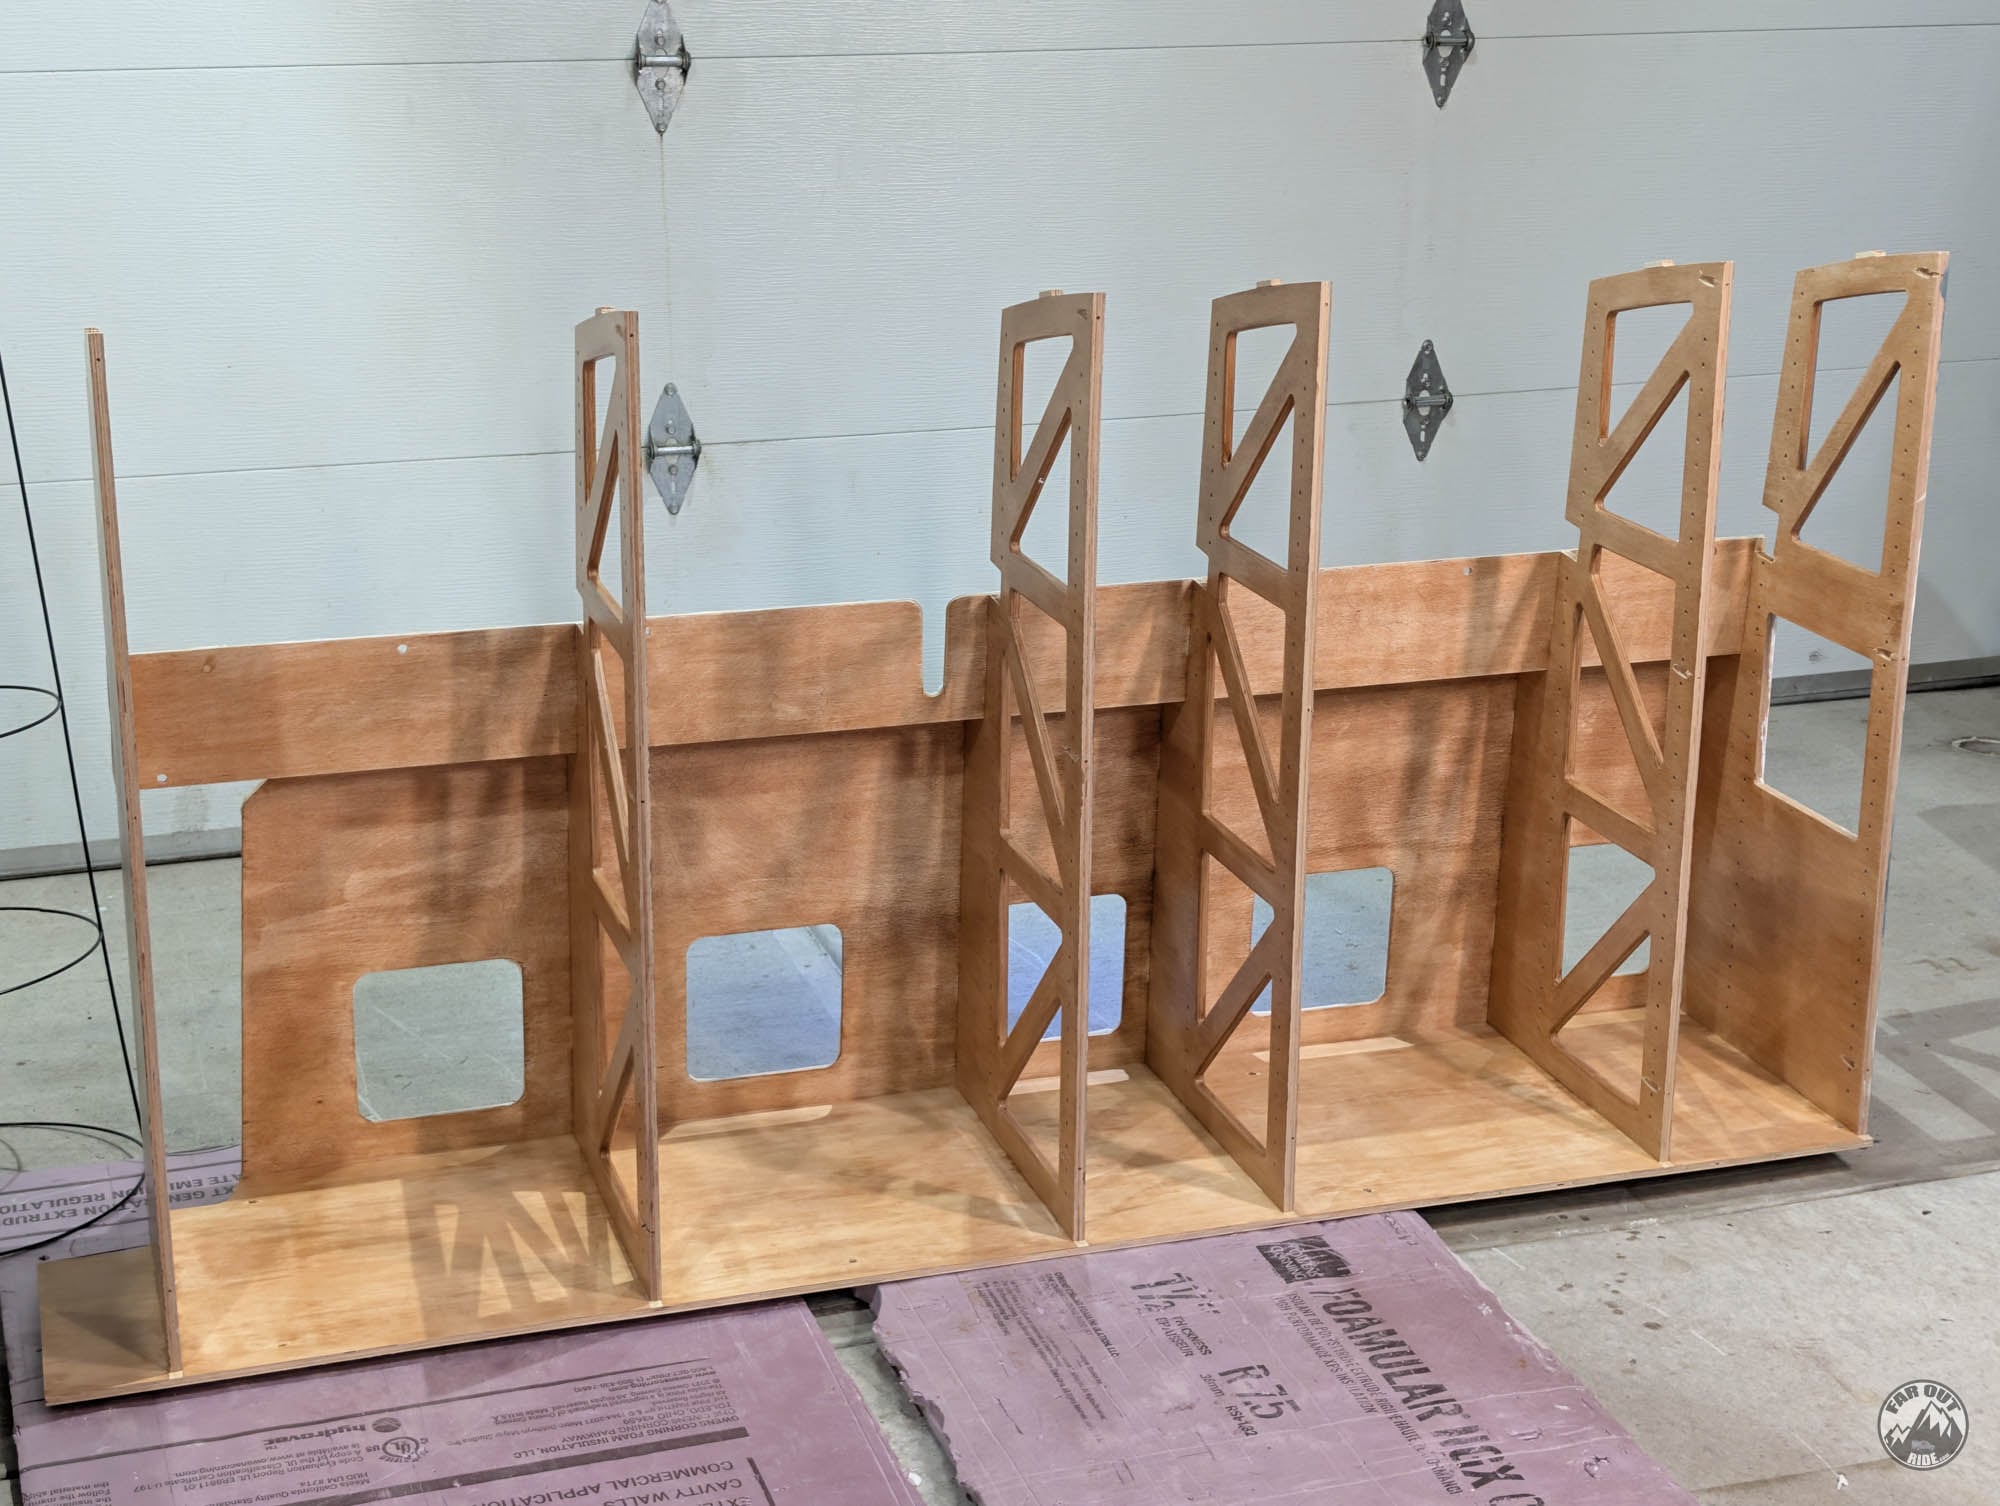
We are not adding the top panel now, because we wouldn’t be able to screw the top of the face frame:
So far so good!
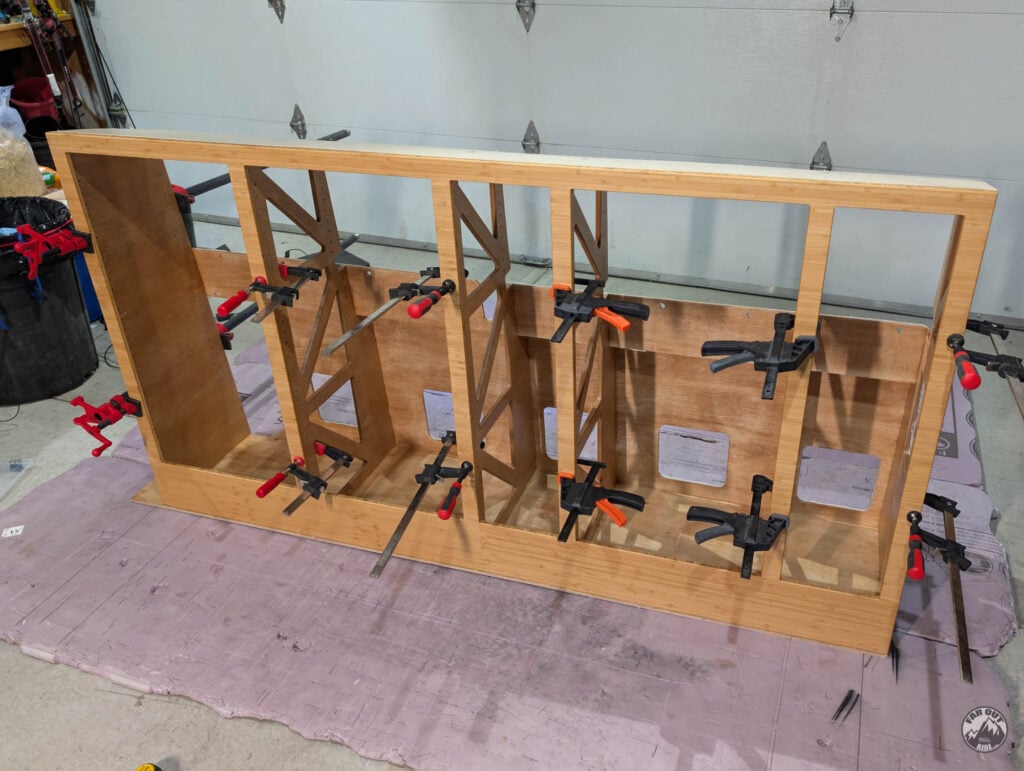
Face Frame
The face frame is made of 1/2″ bamboo plywood, glued and fastened to the dividers with pocket screws. Here is how we did it.
All parts were cut on the CNC (bottom, top, divider x 6):
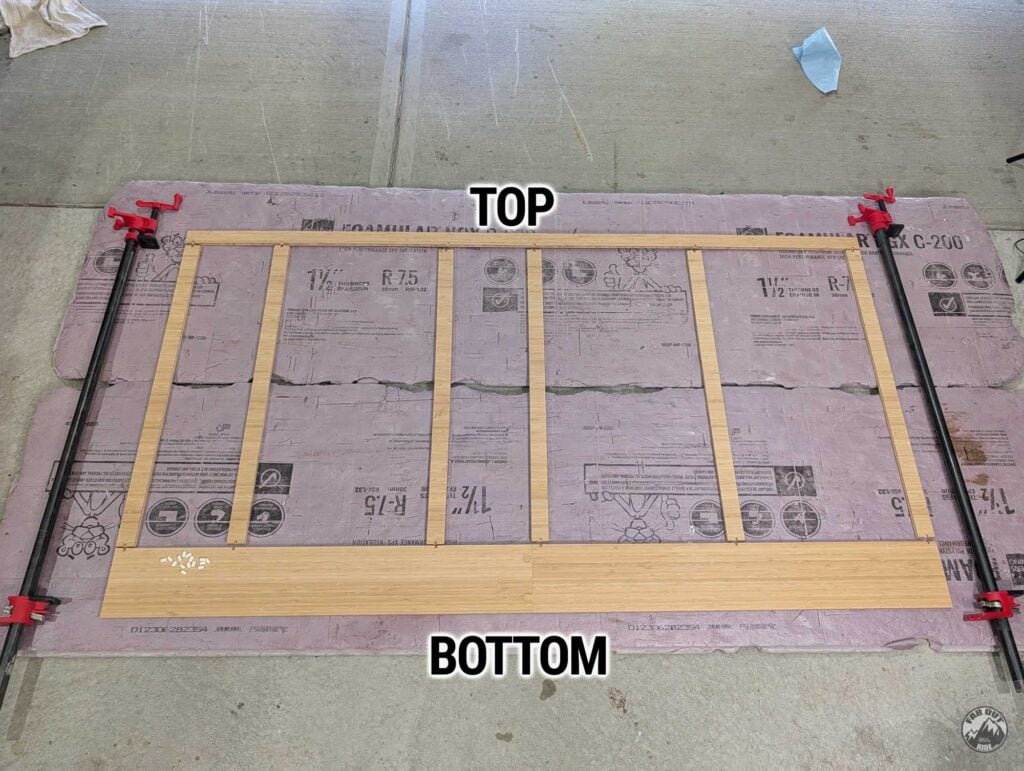
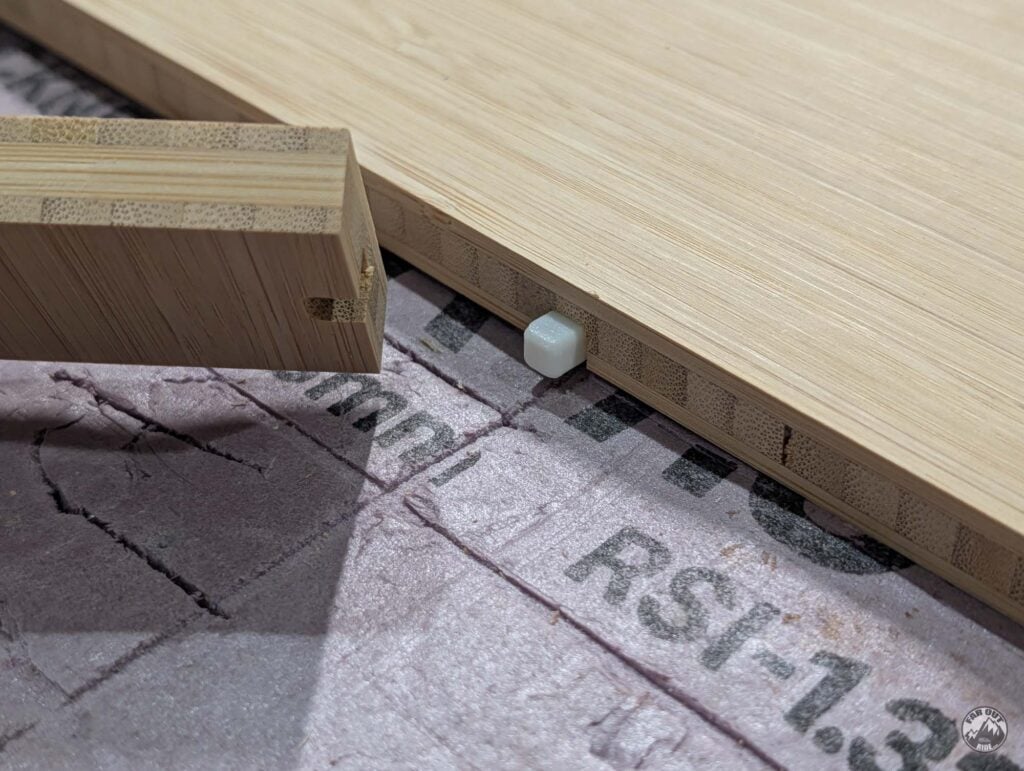
Each part features an alignment notch:
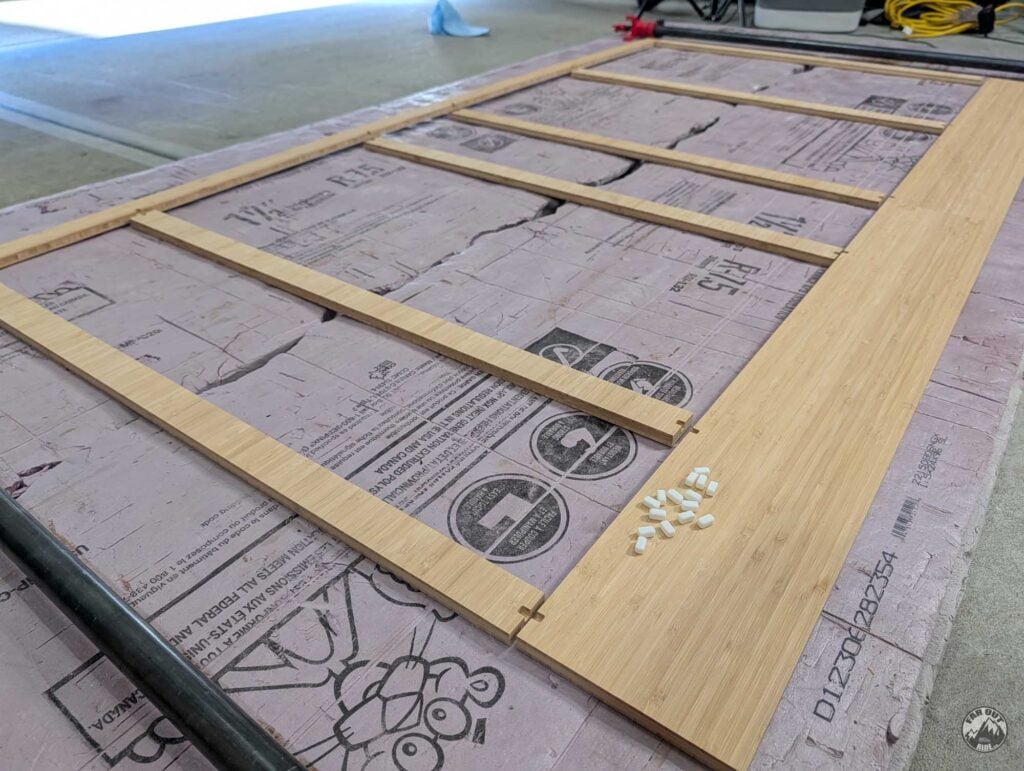
A 3D printed rectangular dowel is placed in the notch and ensures precise alignment:
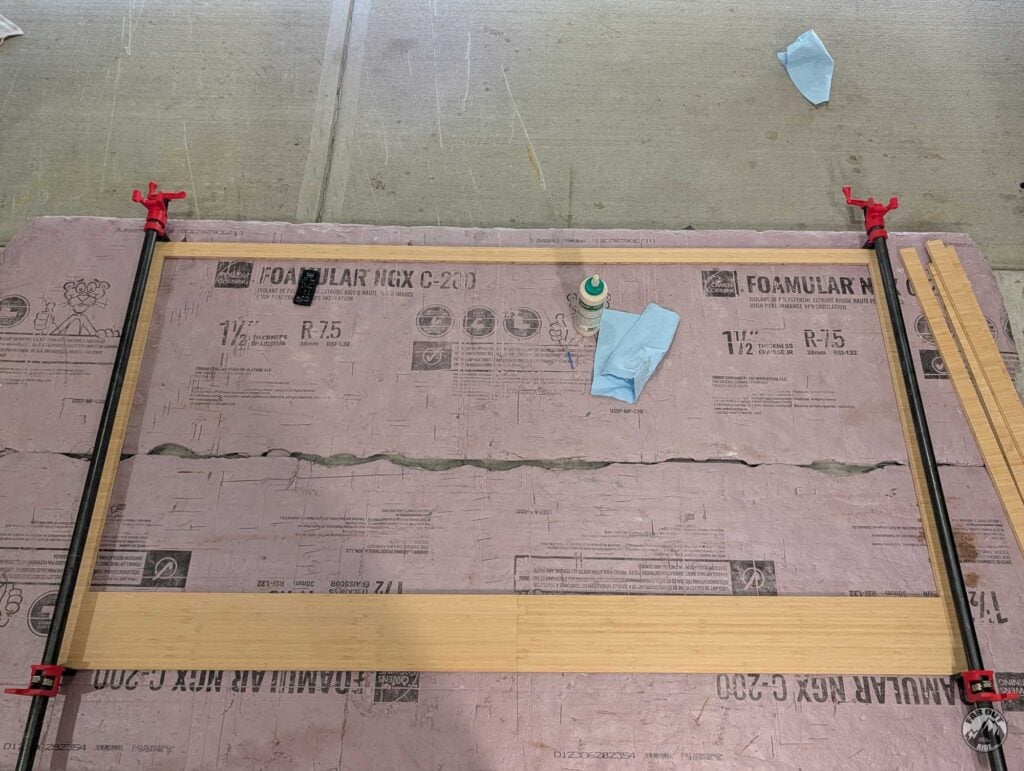
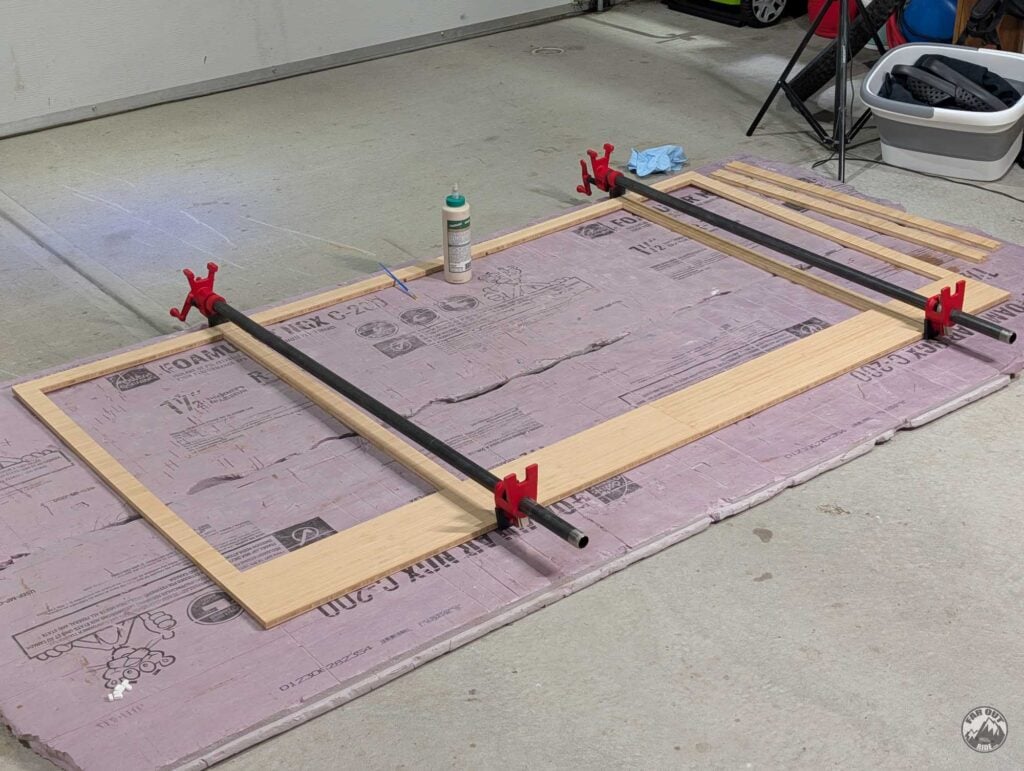
We only have 2 long clamps, so we started by gluing the front and rear dividers:
After a few hours, we proceeded with the other dividers:
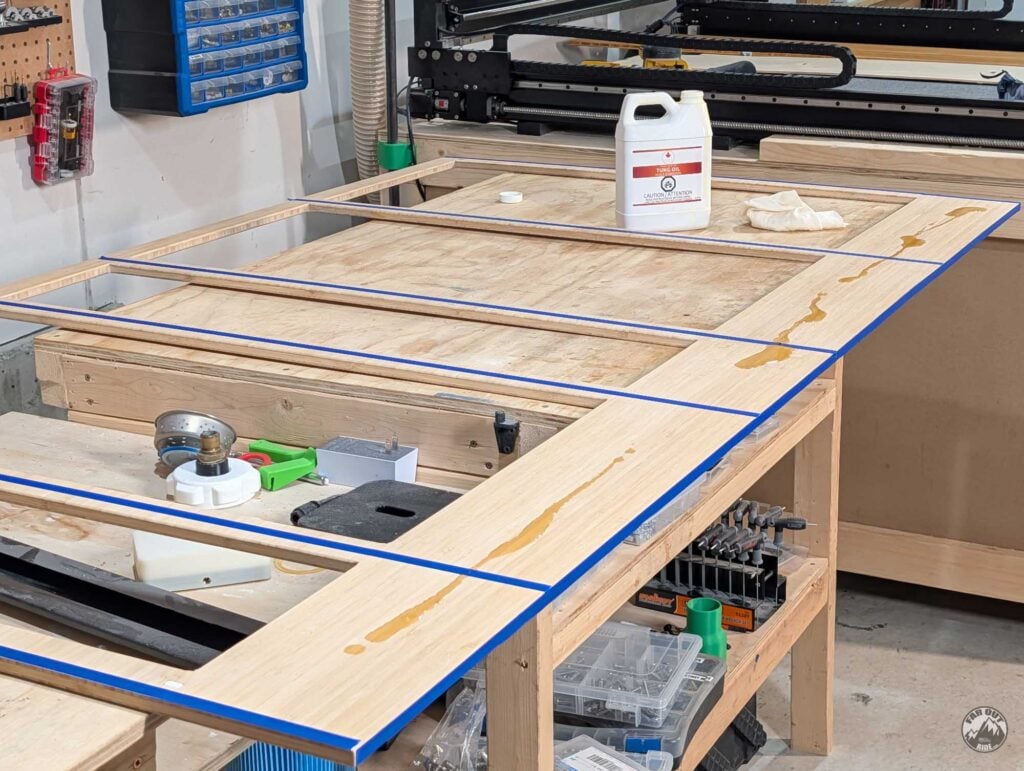
With all the parts bonded and sanded (220 grit with orbital sander), we masked the surfaces to be bonded with the structure, and applied tung oil with a rag:
We applied glue to all the mating surfaces, and then fastened the bamboo face frame to the dividers with the pocket screws:
Back side:
We used clamps to apply pressure in between screws:
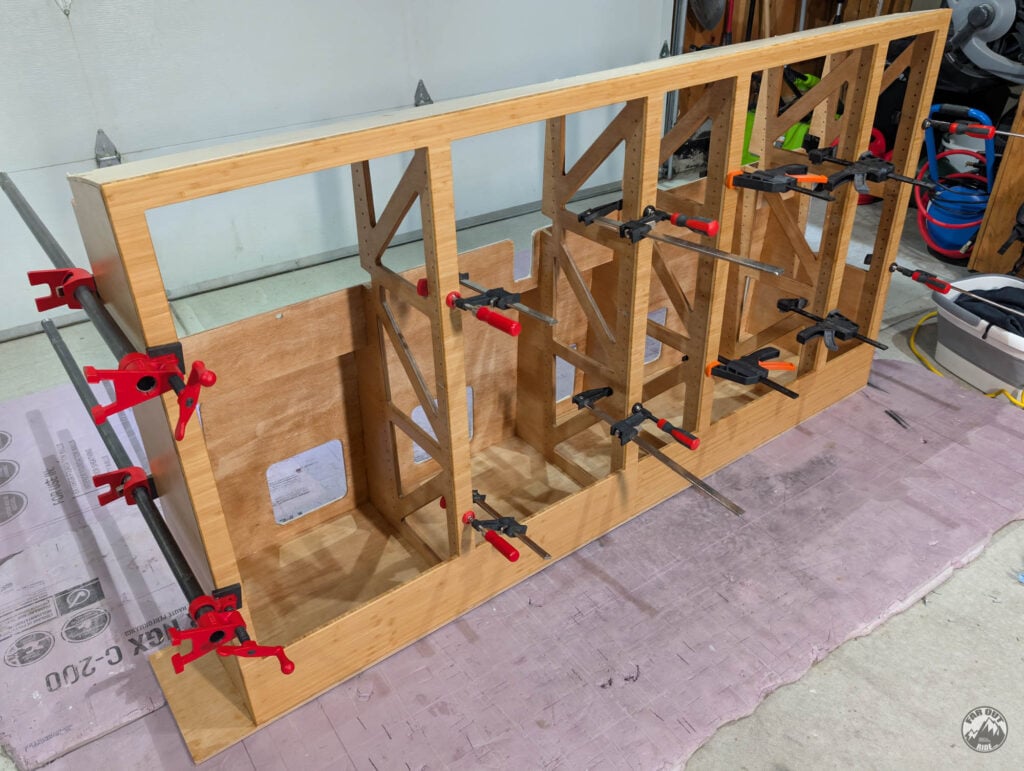
Another angle:
Shelves
Thermal Break
As always, we used 3M 90 spray adhesive to bond Landau foam at the back of the cabinet:
Installation
Pre-Wiring
At this point, you want all your wiring in place. Ideally. So take a step back, revise your list of AC and DC appliances, and make sure it’s all there!
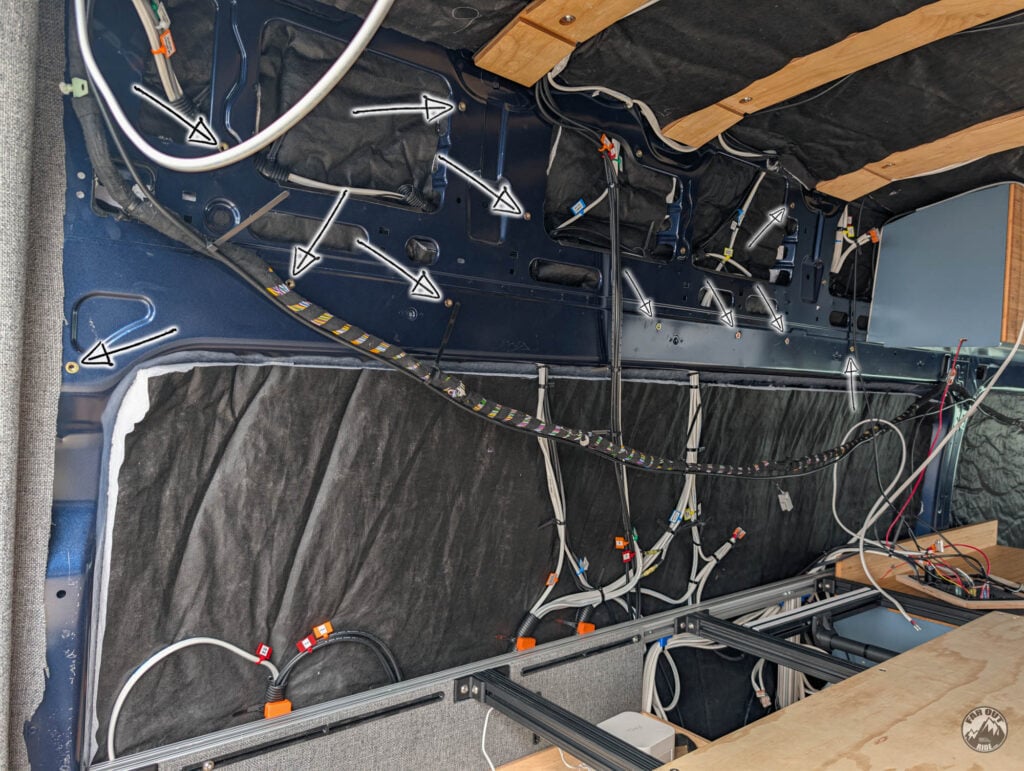
We pre-wired gradually and at different moments in time, so it’s not 100% optimal. Some wires are routed through the wall; some over the wall. Some over the van wiring harness, some behind it. Oh well, we’ll make it work!
All wires labeled. It takes time, but the future you (and future owner of your van) will thank you. It’s amazing how fast you forget which wire is what!
The ultimate way to label is with clear heat-shrink tubing over a P-touch label. But it’s quite time-consuming, and it must be done before…
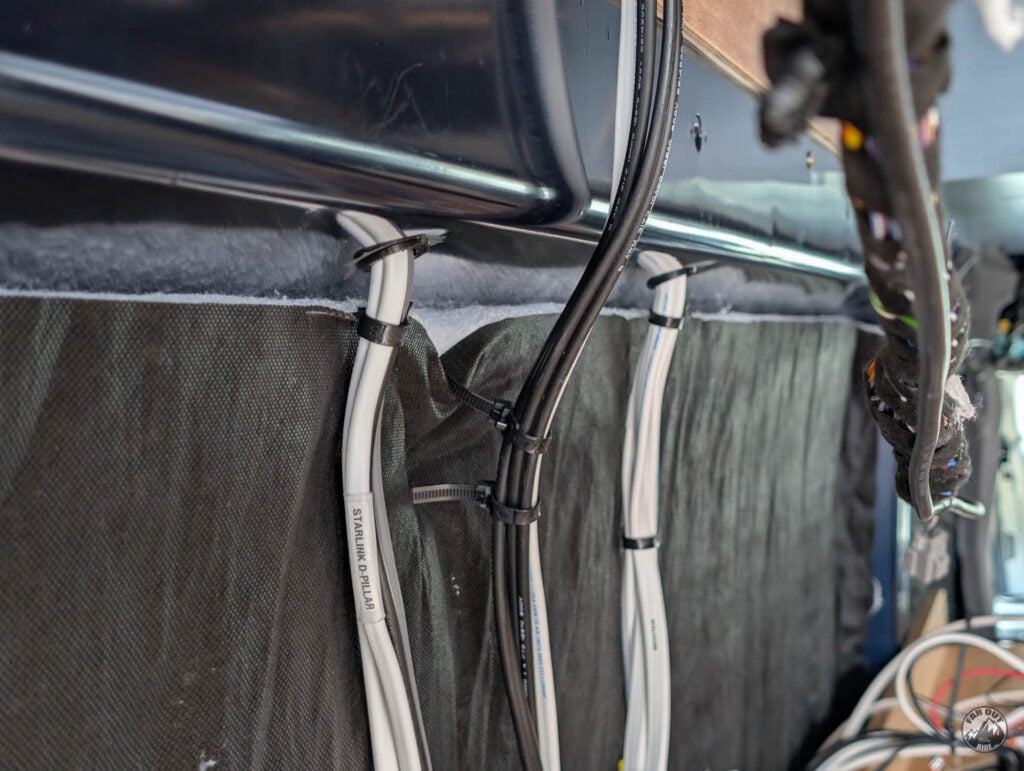
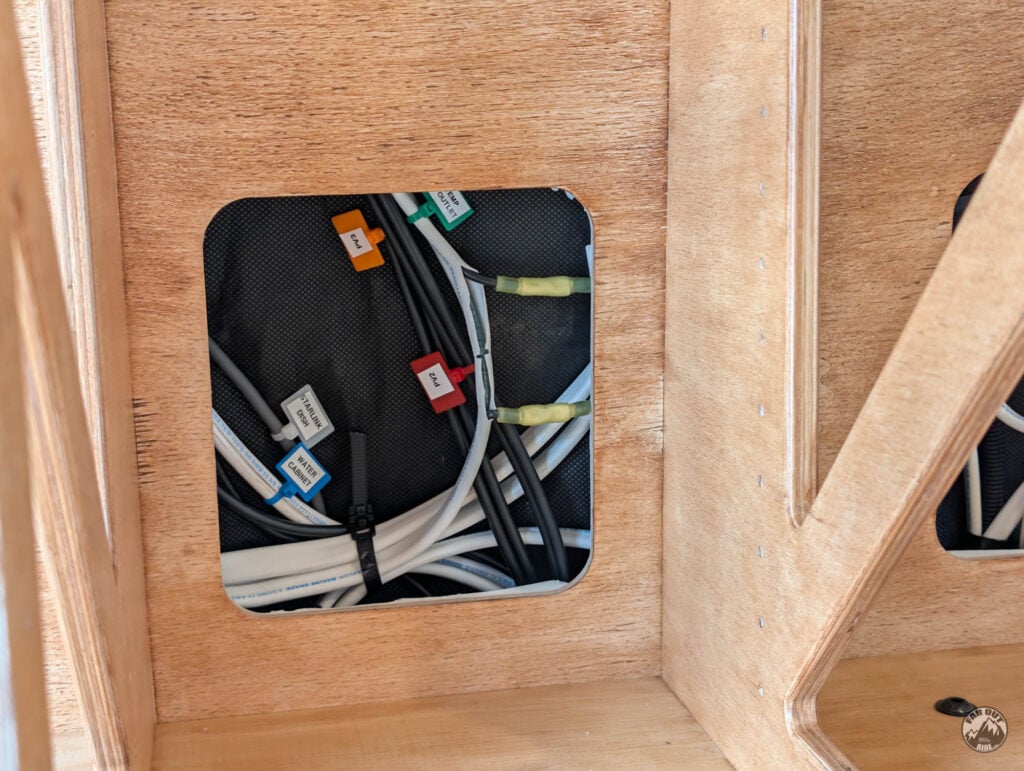
An easier and faster way I found is to use Nylon Zip Tie Tags with a 12 mm P-touch label. Also, notice the split loom tubing and rubber edge trims:
Another one, another one, another one…
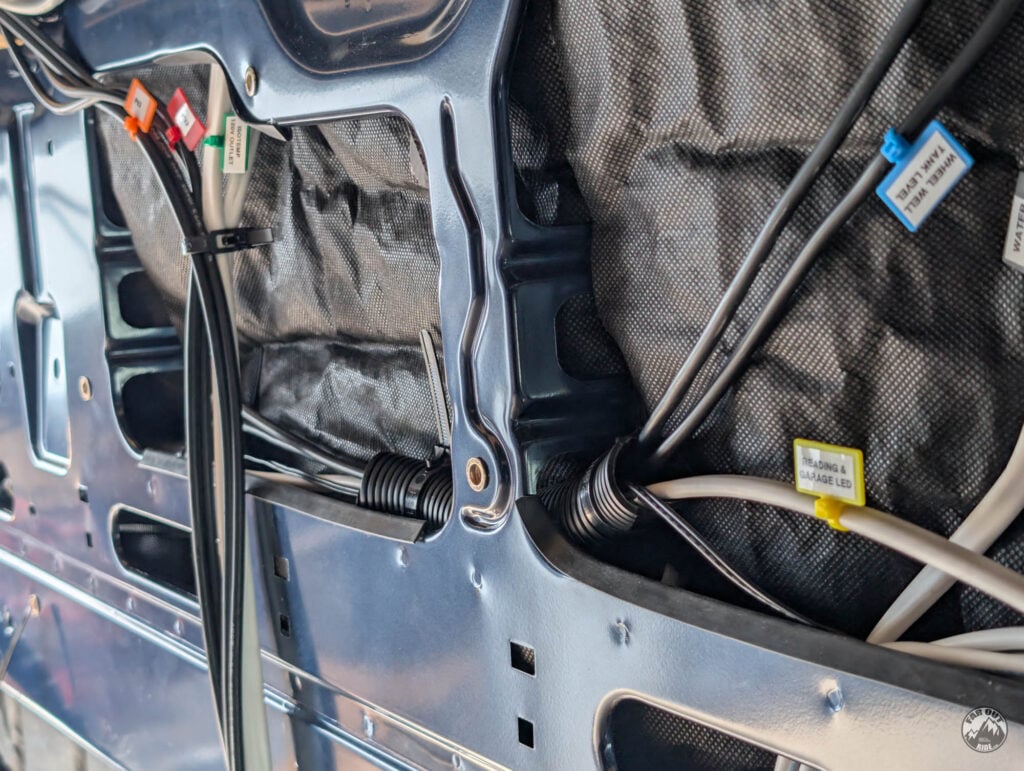
I left the wire exposed and labeled, behind the access cutouts:
Threaded Inserts
We installed an M6 rivet nut in each hole common with the van/cabinet:
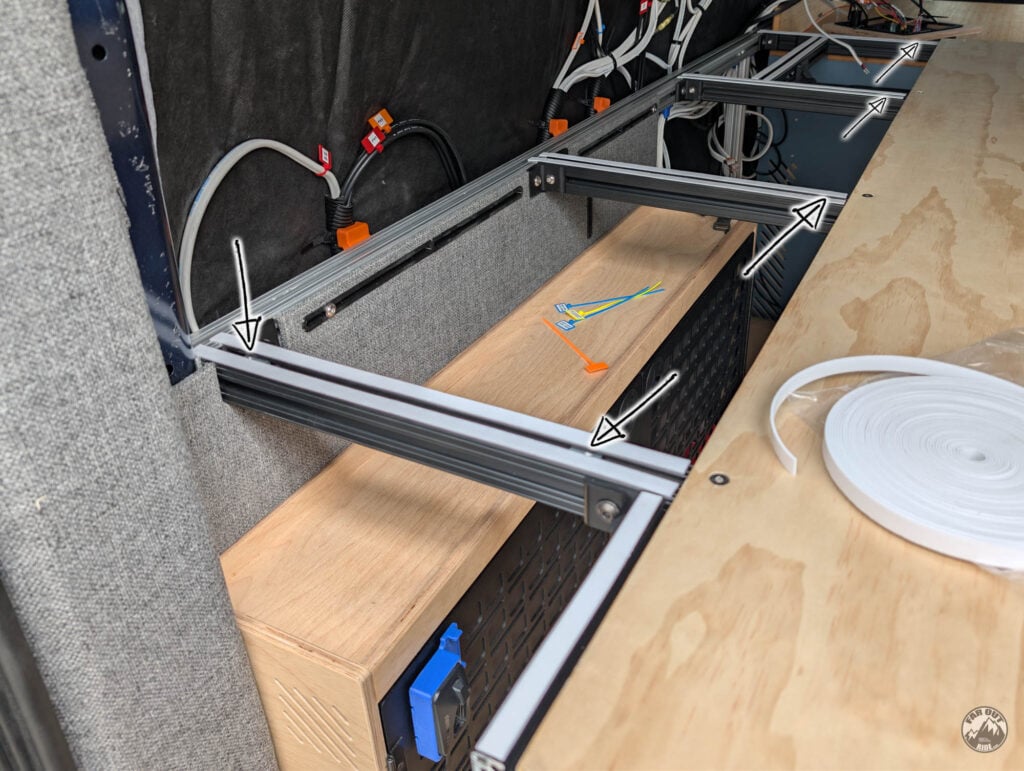
T-Nuts and Foam Strips
1/16″ self-adhesive foam strips were added (to prevent rattling and add a thermal break), and t-nuts were preloaded in 80/20 aluminum frames:
Load her up!
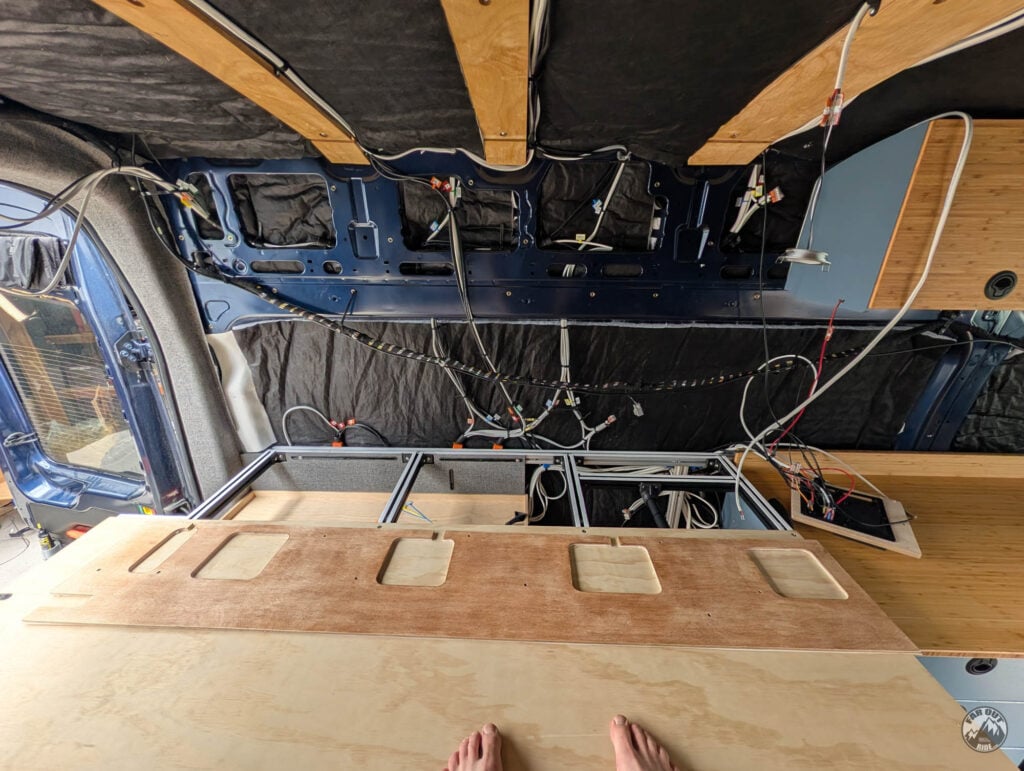
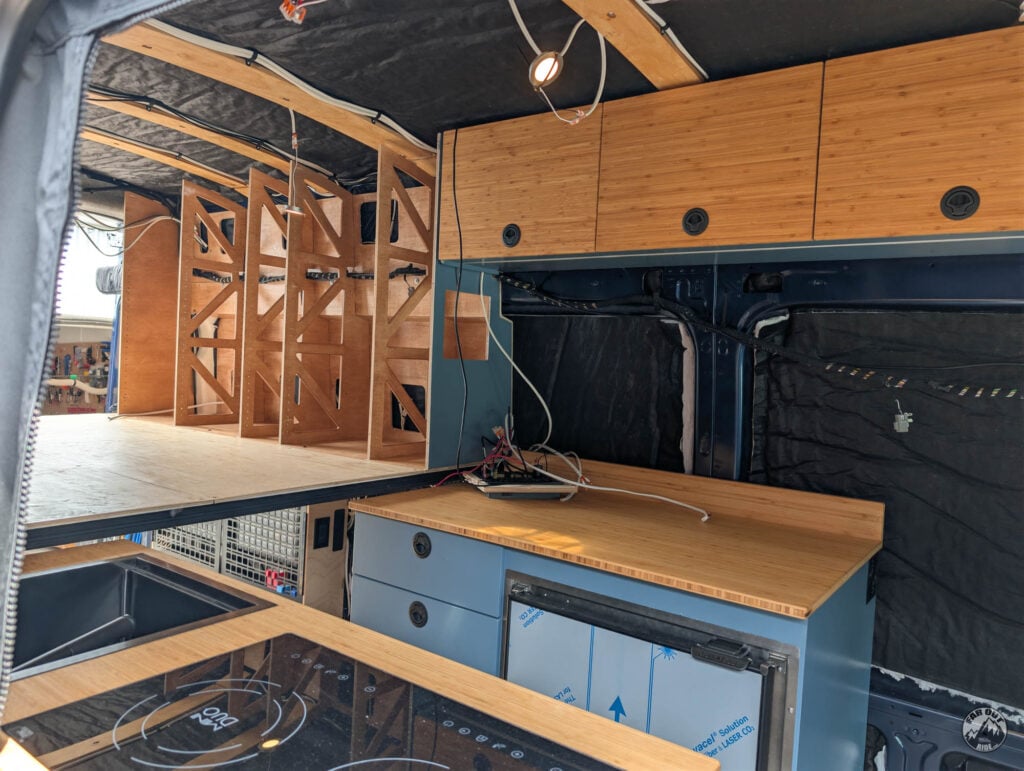
We loaded the cabinet from the back of the van, front down, and flipped it up. It’s tight but it works! This photo was taken before adding the face and top panel, but you get the idea:
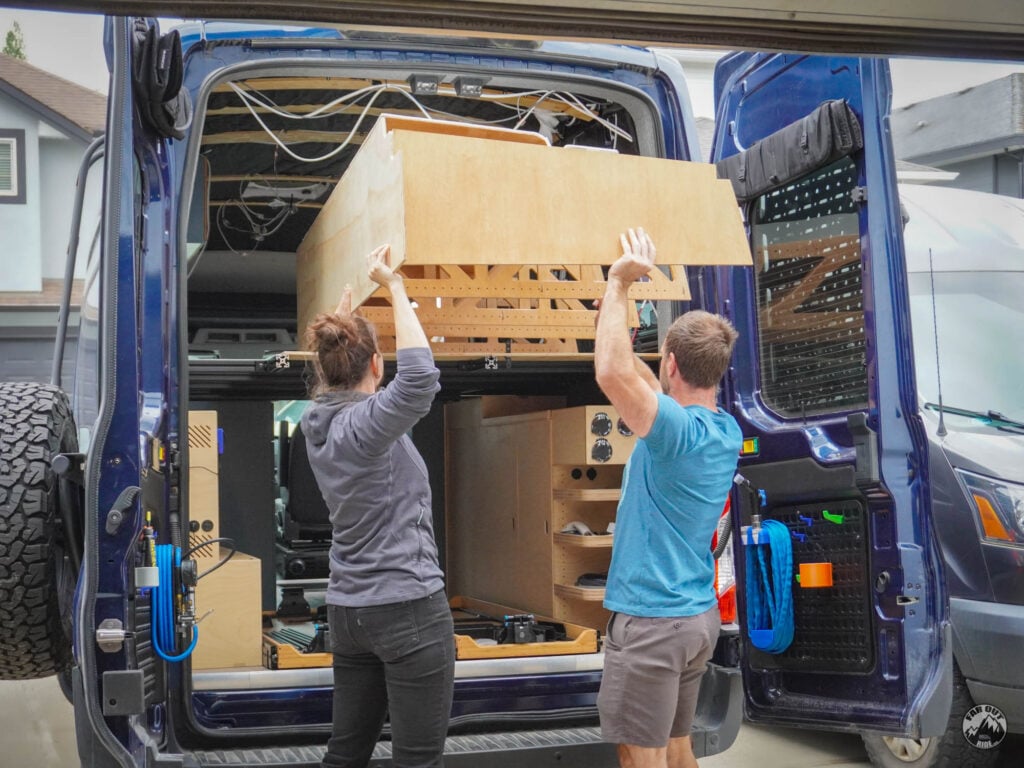
Be careful not to pinch or force the van’s wiring harness during these steps!
Wall (van)
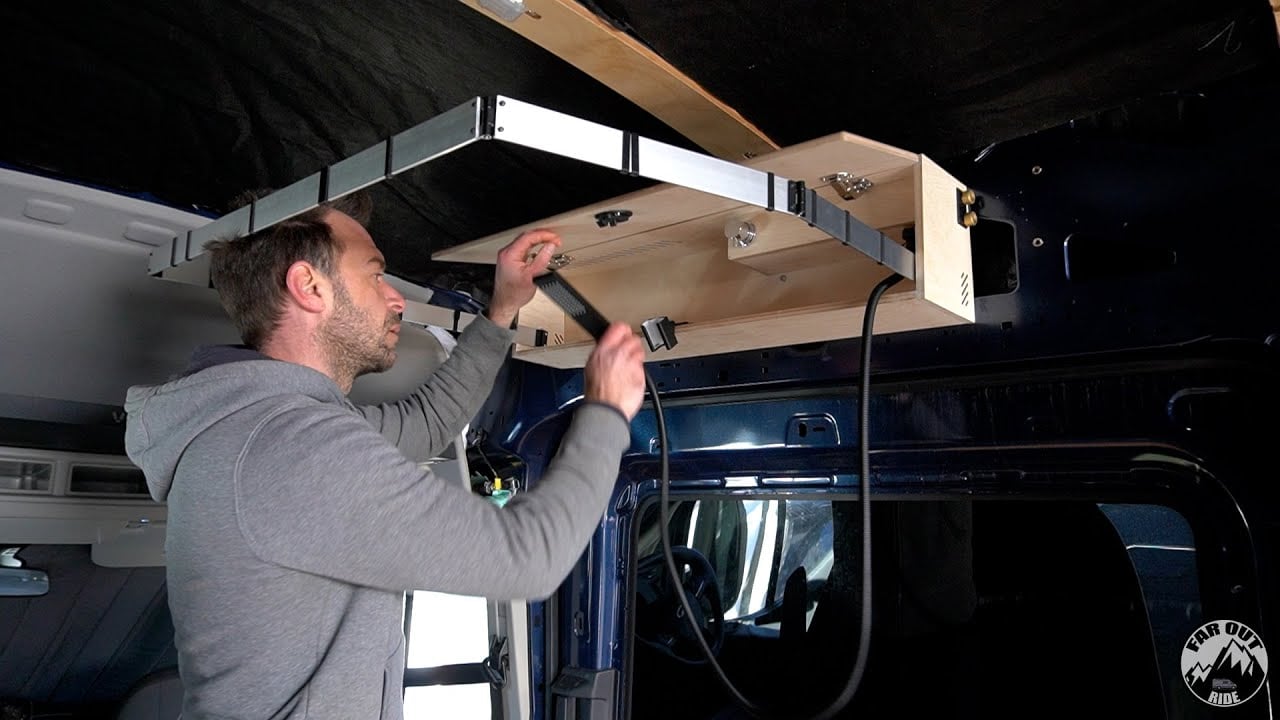
The wall panel (top piece) goes first, M6 flanged button head screws into the rivet nuts. It’s separate from the cabinet, so that we can install the cubbies “over” the wiring harness:
And there goes the cabinet:
That photo was taken before installing the front:
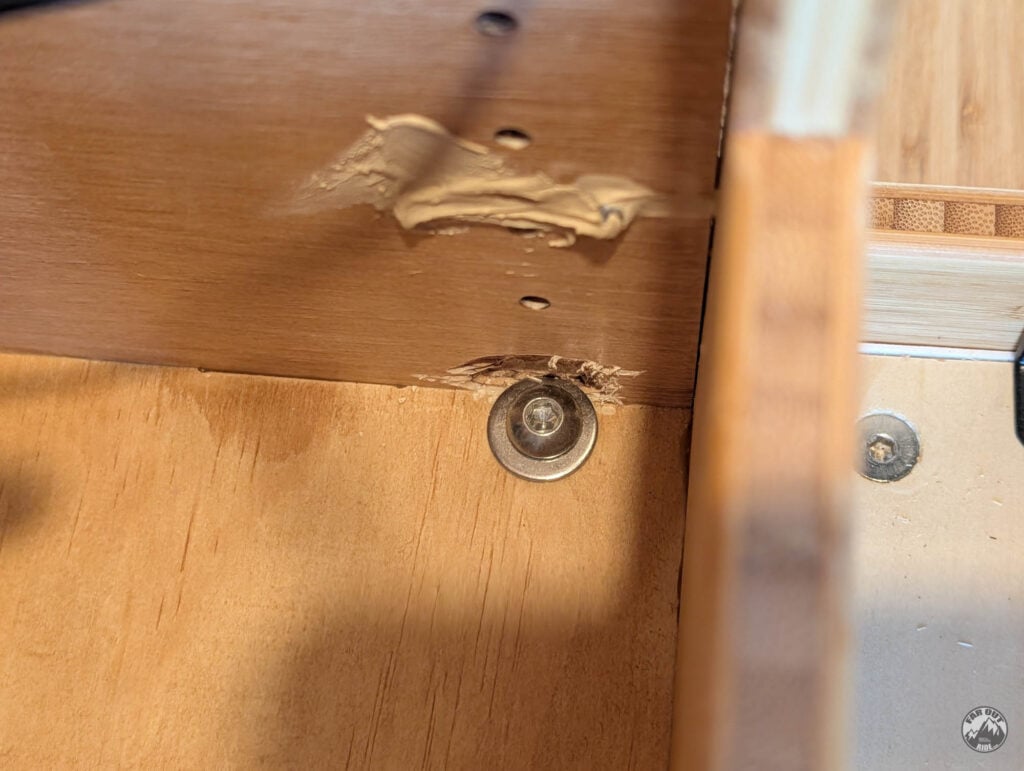
Because the bed height was slightly off (like 2-3mm), we had to enlarge the holes with a Dremel. We used fender washers under the M6 screw:

Bottom (80/20 Bed Frames)
We used 5/16″-18 x 3/4″ stainless button head screws with washers to fasten the bottom to the 80/20 frames:
We had to grind (with a Dremel) at the front of the cabinet. Not pretty, but it’s out of sight:
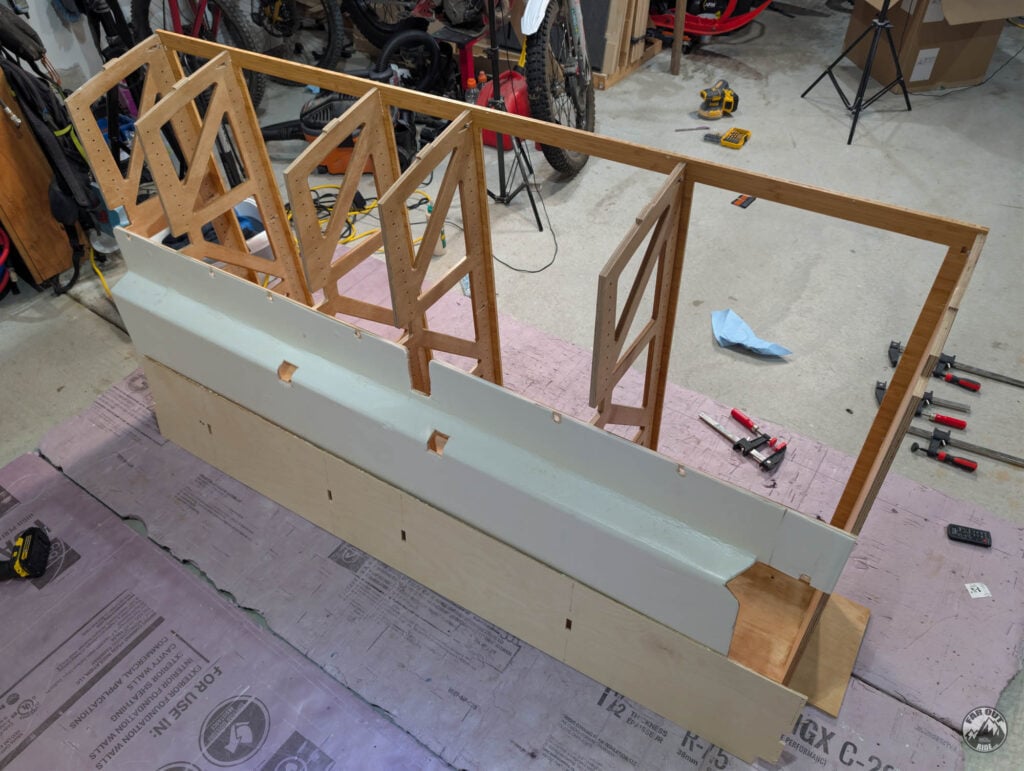
Ford Transit wiring harness routing
It’s a common question online: what do you do with the Ford Transit wiring harness? We wouldn’t dare relocate it (splice it), sounds a bit risky for such a critical part, so here’s how we dealt with it.
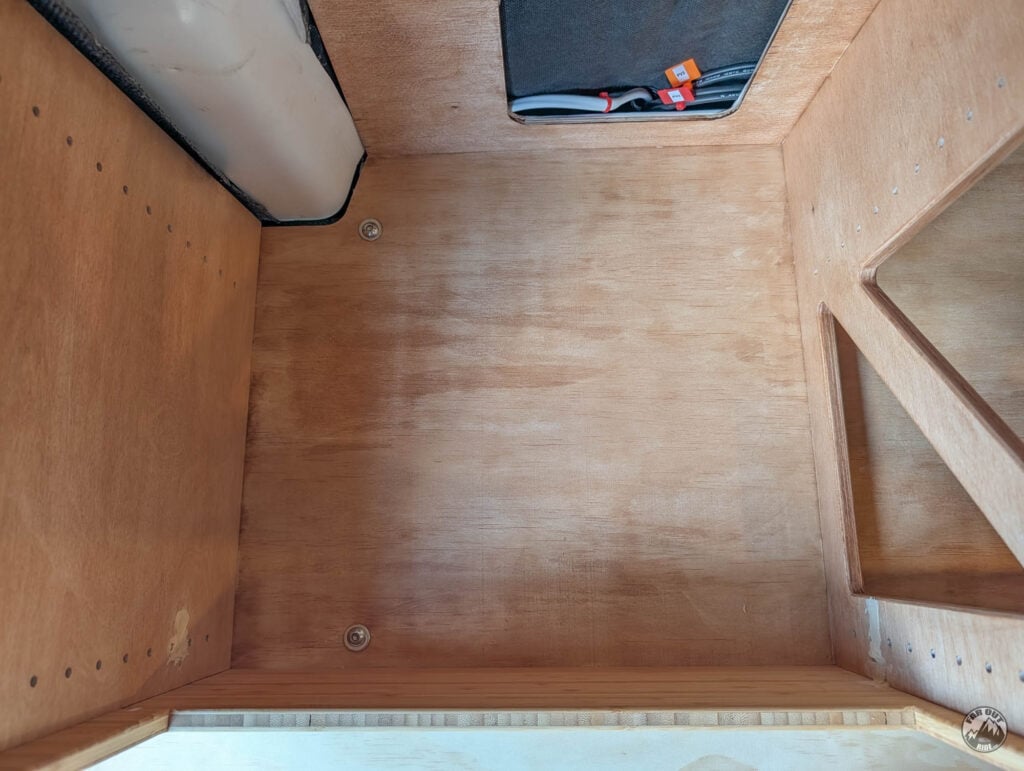
It enters through a cutout at the front of the bedroom storage cabinet:
Each divider has a cutout in the back to route the wiring harness:
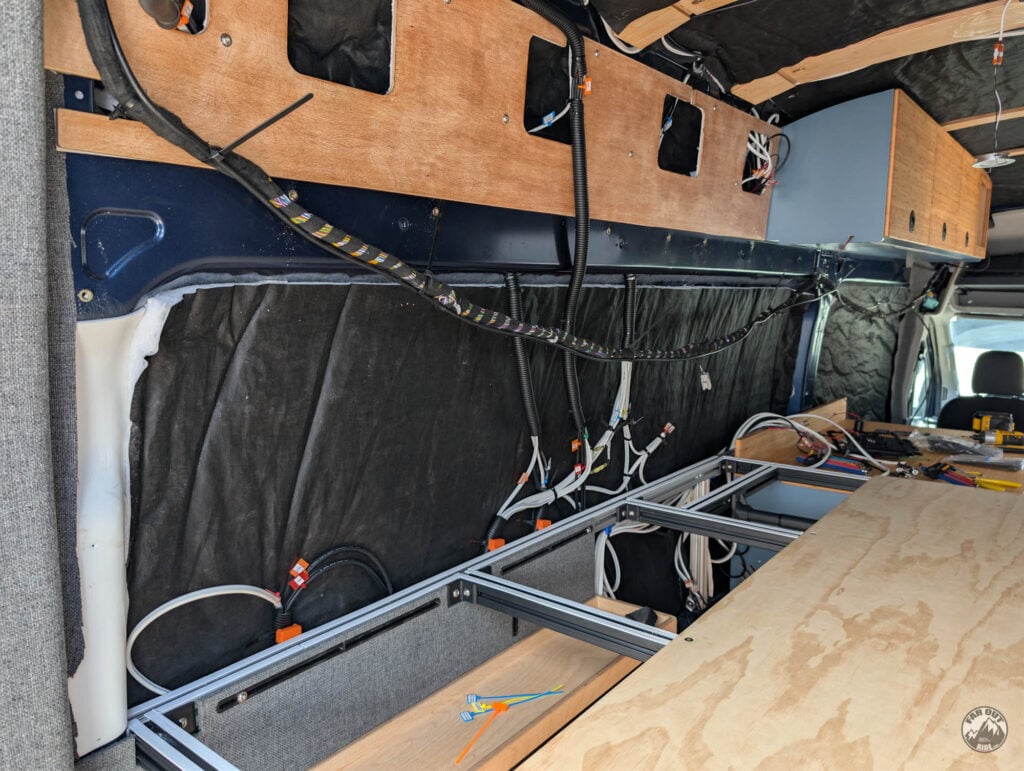
Wiring harness routing through the cubbies:
We designed and 3D printed a conduit to hide the harness. Clamps are installed first:
Then the conduit itself snaps over the clamps:
Shelves Installation

FarOutVan 2 Dashboard
The dashboard is still in progress (we’ll remove the USB outlet, and add a switch for Starlink, and what else?), but we installed it temporarily so we can use it now.
- EcoFlow Power Kit Console
- Water Heater ON/OFF:
- Grey Tank Drain:
- Upper Cabinet LED:
- Water Pump ON/OFF
- Espar Heater Control
- USB Outlet
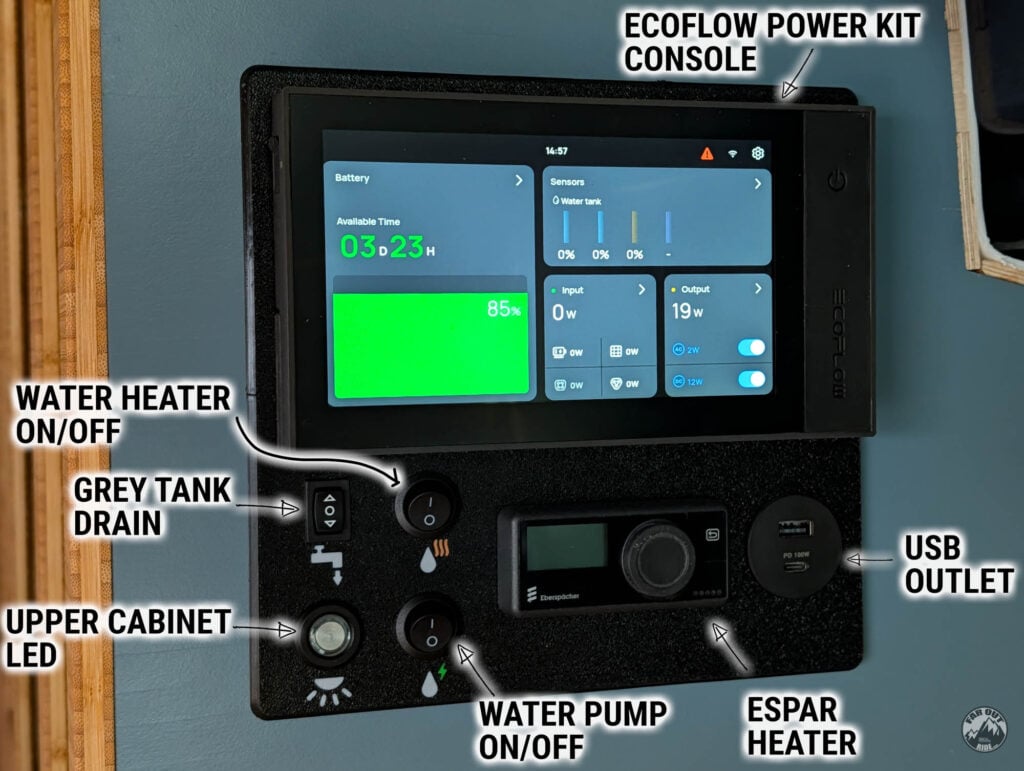
Front:
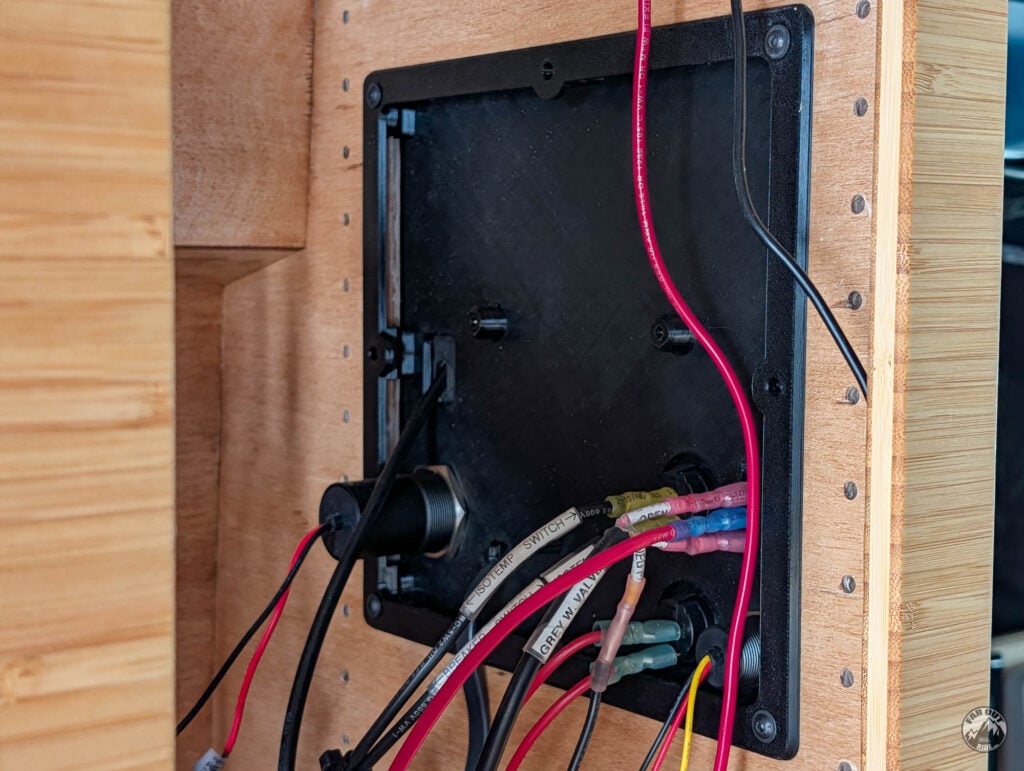
The back of the dashboard is still a mess, will make it tidy later!
On Second Thought…
Too soon!


