

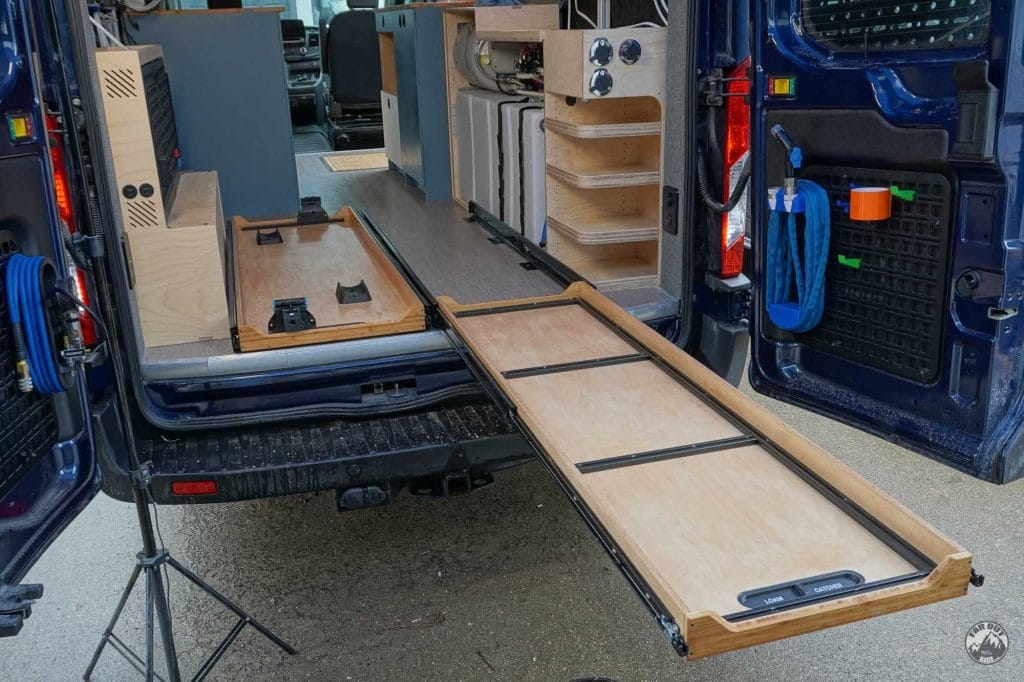
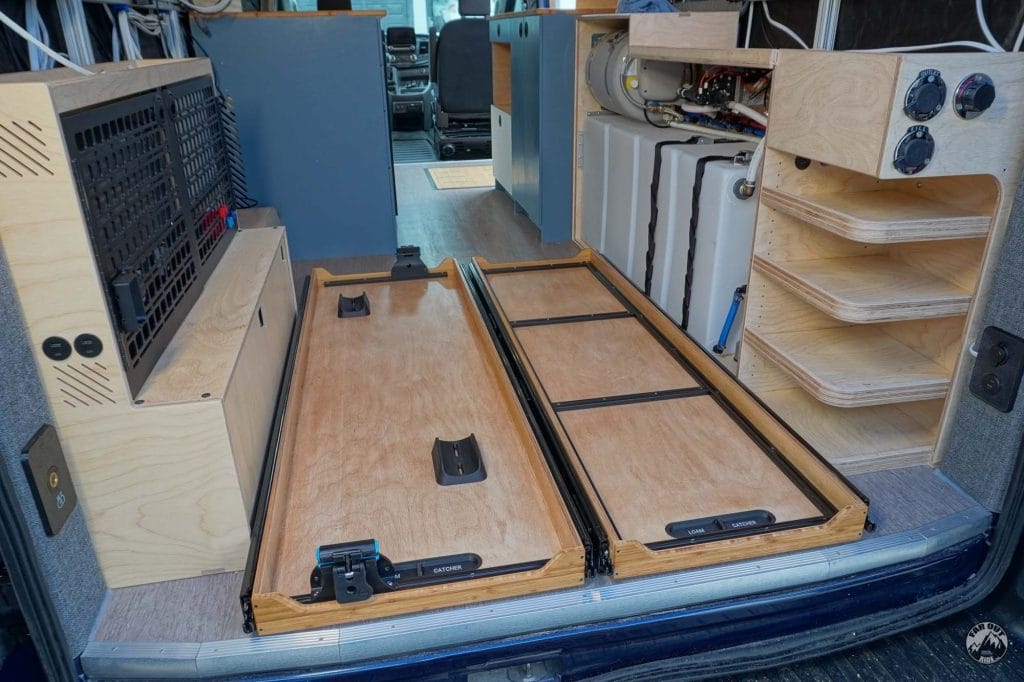
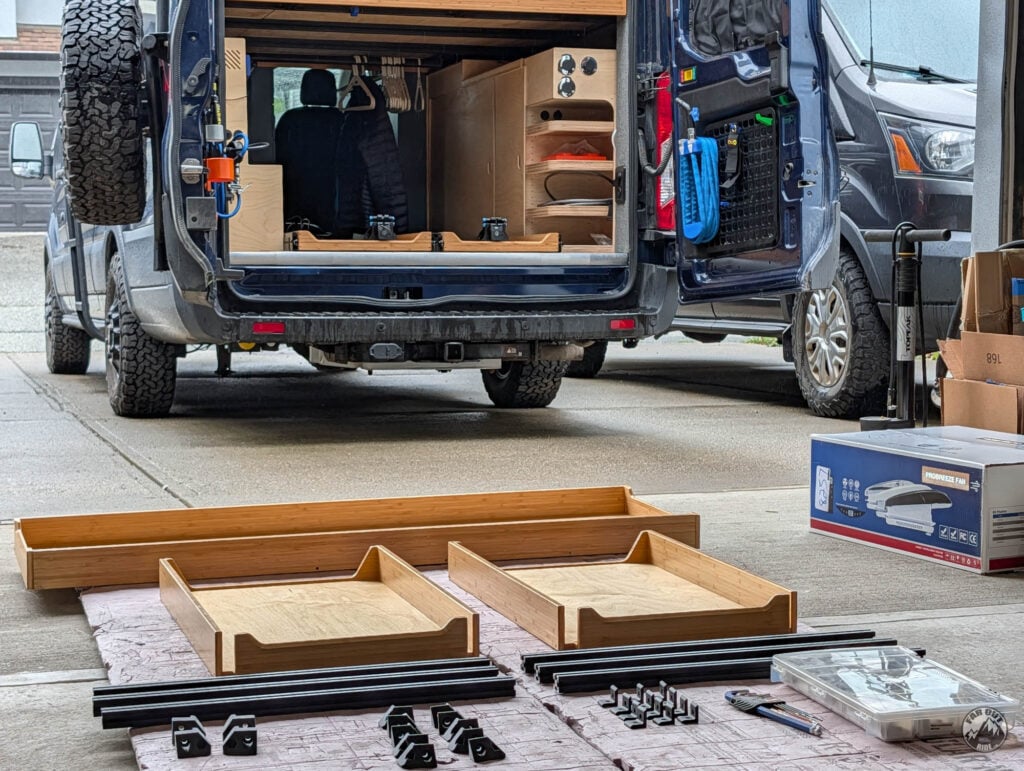
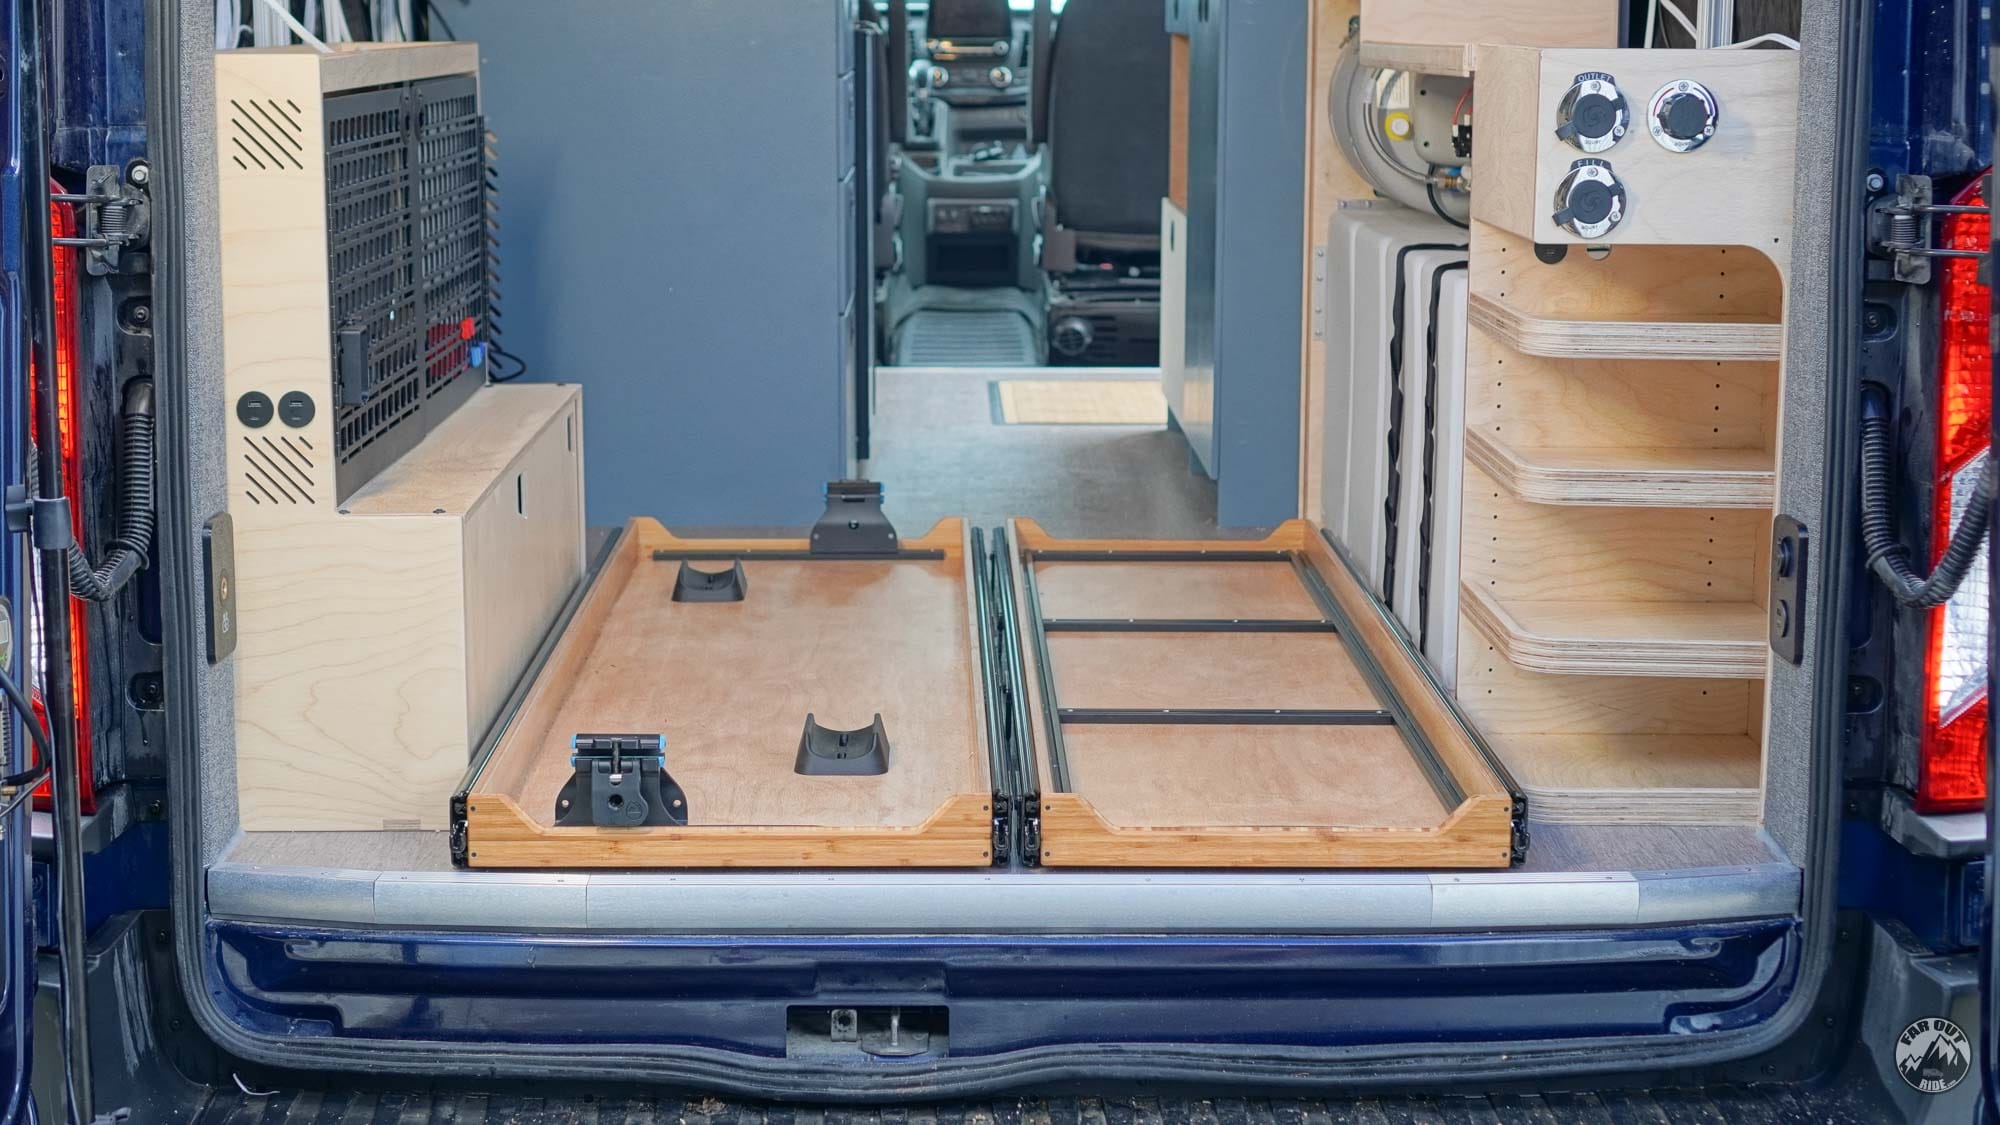
We’re big fans of pull-out drawers in the garage: the bike tray makes loading/unloading our bikes super easy, which is something we do almost daily when travelling in the van😏. The storage tray helps us stay organized, and there’s no need to crawl into the van to reach our gear. Here’s how we made them!
Material & Resources
Time
15 hours
Cost
$300 USD
(per drawer)
Weight
60 lbs
(per drawer, including 34 lbs slide)
Material
Trays
| ITEM | DESCRIPTION | QTY (per tray) | BUY |
|---|---|---|---|
| RockyMounts DropTop | Thru-axle mount for 12mm, 15mm, & 20mm axles up to 110mm wide. | 2 | Amazon |
| Drawer Slides with Lock | These are great, especially paired with the Heavy Duty brackets (below)! | 1 pair | Regular Black |
| Heavy Duty Brackets for Drawer Slides | These brackets are made specifically for the Vadania slides. No need for wooden sides (like we did in FarOutVan 1), neat! | 8 | Amazon |
| M6 x 6mm Stainless Sex Bolts, Black | To attach the slides to the Heavy Duty Brackets. | 8 | Amazon |
| M6 Stainless Washers | To attach the slides to the Heavy Duty Brackets. | 8 | Amazon |
| #12 x 1/2″ Stainless Pan Head Screws | To attach the tray to the slides. | 6 | Amazon |
| 12mm (1/2″) Plywood | To make the tray. | Source Locally | |
| #4 x 1-1/4in Stainless Flat Head Screws | To clamp panels together during glue-op. | 30ish | Amazon |
| Wood Glue | Titebond III Ultimate Wood Glue. | 1 | Amazon |
| Sanding Disks for Orbital Sander | To prep for coating, and sand between coats. | 1 | Amazon |
| Polyurethane Sealant | To seal/protect the cabinet. | 1 | Amazon |
| Spray Paint | To color-match the brackets with the slides. | 1 | Amazon |
| Stain | To stain the trays. | 1 | Amazon |
| M6 x 12mm Stainless Thread Inserts | To attach the trays to the van’s floor. (Threaded inserts are ideal for assembly/disassembly). | 8 | Amazon |
| M6 x 16mm Stainless Flanged Button Head Screws | To attach the trays to the van’s floor. | 8 | Amazon |
| 3D Printed Thingies | 3D print files for the loam catcher & rear wheel support. | FarOutRide |
Storage Module
| ITEM | DESCRIPTION | QTY | BUY |
|---|---|---|---|
| 24″ x 1010 Aluminum Extrusion | Legs for storage module | 6 | Amazon |
| Corner Brackets (10-Series) | To fasten the legs to the tray | 6 | Amazon |
| Shelf Brackets | 3D printed brackets we made. You can tweak the design to use regular corner brackets! | 14 | FarOutRide |
| 1/4-20 x 1″ Flanged Button Head Screws | To fasten the shelves to the brackets | 14 | McMaster-Carr |
| 1/4-20 x 1/2″ Flanged Button Head Screws | To fasten the brackets to the legs | 14 | Amazon |
| 1/4-20 x 1/2″ Button Head Screws | To fasten the corner brackets | 12 | Amazon |
| 1/4-20 Slide-In T-Nuts | To fasten the screws to the legs | 20 | Amazon |
| 1/4-20 Roll-In T-Nuts | To fasten the screws to the tray | 6 | Amazon |
Fabrication
80/20 Tracks
We want our trays to be (somewhat) modular. For season change, or if our needs change later down the road. We considered L-Tracks, because they’re very common in van builds, but then, how about 80/20 “half” profile instead?
| Feature | L-Track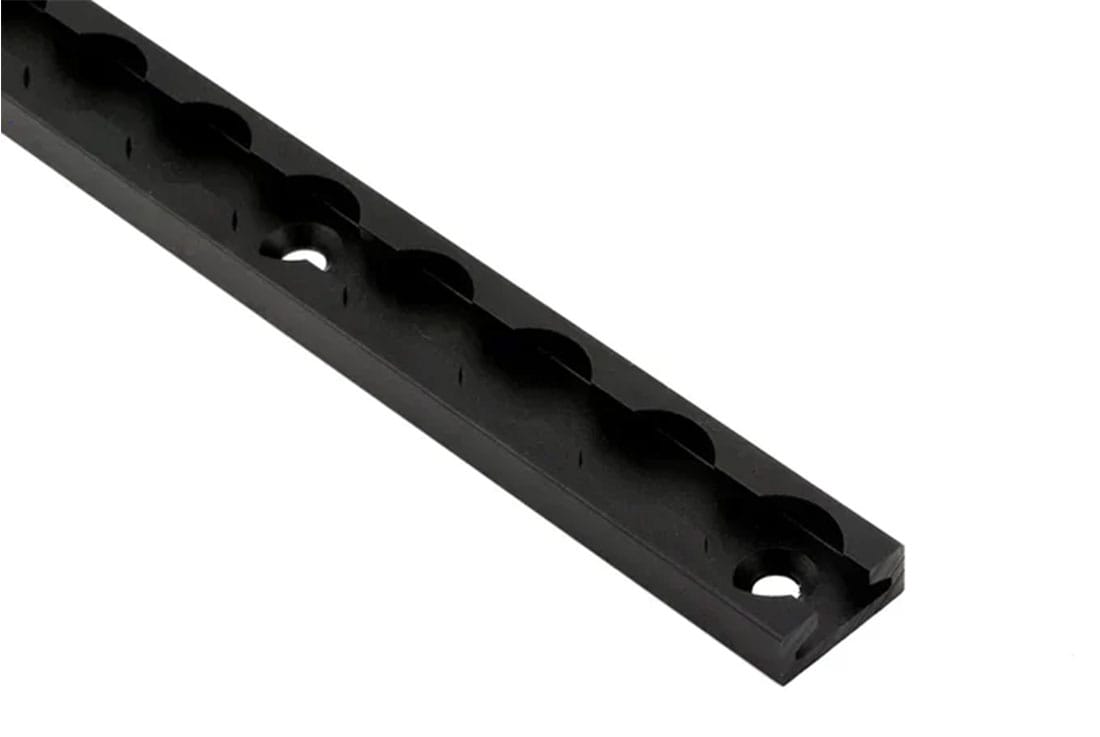 | 80/20 (1050 Half Profile)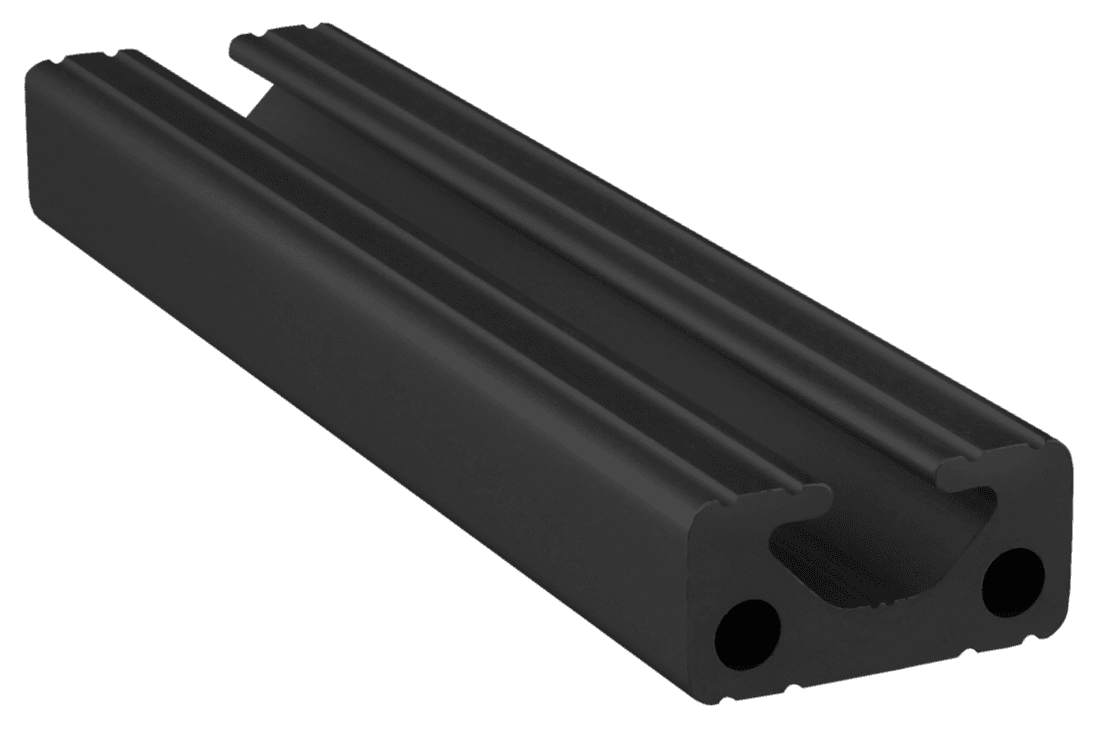 |
|---|---|---|
| Primary Use | Tie-down, securing gear, temporary mounts | Structural framing (cabinets, beds) |
| Adjustability | Incremental (every 1 inch) | Infinite |
| Height | 0.4″ | 0.5″ |
| Installation | Pre-drilled | Must be drilled |
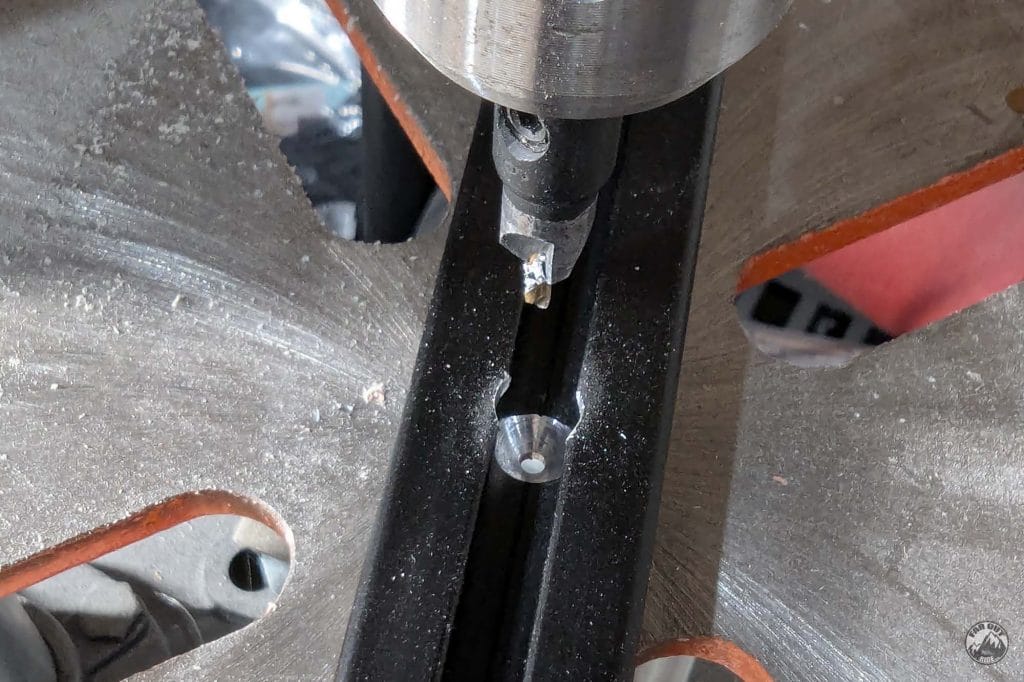
We’ll probably build some kind of 80/20 shelf unit into the storage tray at some point, so having 80/20 as a base makes sense to us. And we do like the 8020’s infinite adjustability, so let’s go! First, we need to add countersunk holes every 6-in or so:
I first used a center punch to mark the location of the holes every 6 in or so, then used a #4 countersink drill bit (this will dull the tool, it’s probably no good after…):
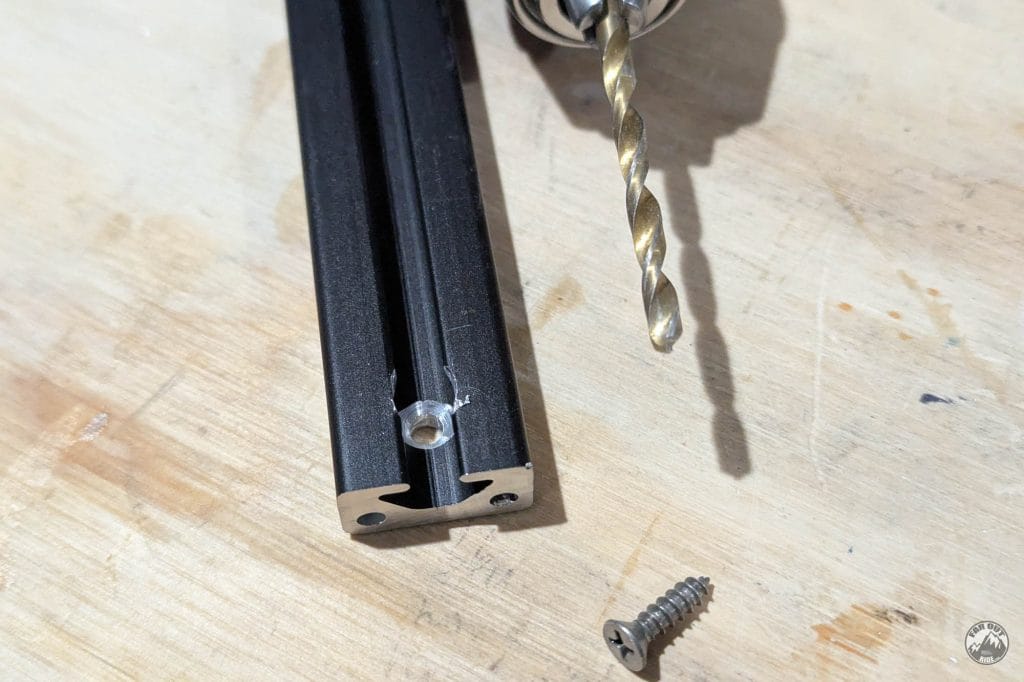
I then fully opened the holes with a #6 drill bit:
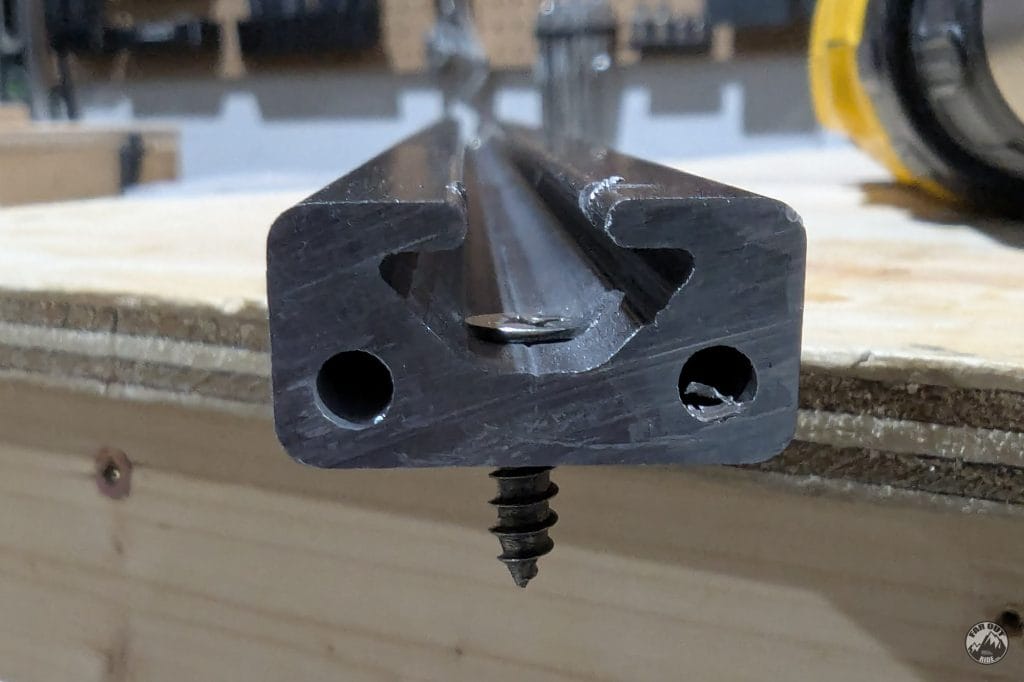
The #8 x 5/8″ Stainless Flat Head Screw sit flush with the bottom surface, so that t-nuts can still slide inside the profile:
Trays
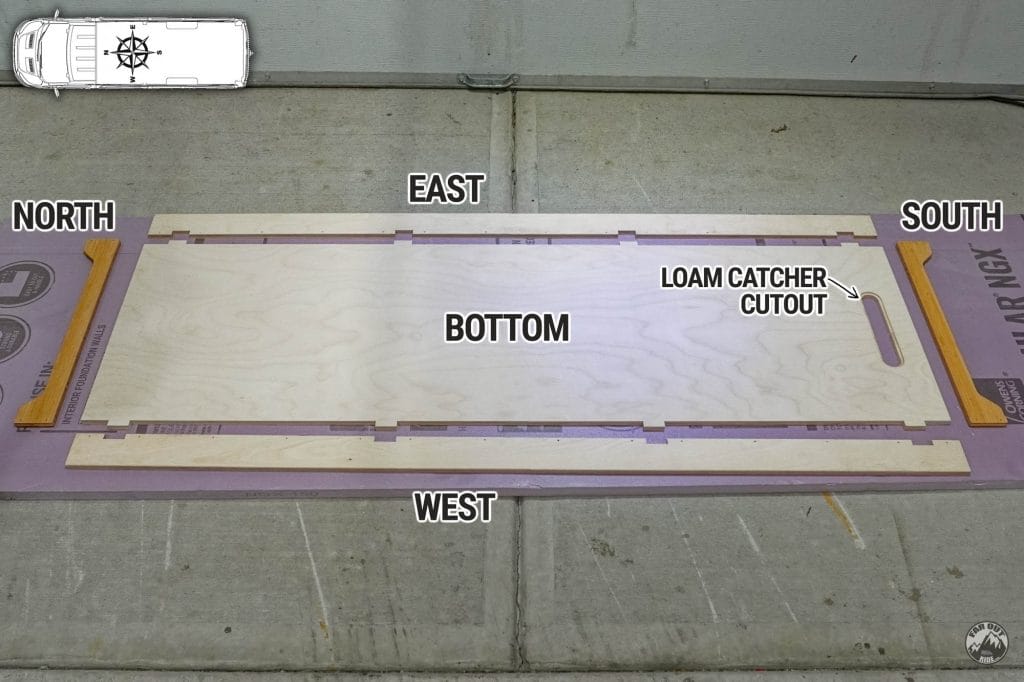
We first cut the parts. Bottom, East & West are 1/2″ Baltic birch, North & South are 1/2″ bamboo ply:
Apply glue to the mating surfaces:
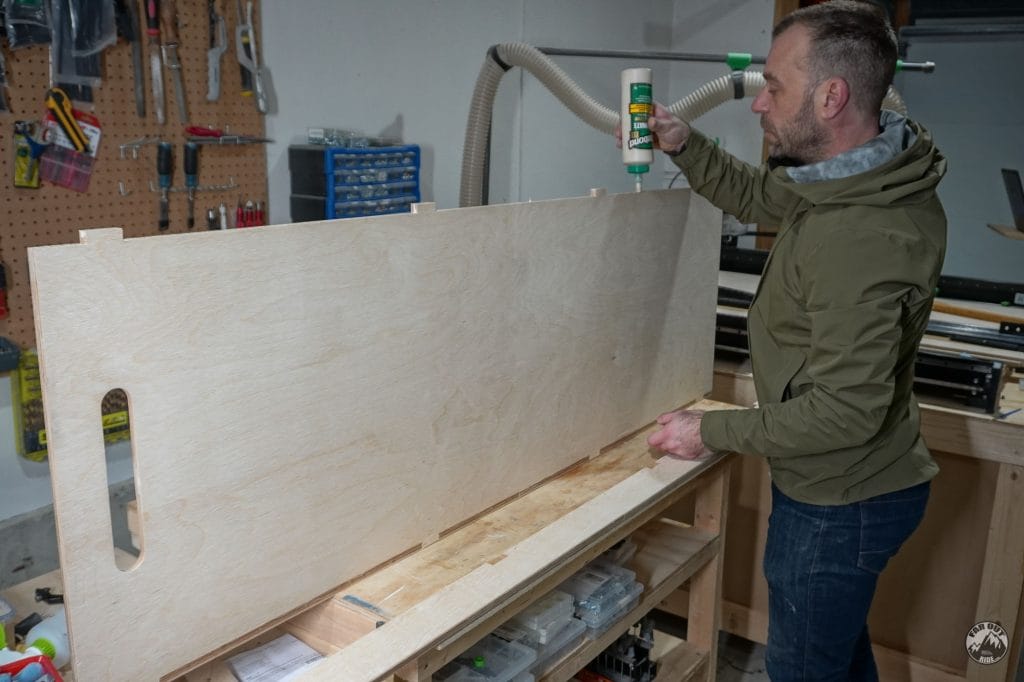
A hammer and some clamps helped assemble the finger joints together:
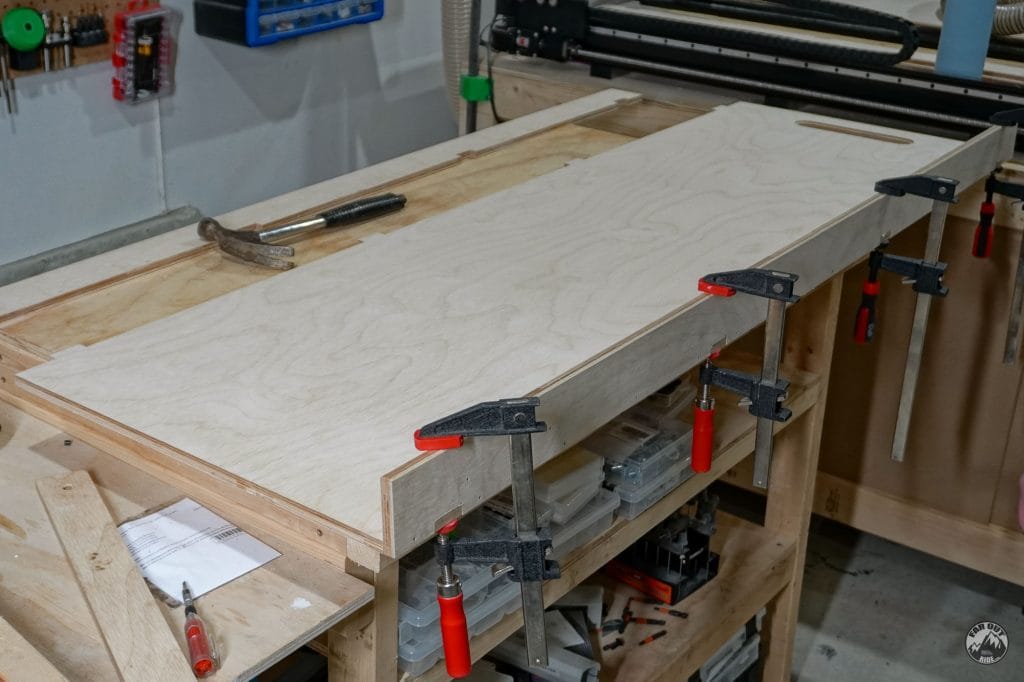
#4 x 1-1/4″ stainless screws keep the side clamped to the bottom while the glue cures:
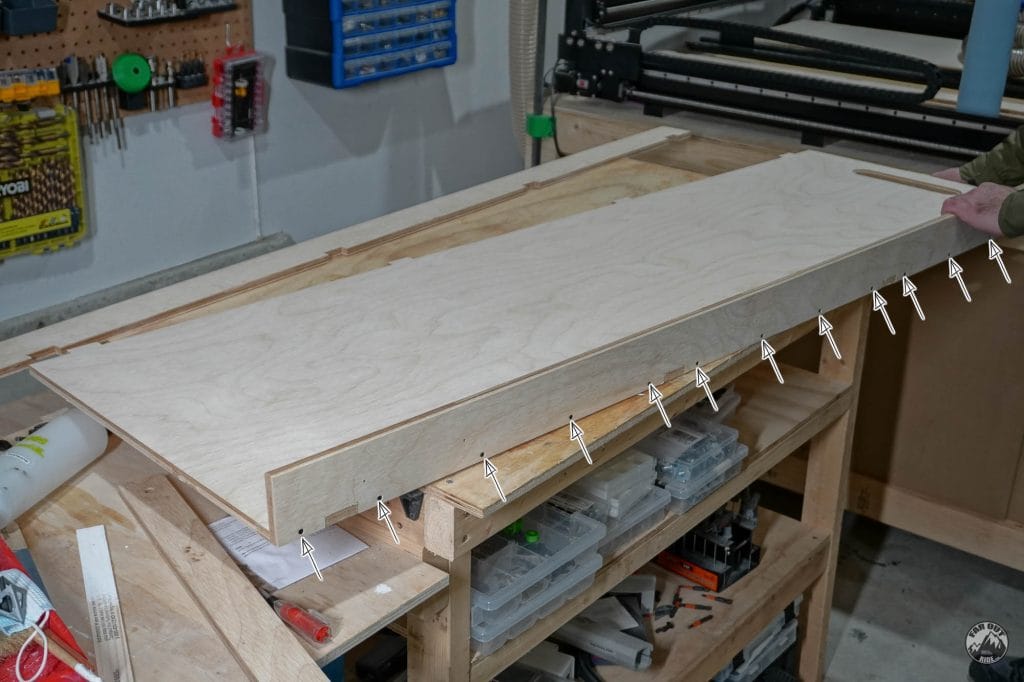
With the bottom & sides assembled, we finished as follows:
- Sand to 220 grit with orbital sander.
- Apply a layer of water-based polyurethane (wait 2-4 hours).
- Sand to 220 grit.
- Apply another layer of polyurethane (wait 2-4 hours).
- Sand to 220 grit.
- Stain (wait overnight).
- We applied stain after two layers of polyurethane, because we found this minimizes blotching (which Baltic birch is very prone to).
- No sanding here!
- Polyurethane (wait 2-4 hours).
- Sand to 400 grit.
- Polyurethane.
That’s a lot of layers, but the bike tray must be sealed properly against water!
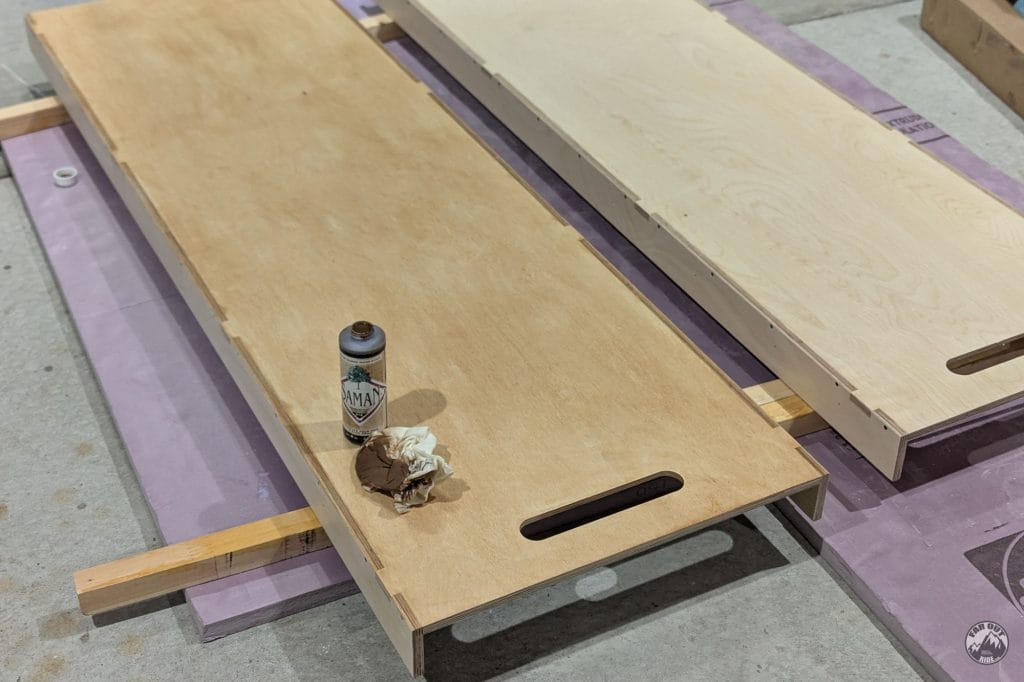
Sanding between each coat (except we didn’t sand after stain):
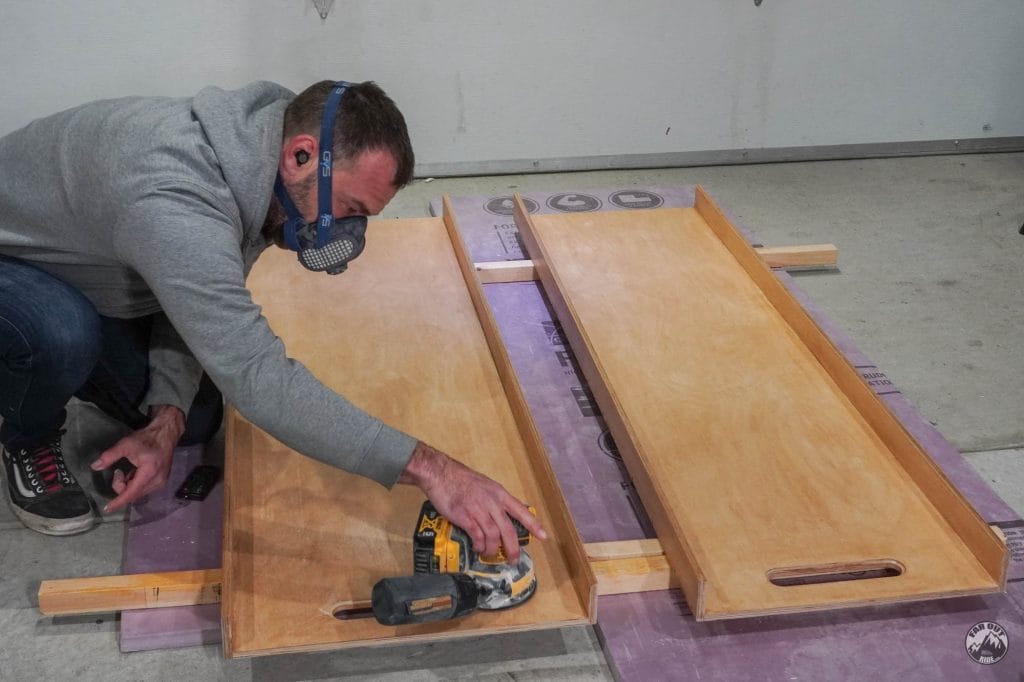
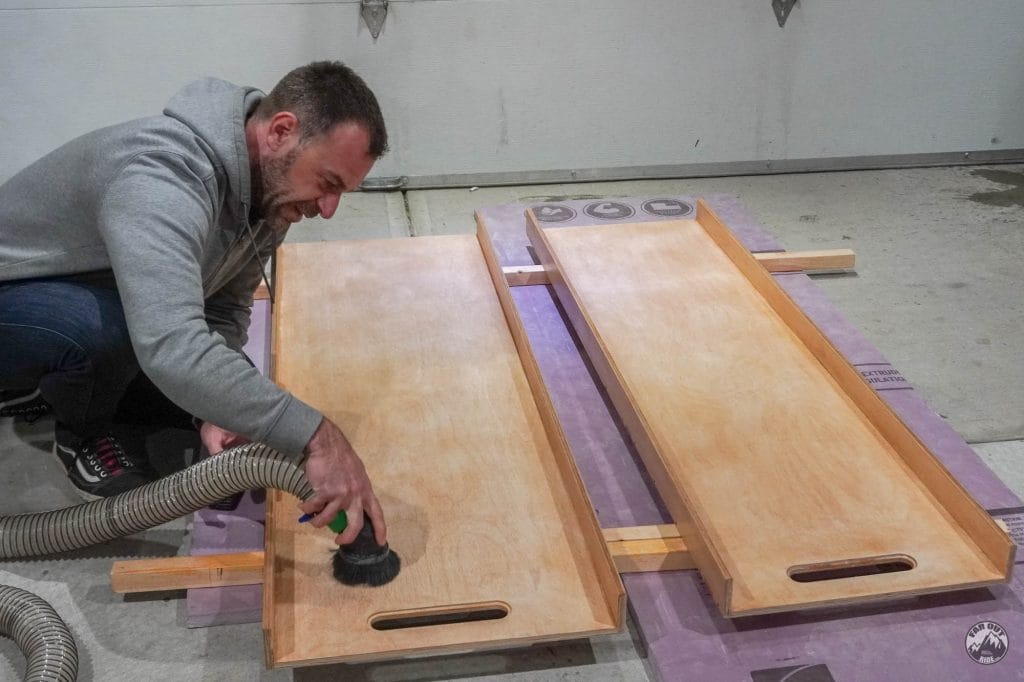
Remove dust before applying stain or sealant:
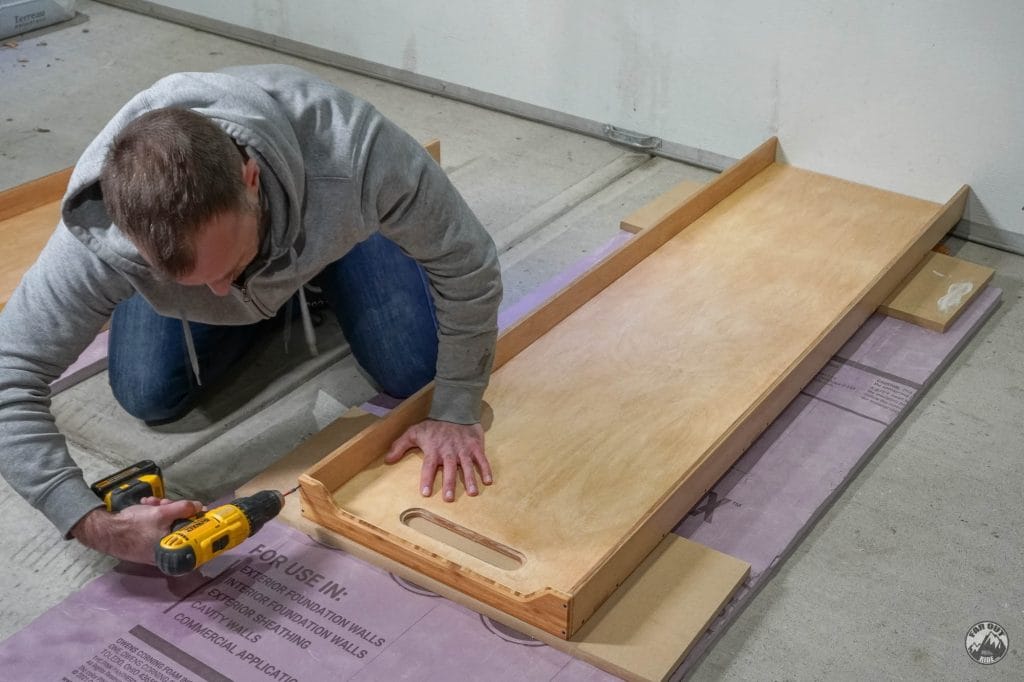
After finishing the drawer, we add the South and North faces (using glue and #4 x 1-1/4″ screws):
Bike Tray
I previously made two 80/20-Tracks:
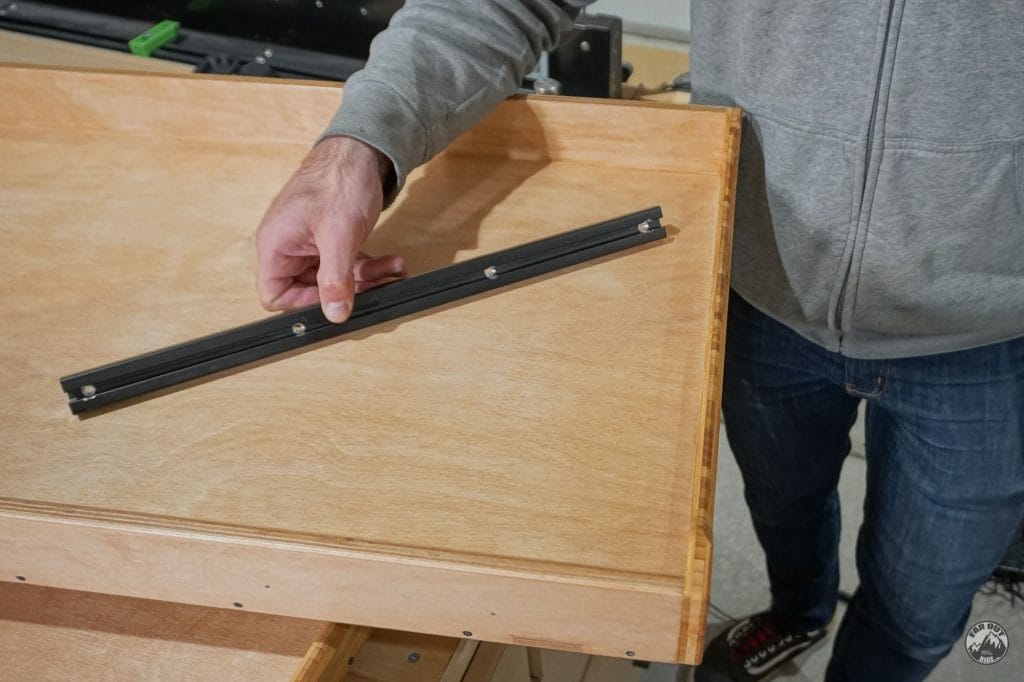
I first installed the RockyMounts DropTop into the 80/20-Track using M6x12mm stainless screws with M6 stainless T-Nuts:
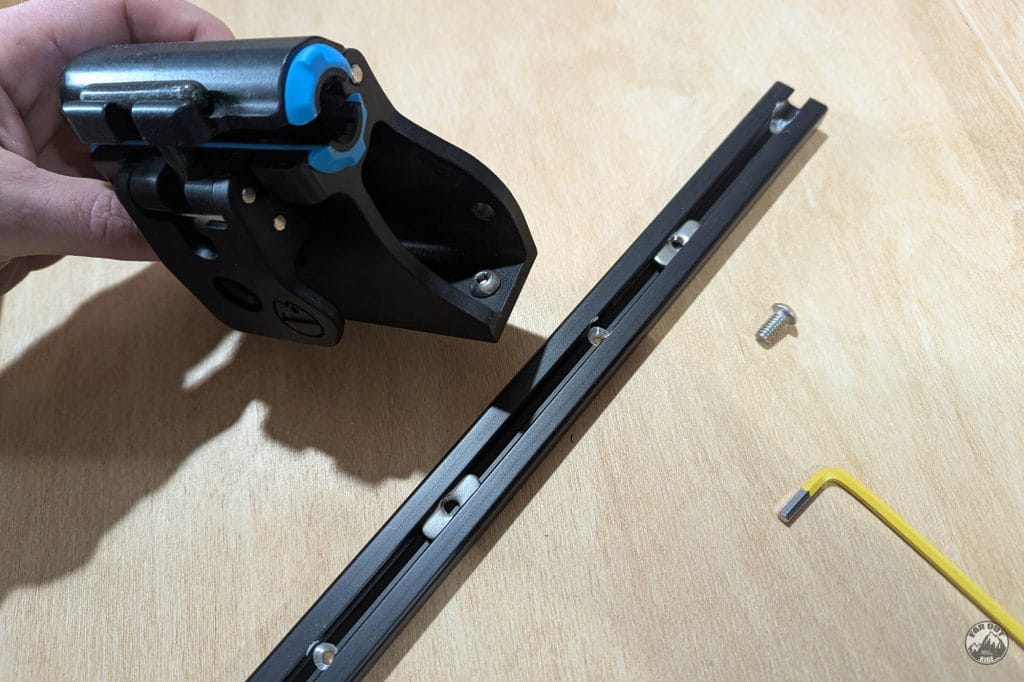
I used a shim to leave a 2–3 mm gap between the RockyMounts DropTop and the bamboo. The east & west tracks are temporary — I don’t plan to keep them, but I sized the front and rear tracks accordingly just in case I want to add them later:
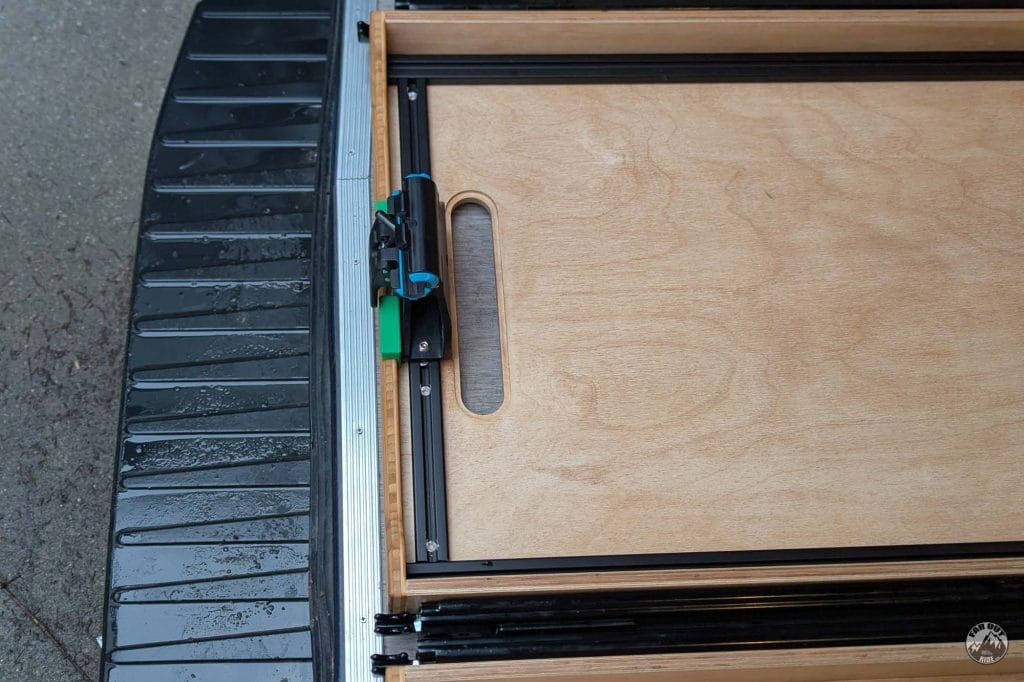
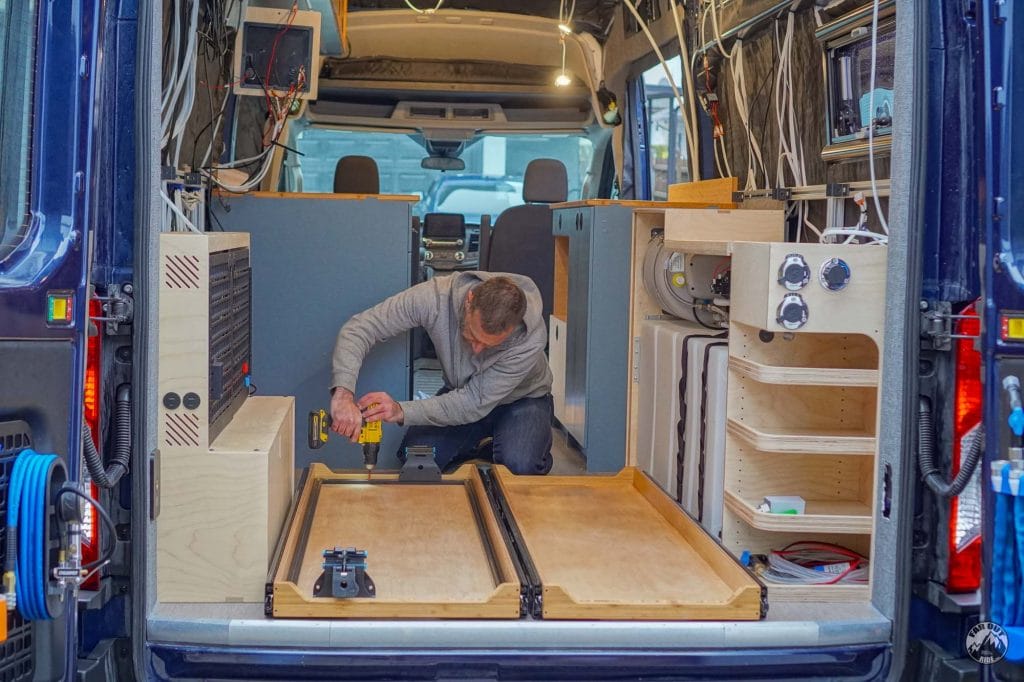
Oh boy, this is actually starting to look like an actual adventure van:
Storage Tray
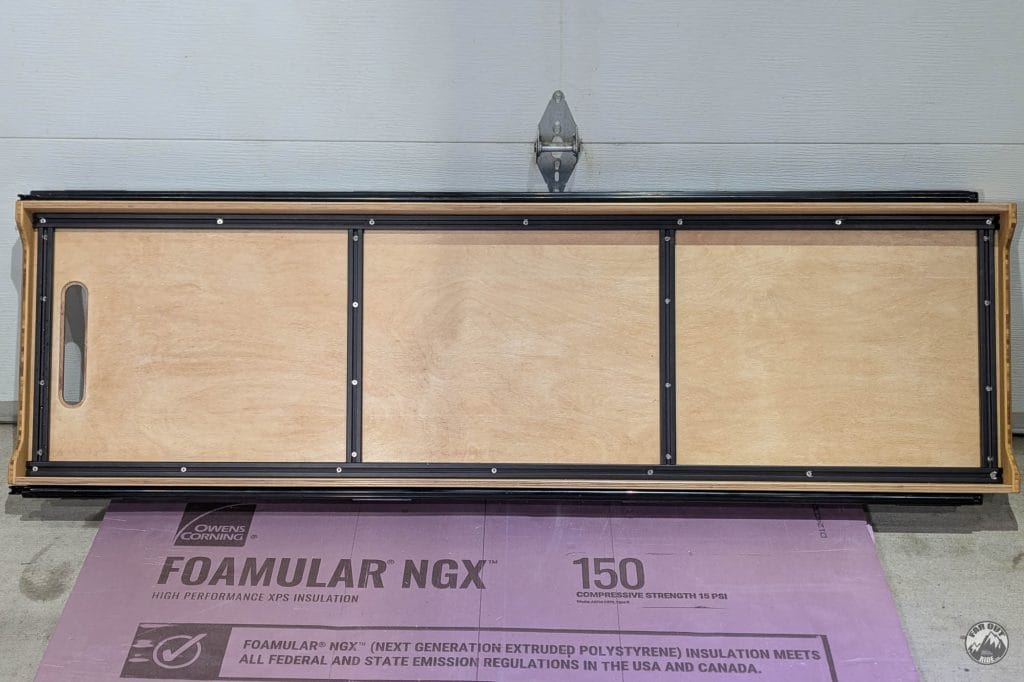
We added 80/20-Tracks around the perimeter and a few crossbars as well, for maximum modularity. The North and South crossbars are spaced from the bamboo panel to accept a RockyMounts Droptop (n+1 bikes!).
Storage Module
For now, we have built a “generic” storage module for the Storage Tray. It’ll be easy to modify it or build a season-specific one in the future if we have to.
We first cut the plywood (the bottom is Baltic birch, the sides are Bamboo ply), assembled, and finished with Oil-Based Polyurethane (we wanted to compare it with water-based polyurethane):
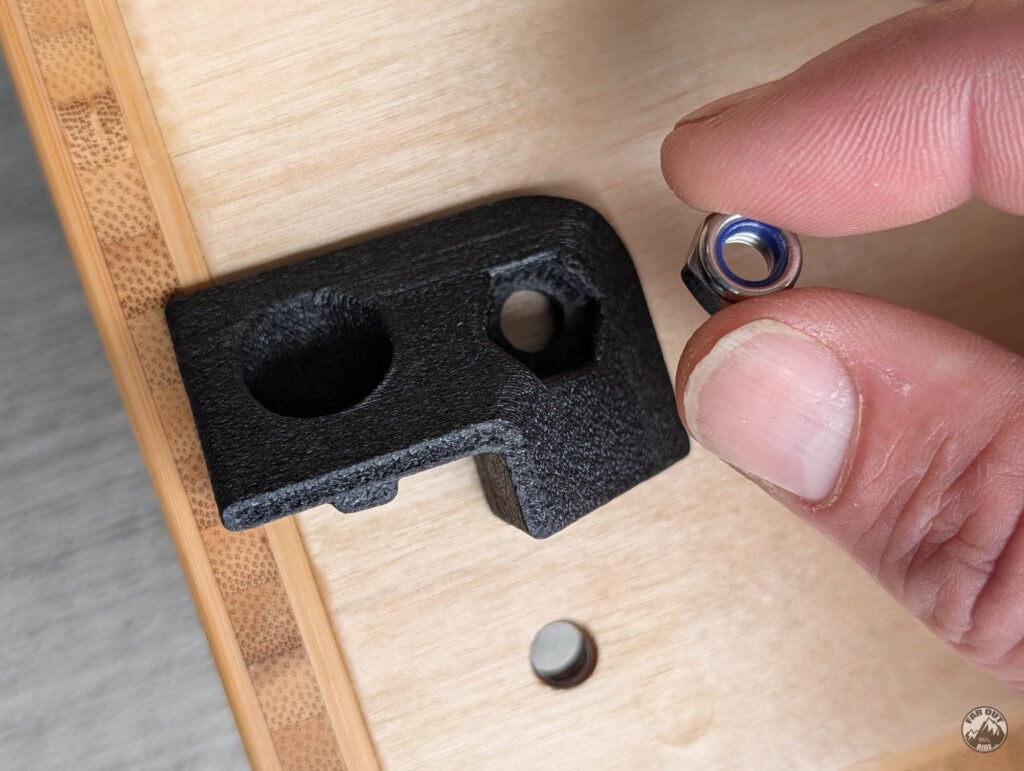
The 6 legs are fastened to the top shelf with 3D Printed Brackets that we designed. Here I am inserting a 1/4-20 Nyloc nut into the bracket:
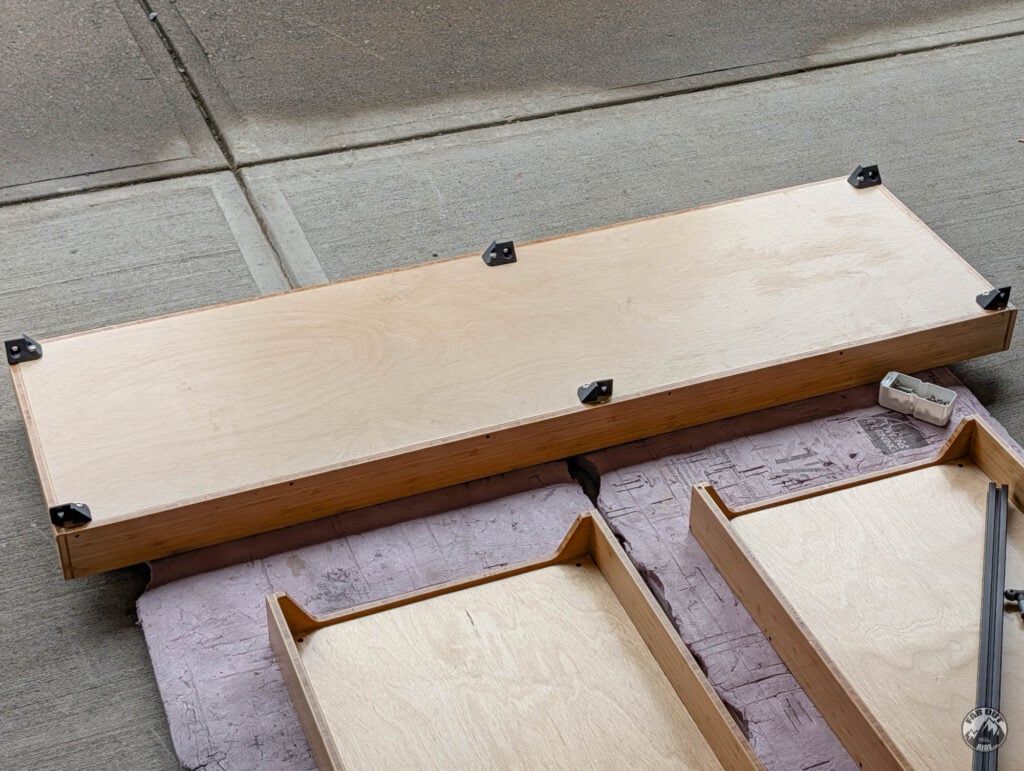
All brackets fastened to the top shelf:
The mid-shelves must be inserted before adding their brackets:
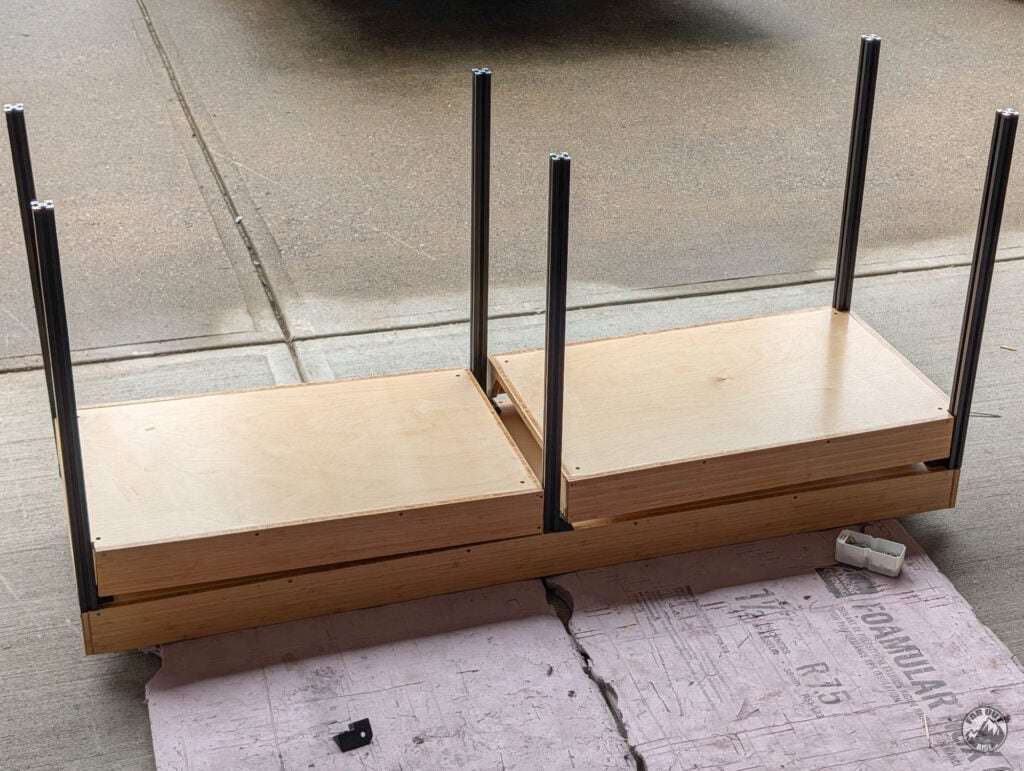
Mid-shelves brackets in place. The brackets slide along the 80/20 extrusions, so that the height is adjustable:
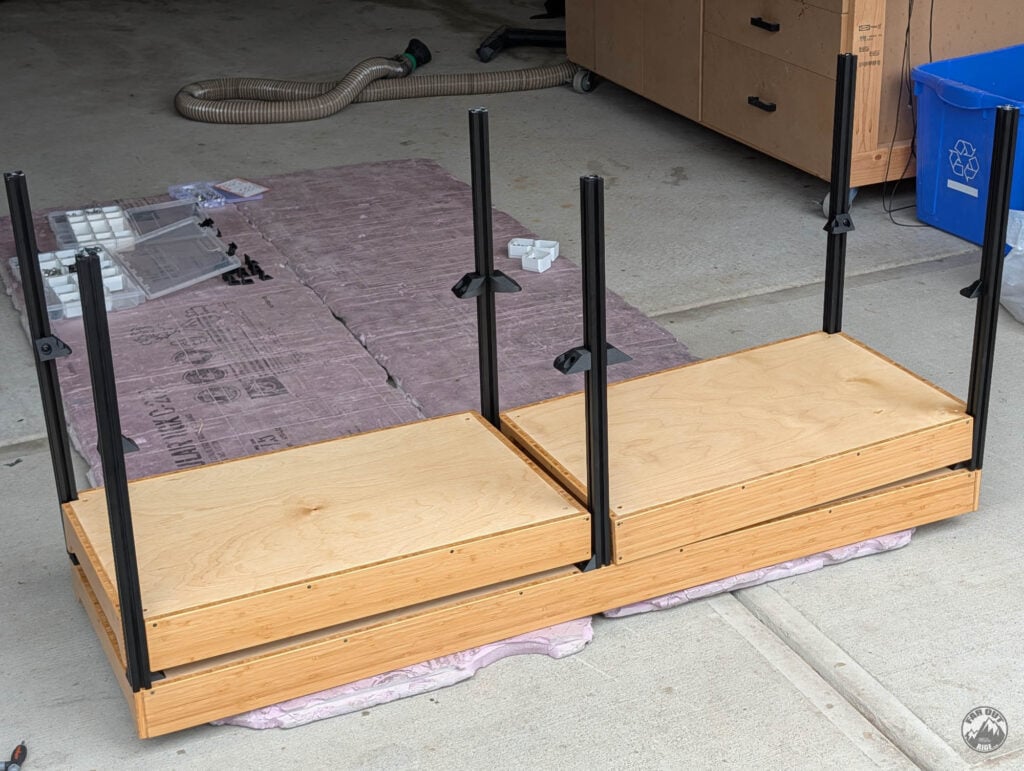
At this point, the module can stand free, and all brackets are loosely fastened:
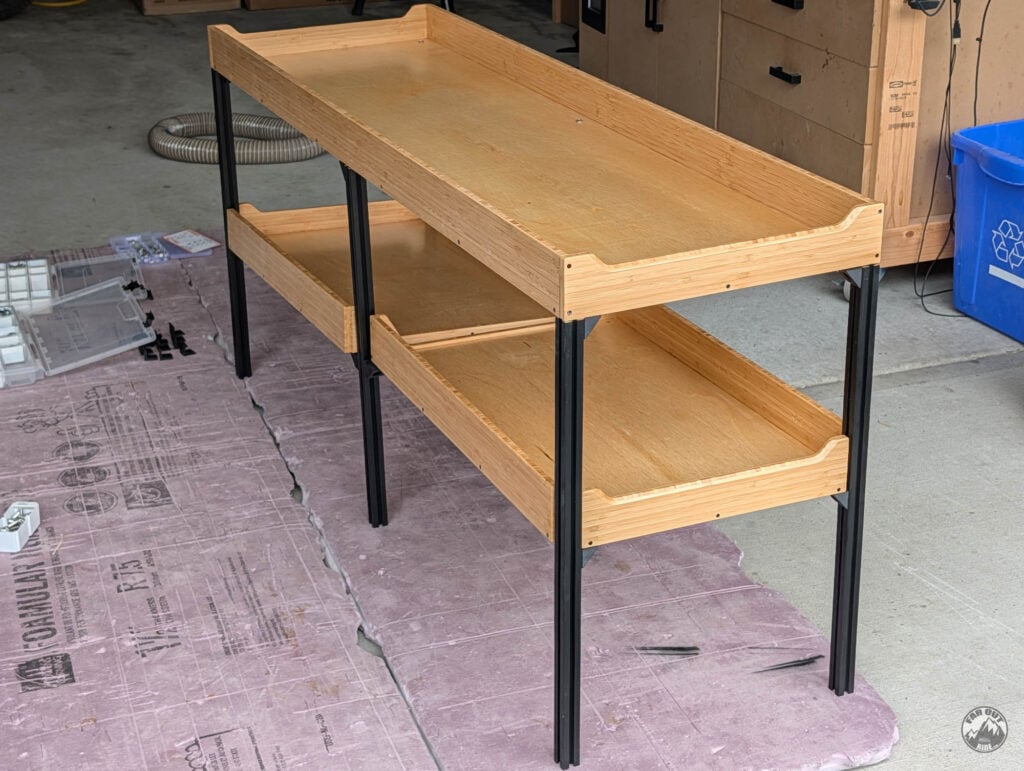
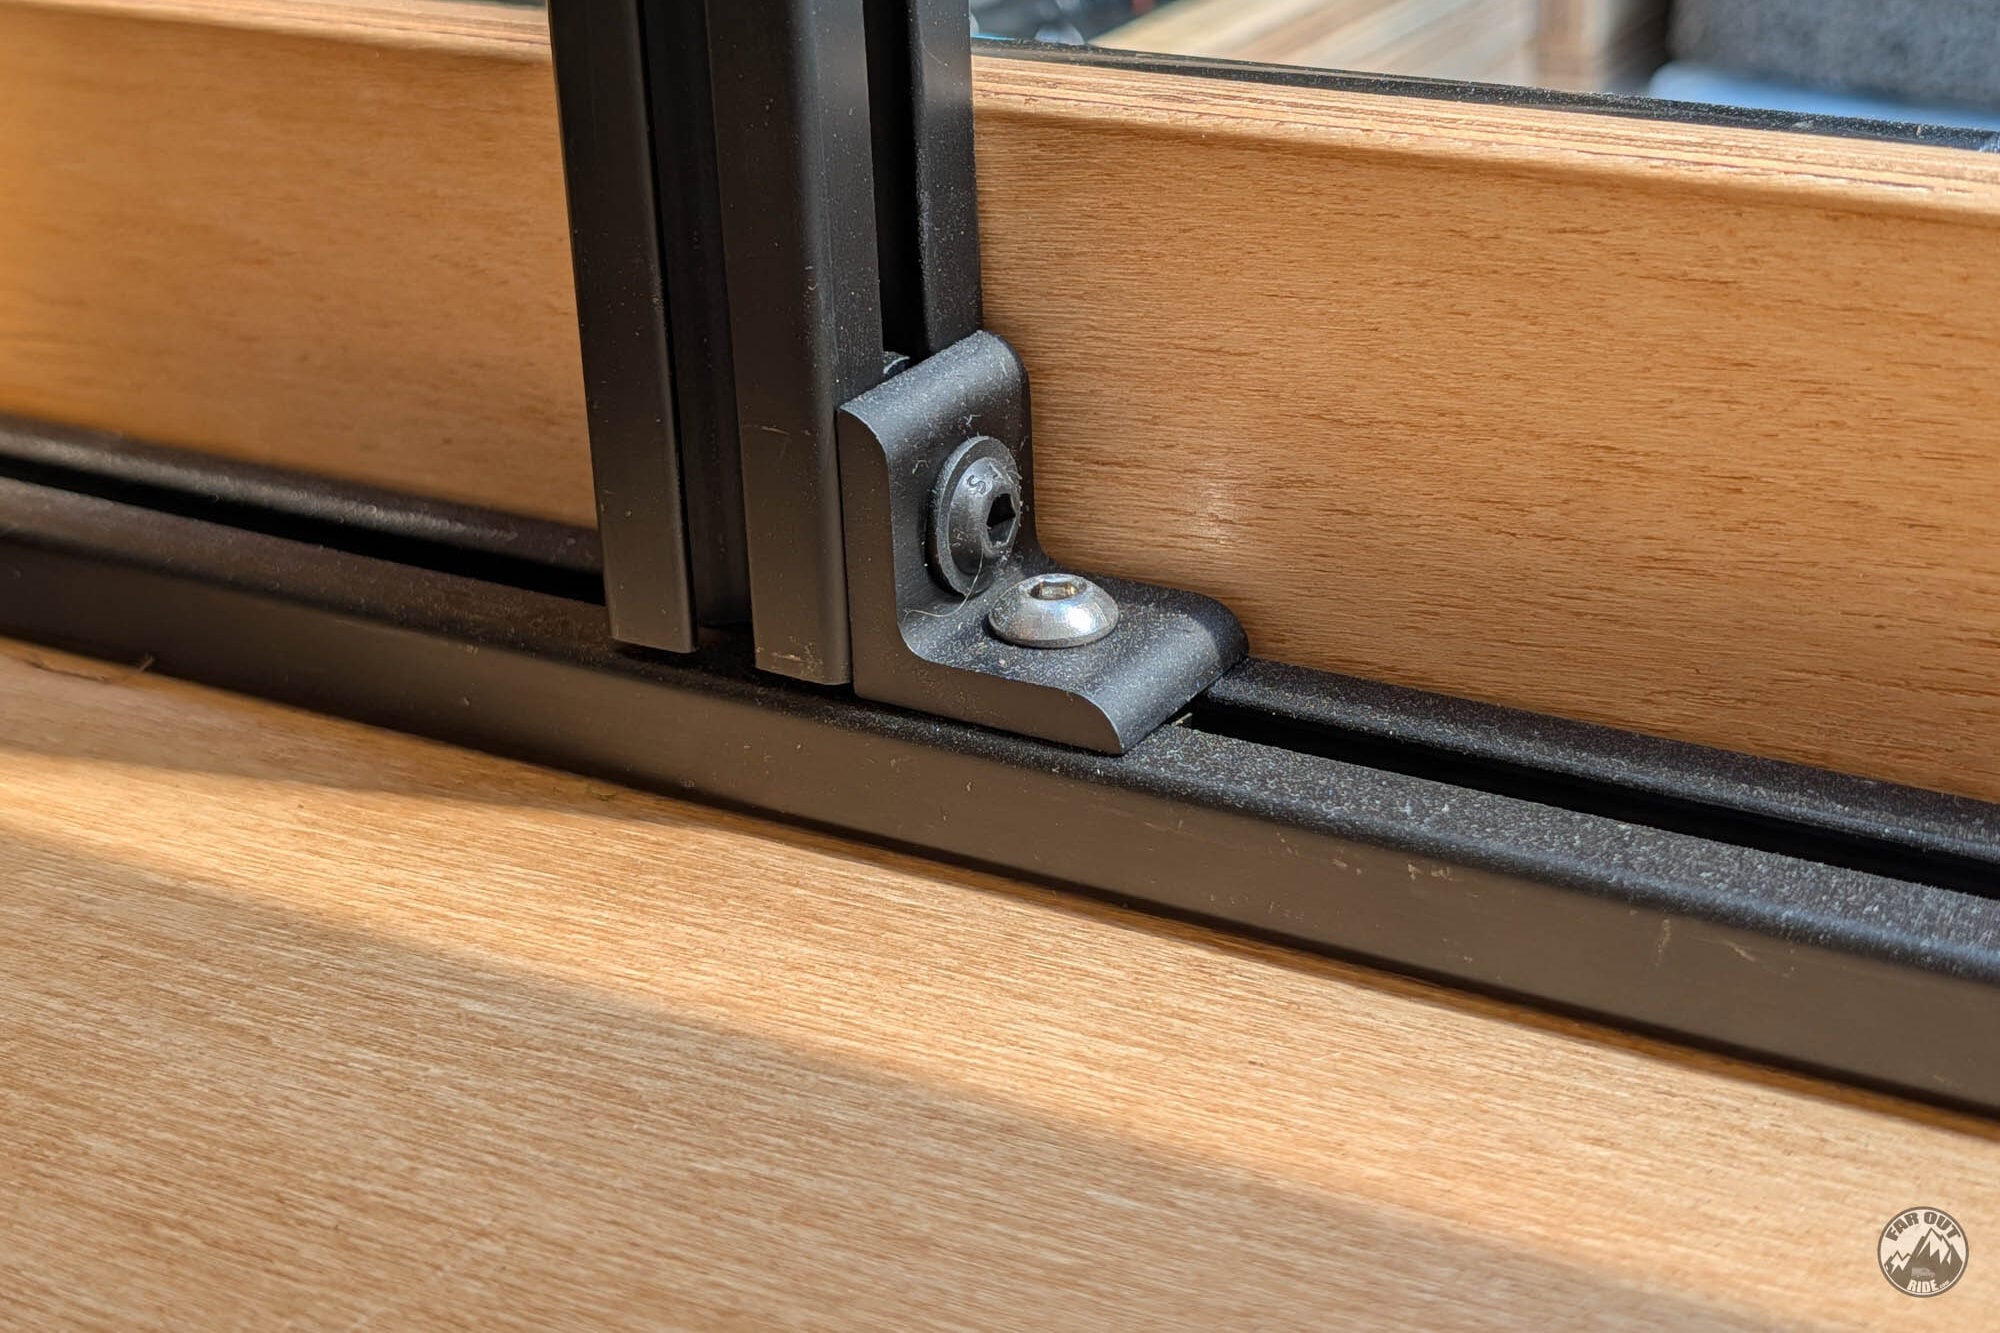
Each leg is fastened to the tray with a corner bracket:
With the module in place, all fasteners can be tightened. Nice:
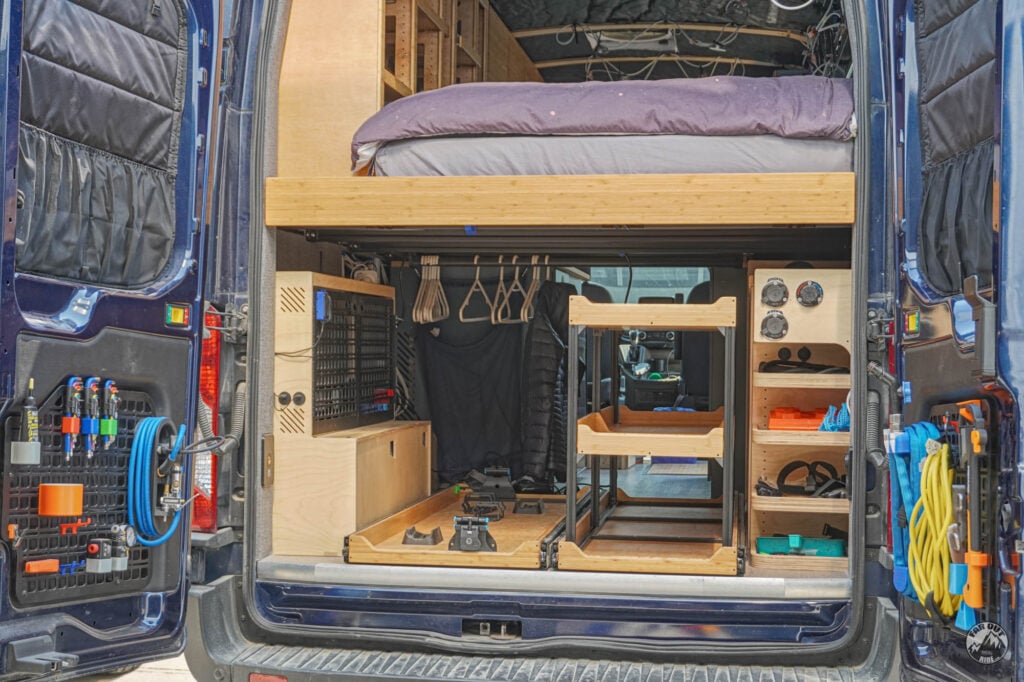
NICE!

VERY nice!
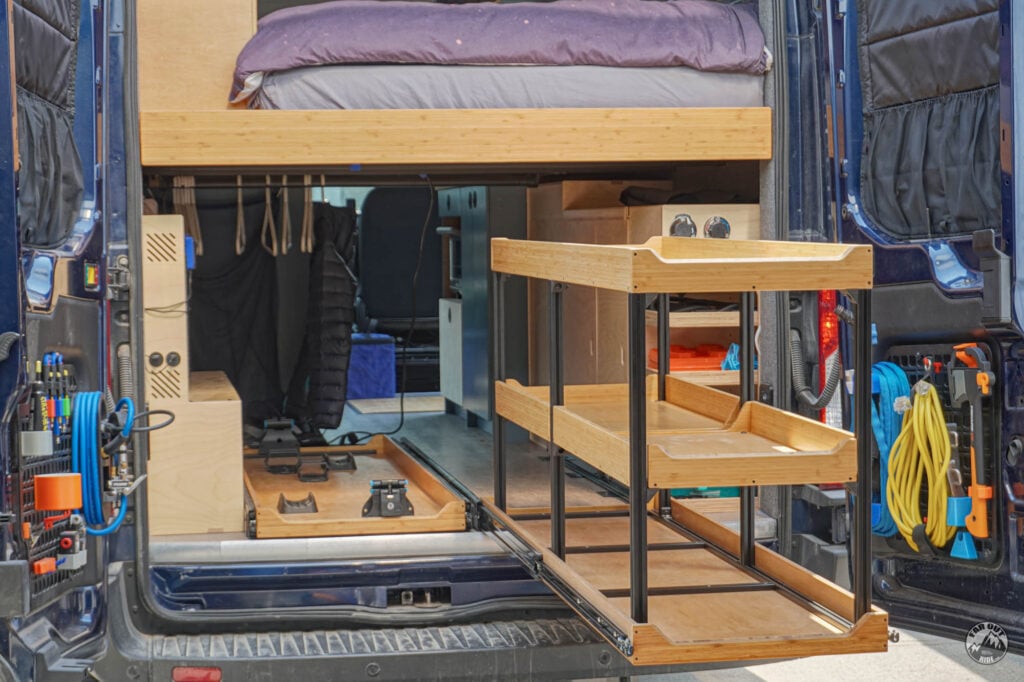
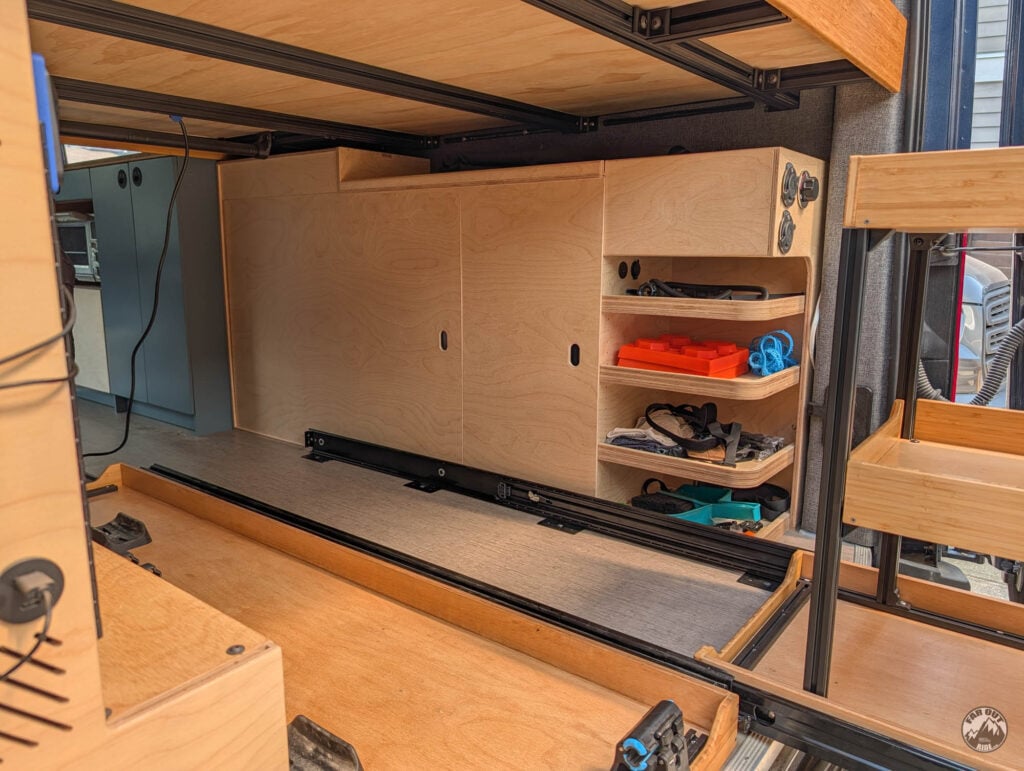
Full access to the water cabinet when the tray is pulled all the way:
Slides
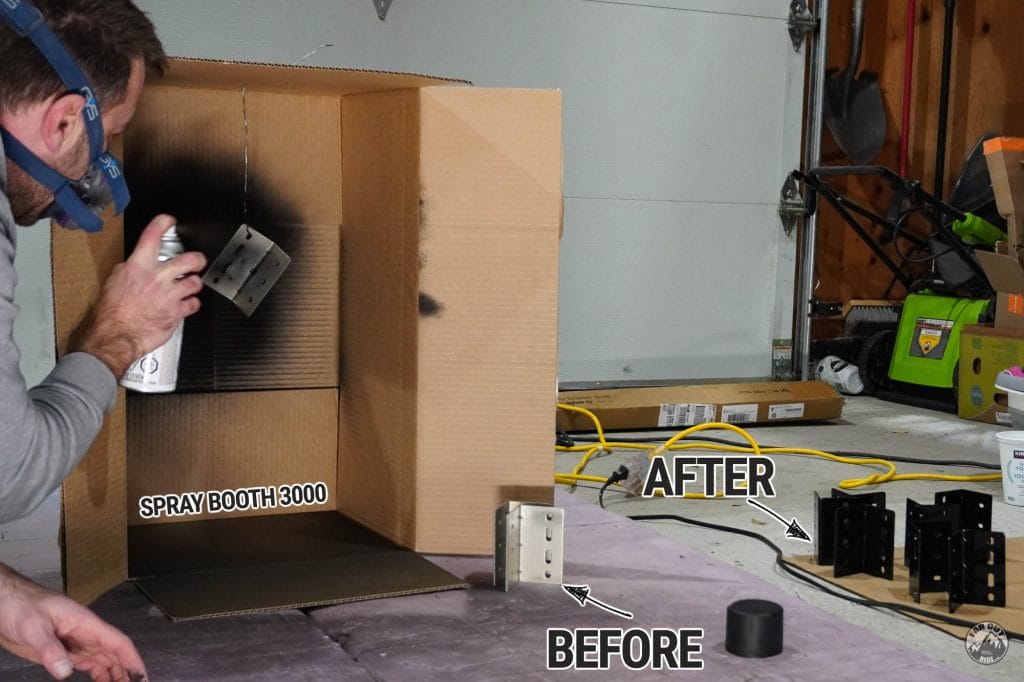
This is optional, but we spray-painted the brackets to match the slides (black):
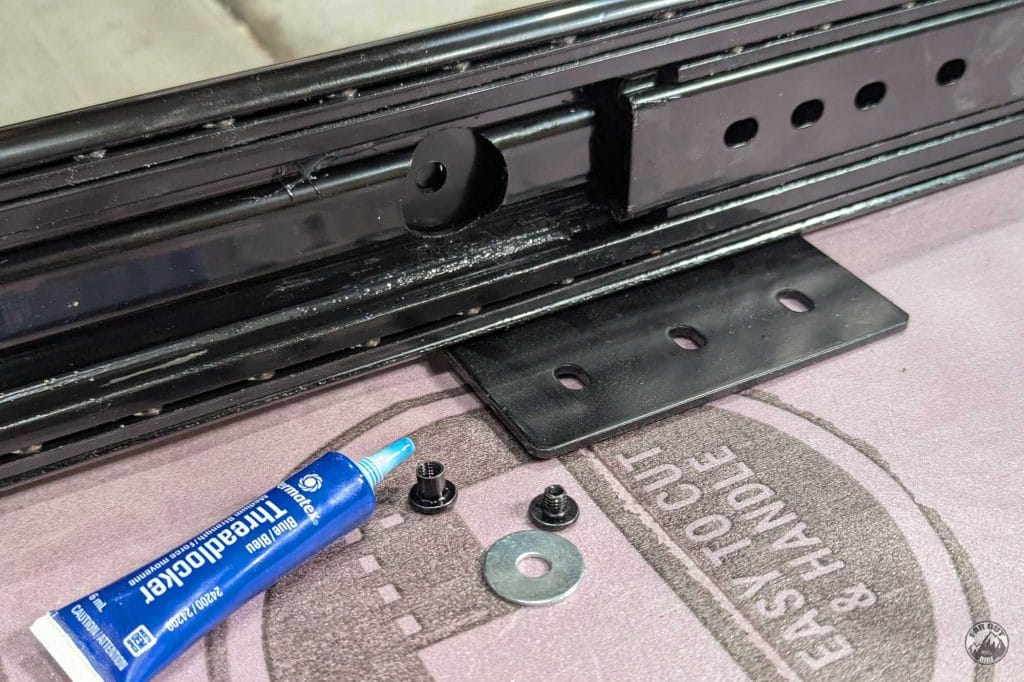
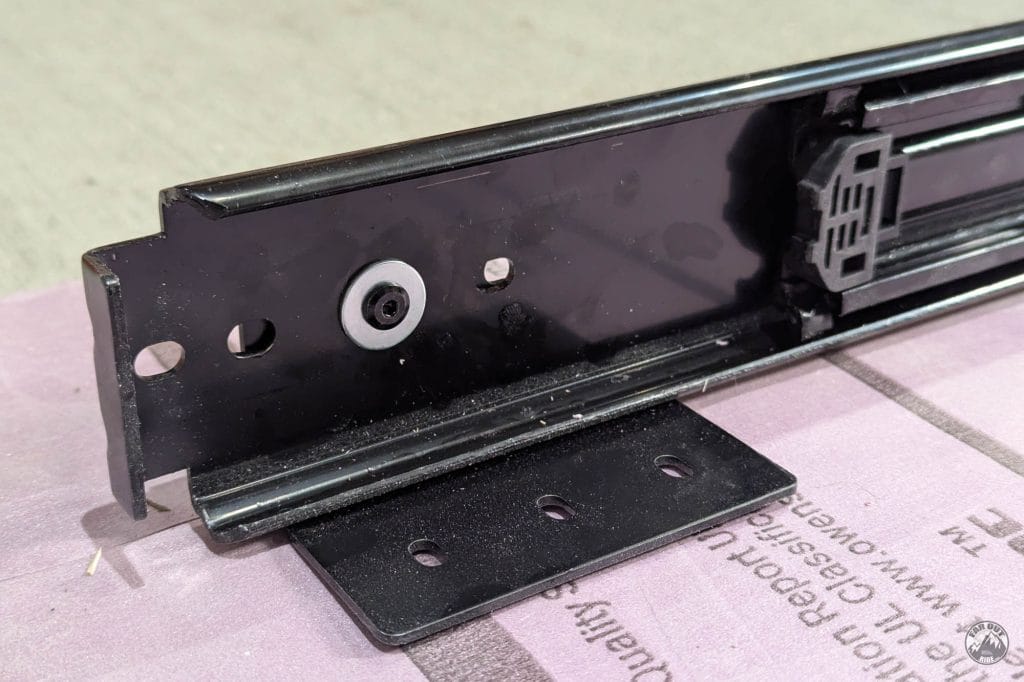
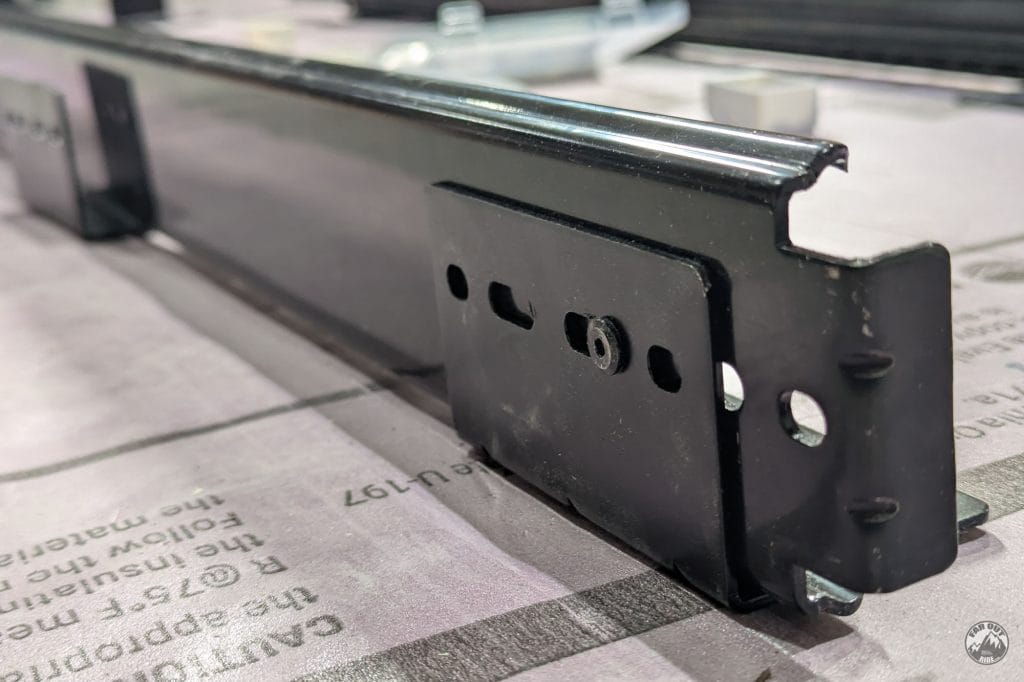
We used M5x5mm Male + M6x6mm Female sex bolts to fasten the brackets to the slides. The barrel nut (female) is a bit too long, so we used M6 washers to prevent bottoming out:
Inside the slide:
Outside the slide:
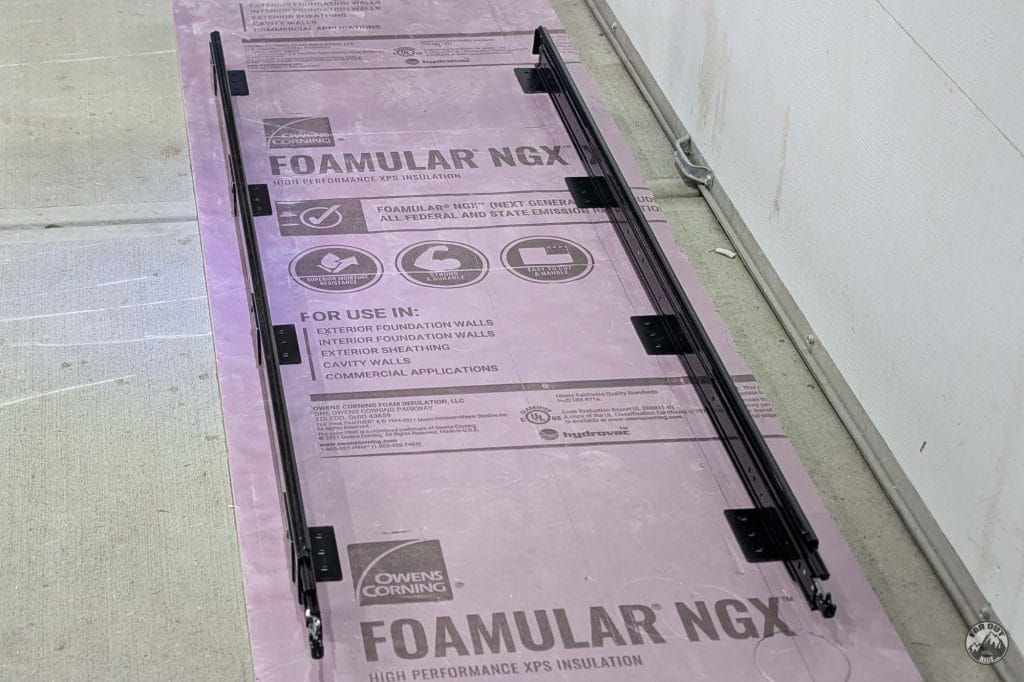
We used 4 brackets on each side:
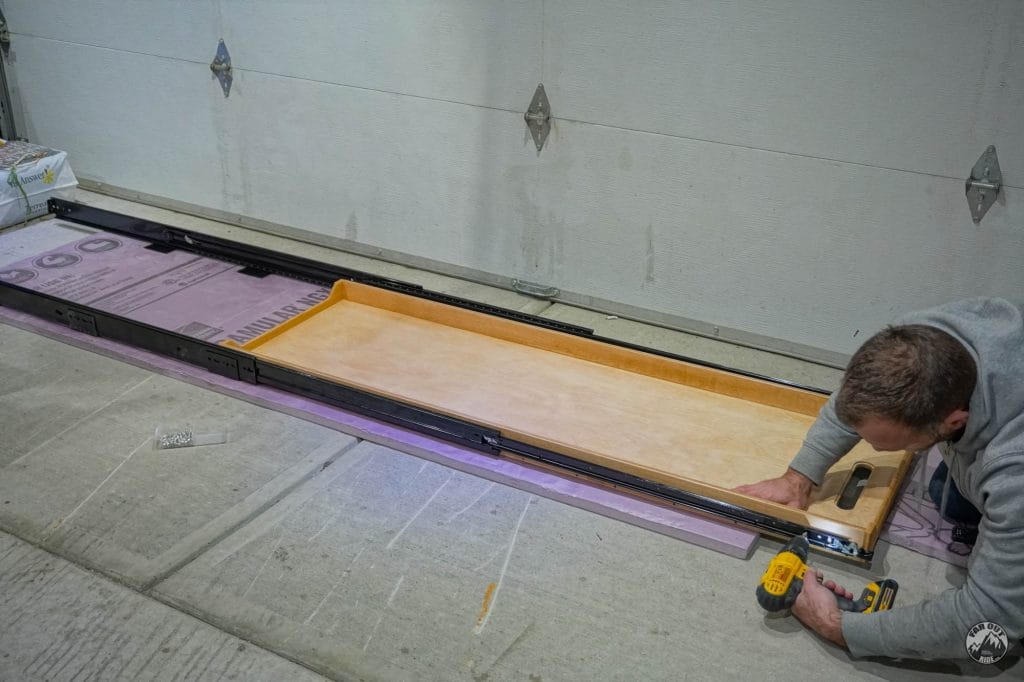
The tray is fastened to the slides with #12 x 1/2″ stainless screws:
Installation
Wood Screws vs Threaded Inserts
We used wood screws to fasten FarOutVan 1’s drawers, and it’s still holding to this day. This time, we’re using threaded inserts in case we want to remove and reinstall the drawers a few times (e.g. remove to ease access during van build).
As a general rule:
- Screws: Fine for permanent joints in hardwood (including Baltic birch plywood).
- Threaded Inserts: Offer higher pull-out resistance (especially in soft wood) and are best for items that need assembly/disassembly.
Together, both drawers occupy the full width of the garage, so no adjustment here. But we have to find the North-South position of the drawers. The bottleneck is the slide’s lock knobs and the bike’s rear wheel with the Mosquito Screen (to be installed later):
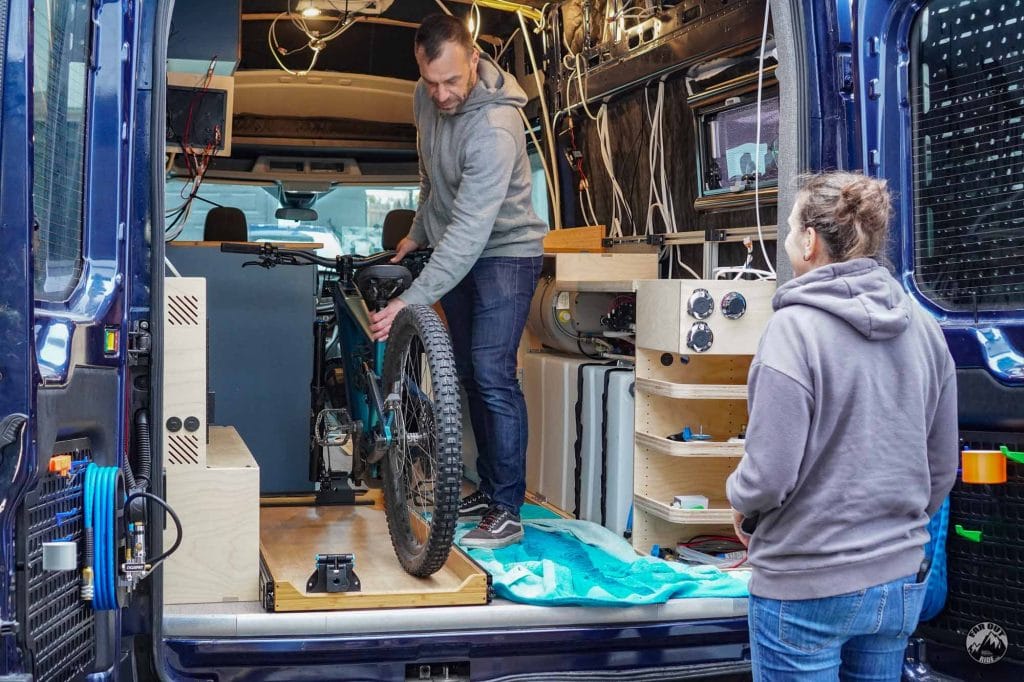
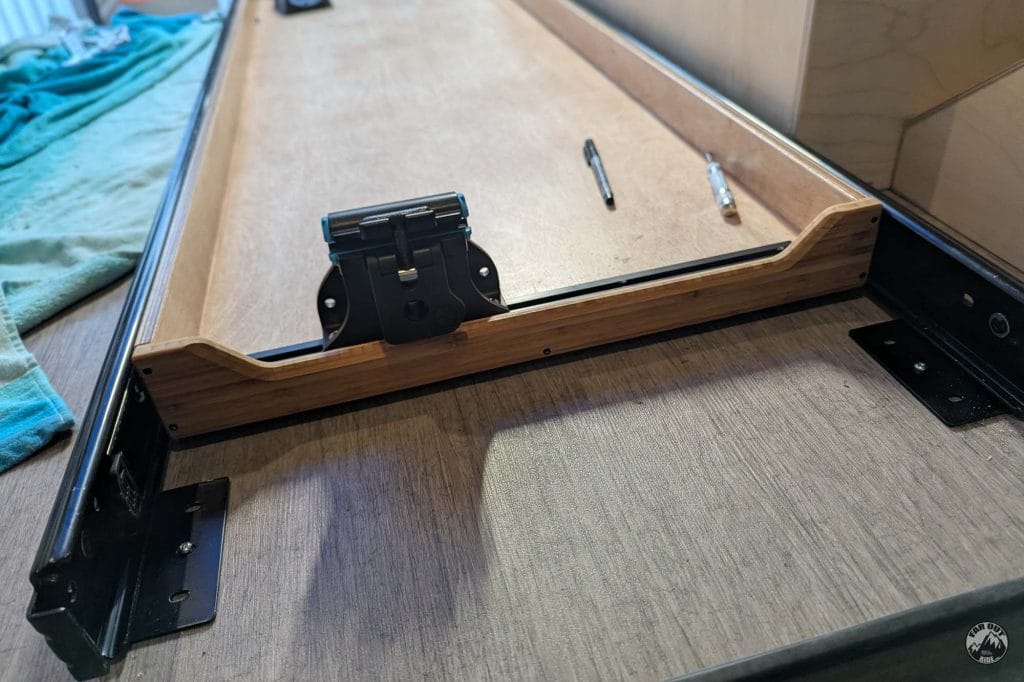
Now that we found the North-South position, we carefully open the slide just enough to reveal the North brackets, and add a temporary #8 screw to make sure the slides don’t move:
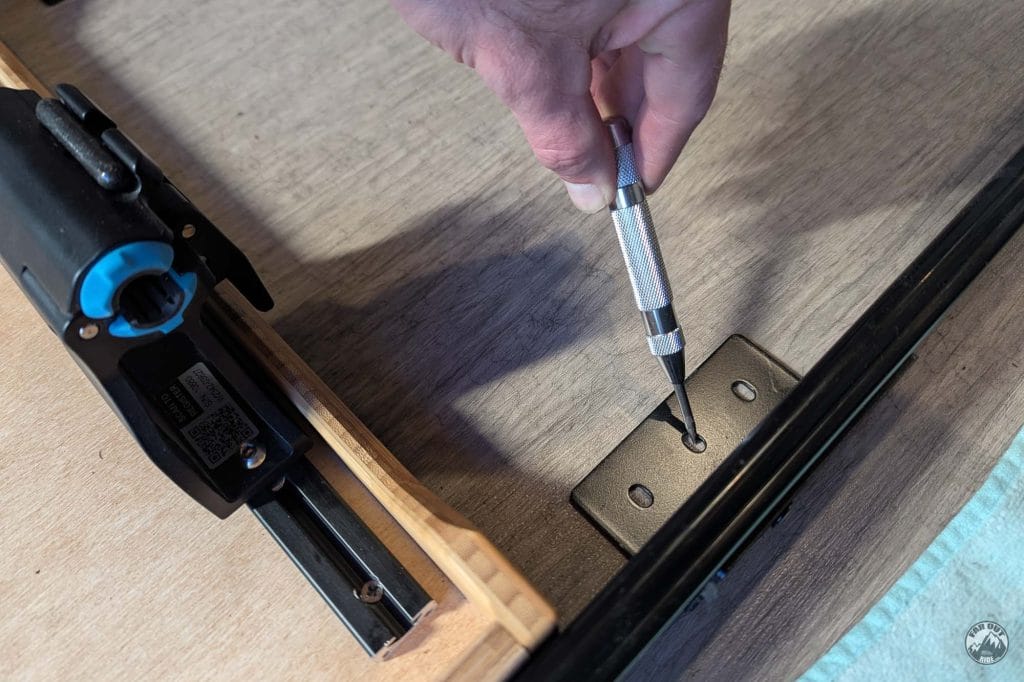
We open the drawer more, punch the center, and drill a pilot hole with a 1/8″ drill bit:
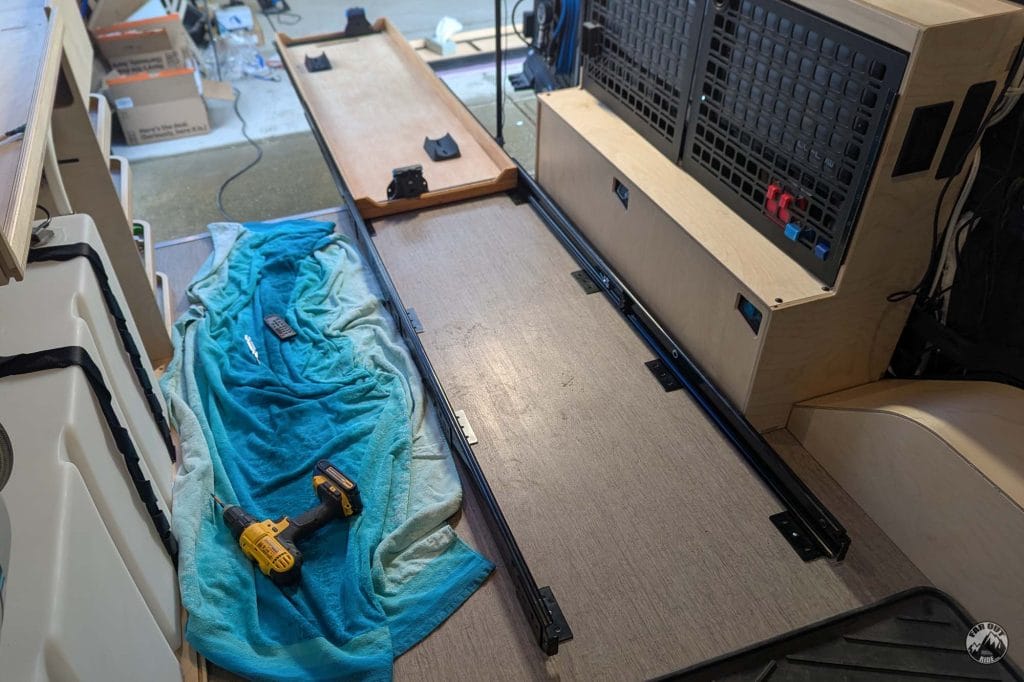
We pilot one hole for each of the 8 brackets:
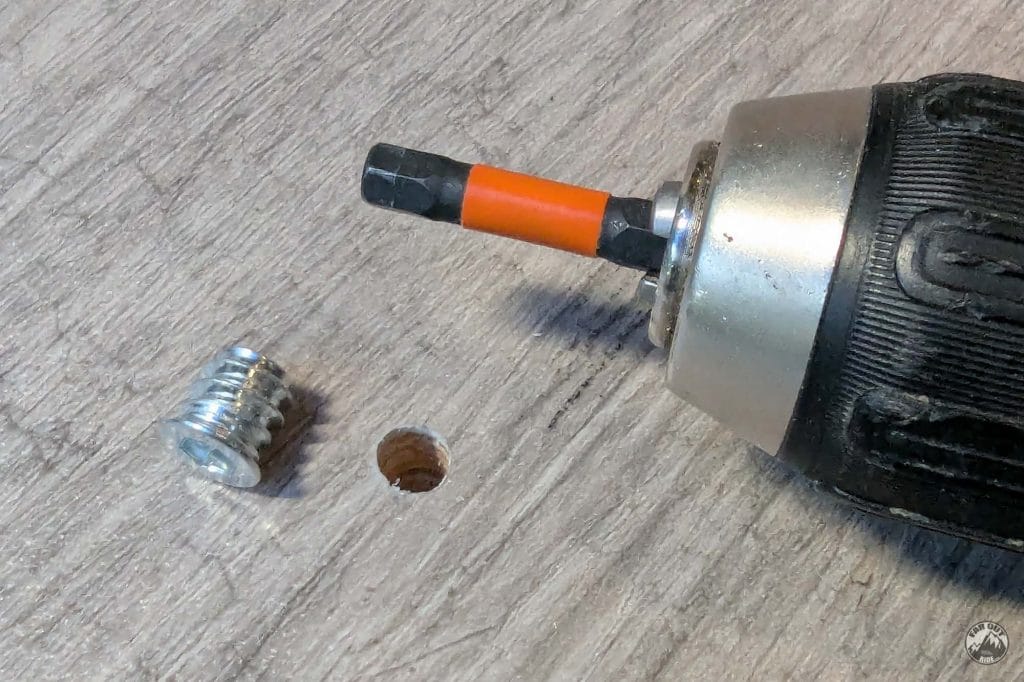
We can now remove the tray and fully open the 8 holes with a XXX drill bit, then install the threaded insert with a XX hex:
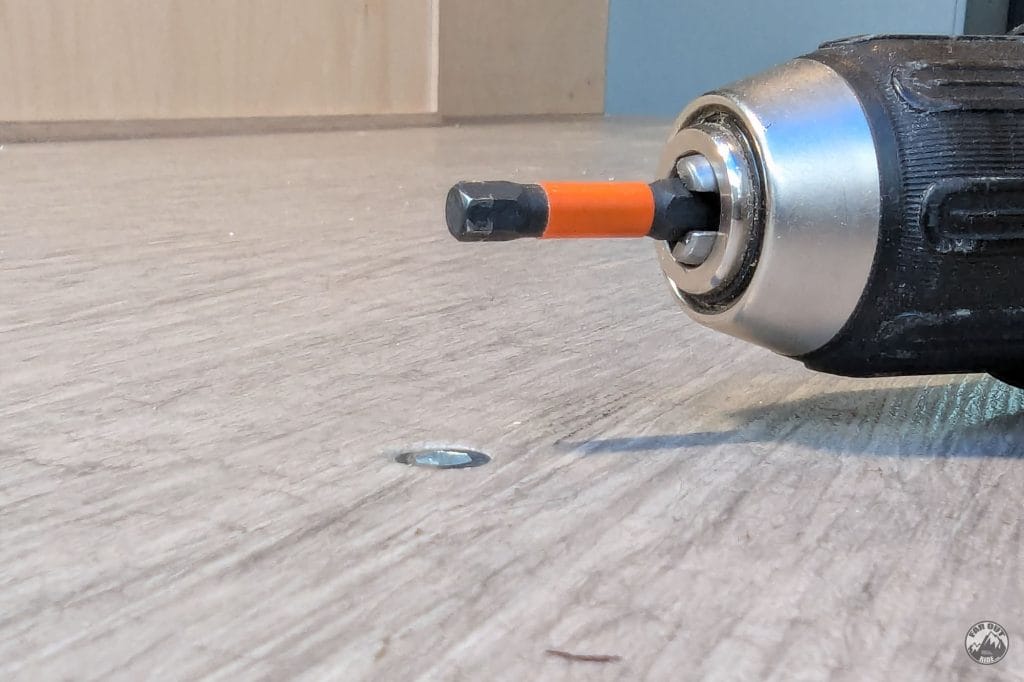
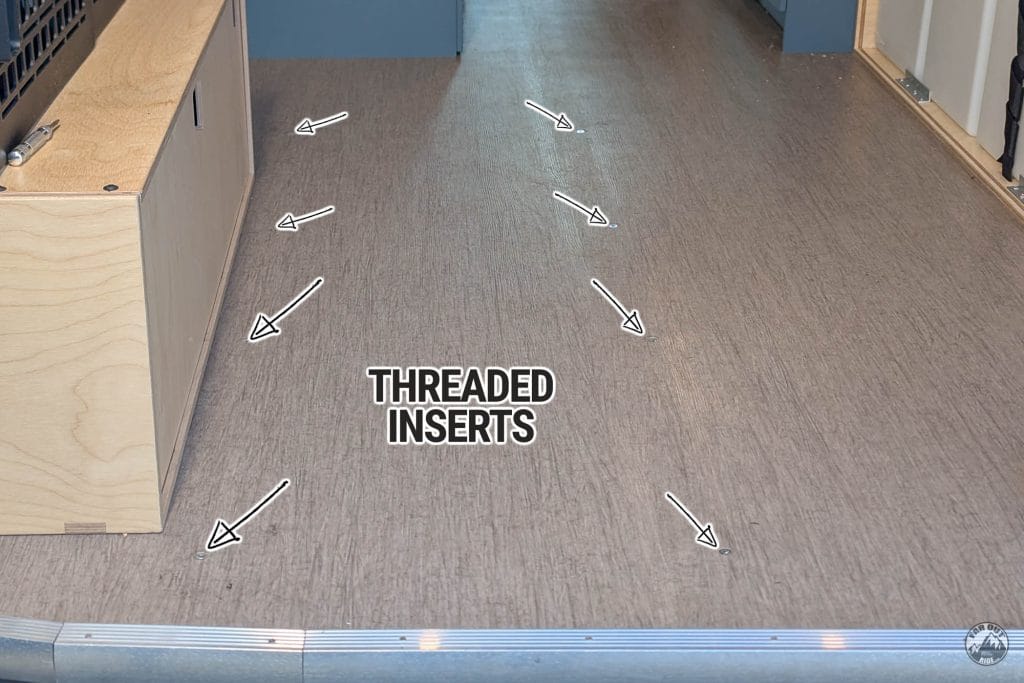
The threaded inserts are flush with the floor, neat!
We’re ready to install the tray!
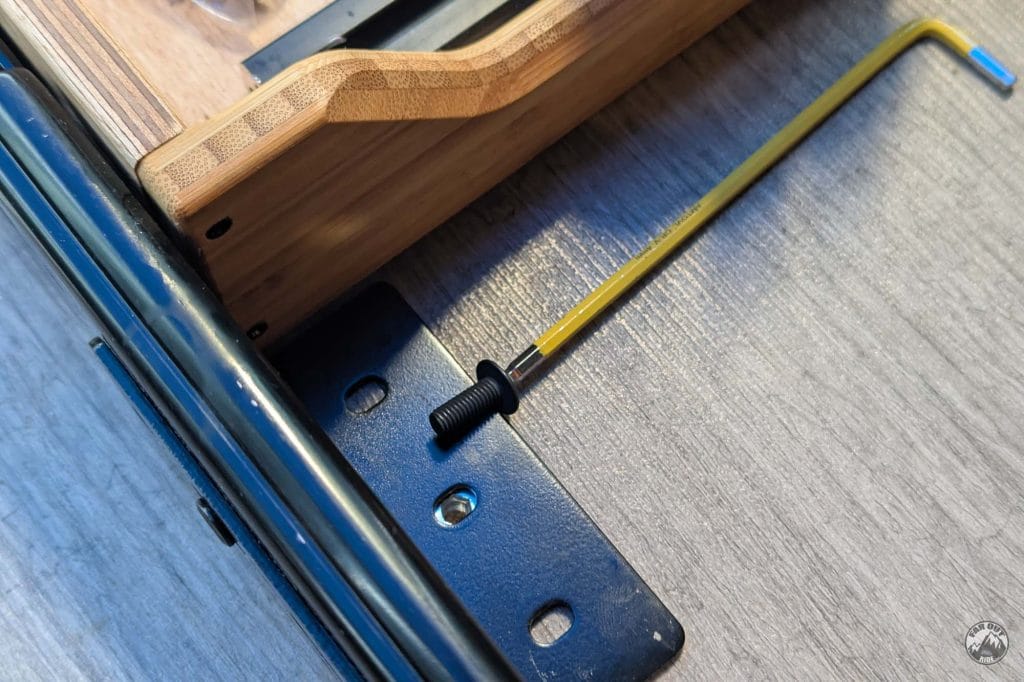
Always fasten hardware into threaded inserts by hand (no power tool) to prevent damaging them!
One and done! Looking good…
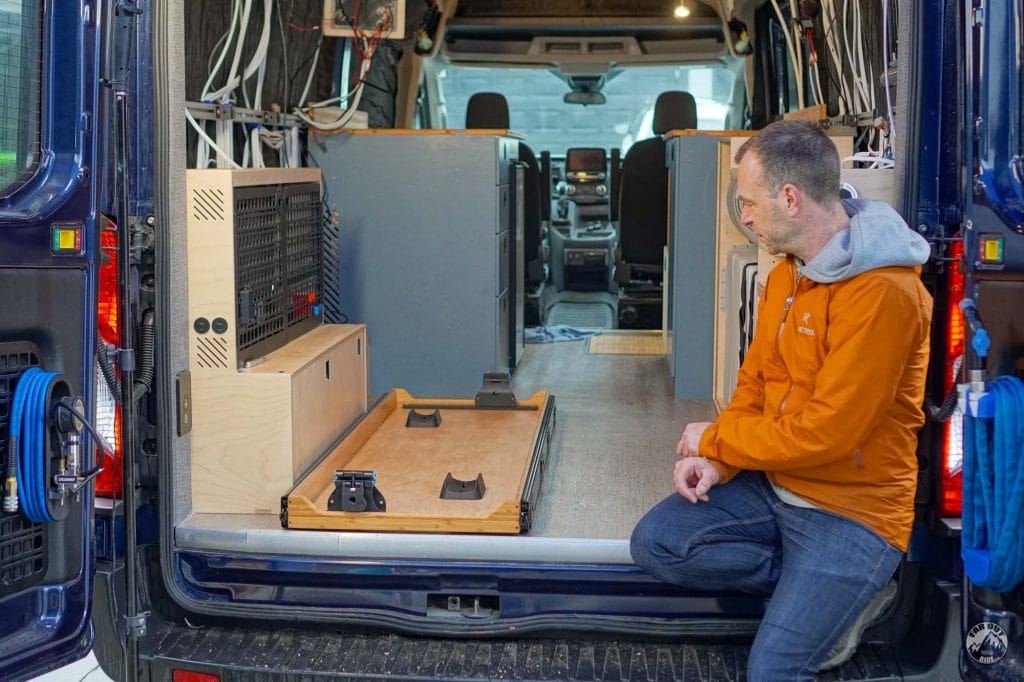
Up to the storage tray now. Drill:
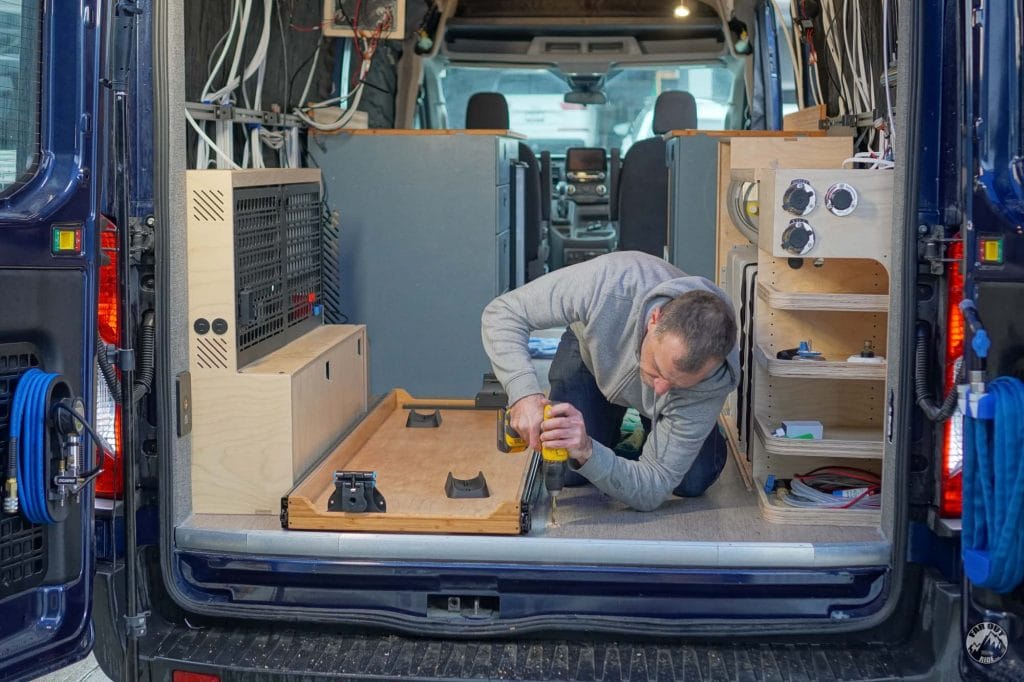
Threaded inserts:
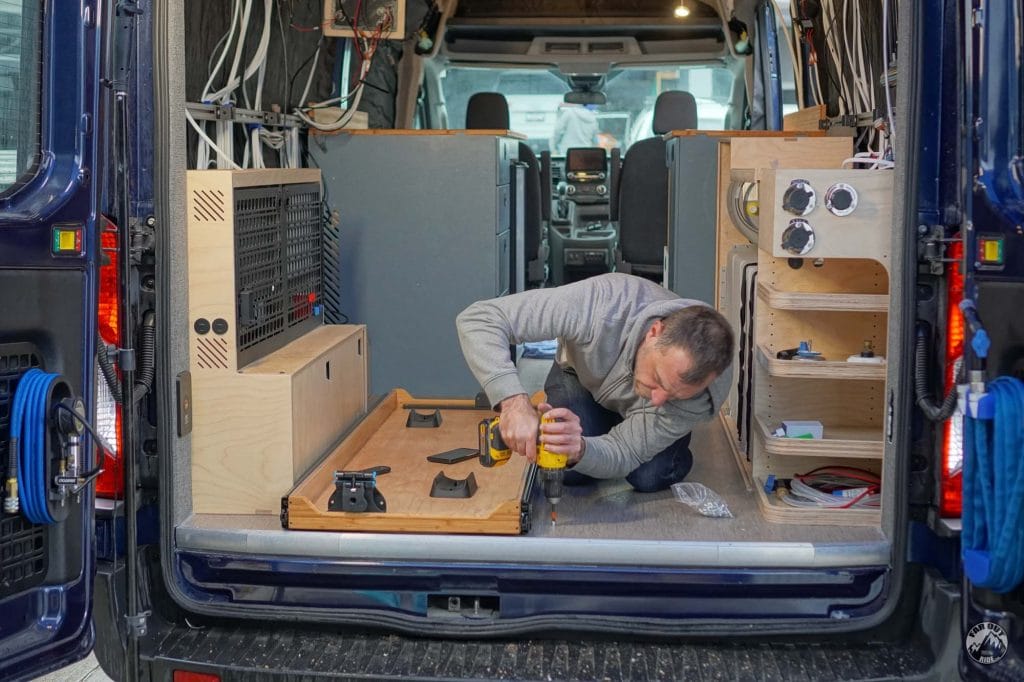
Fasten:
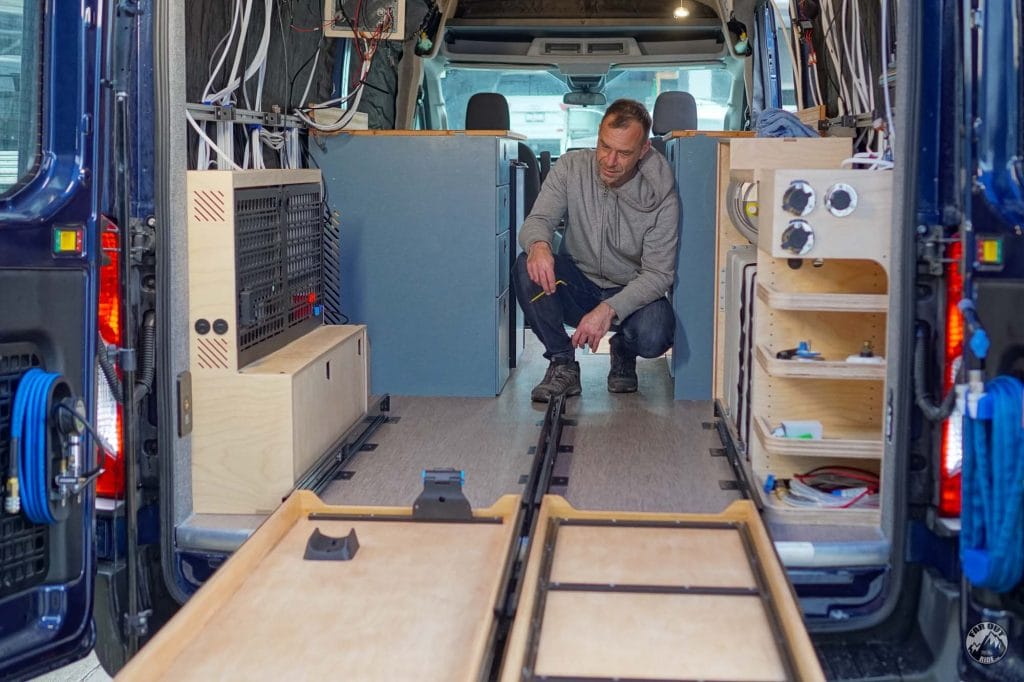
POV:
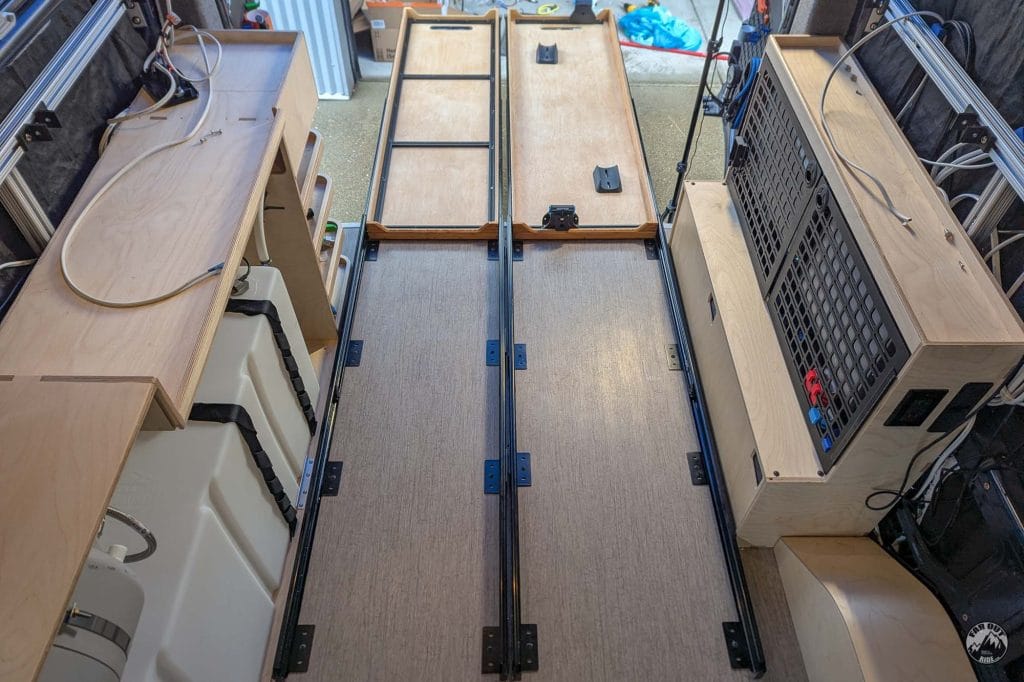
Yes!
3D Printed Thingy
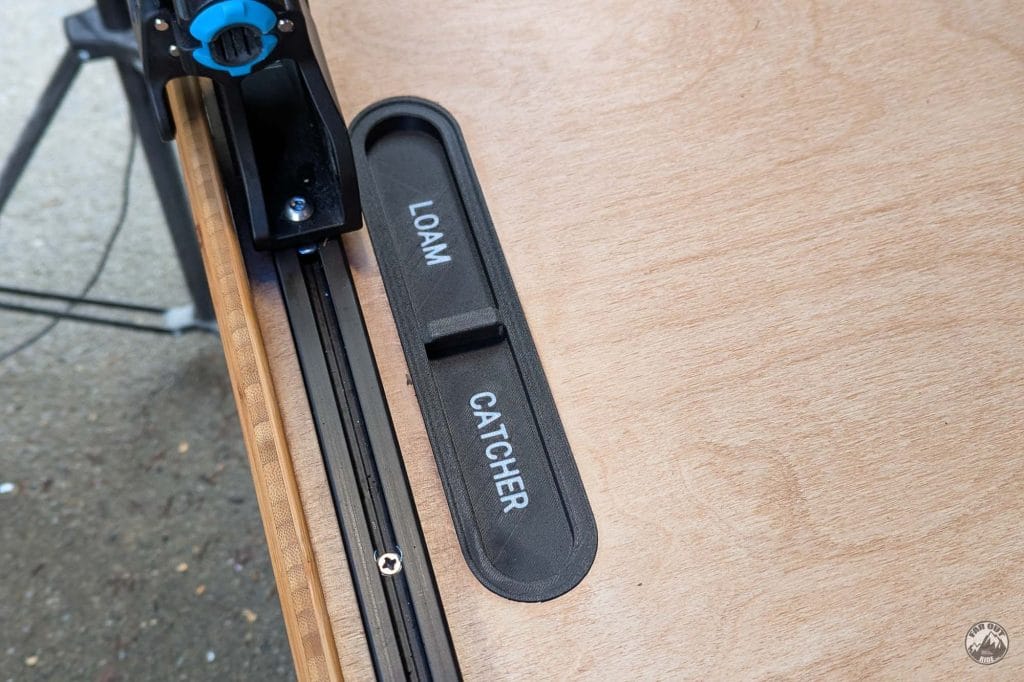
We added a cutout at the front to sweep the dust out of the drawer. We 3D printed a cover for it…
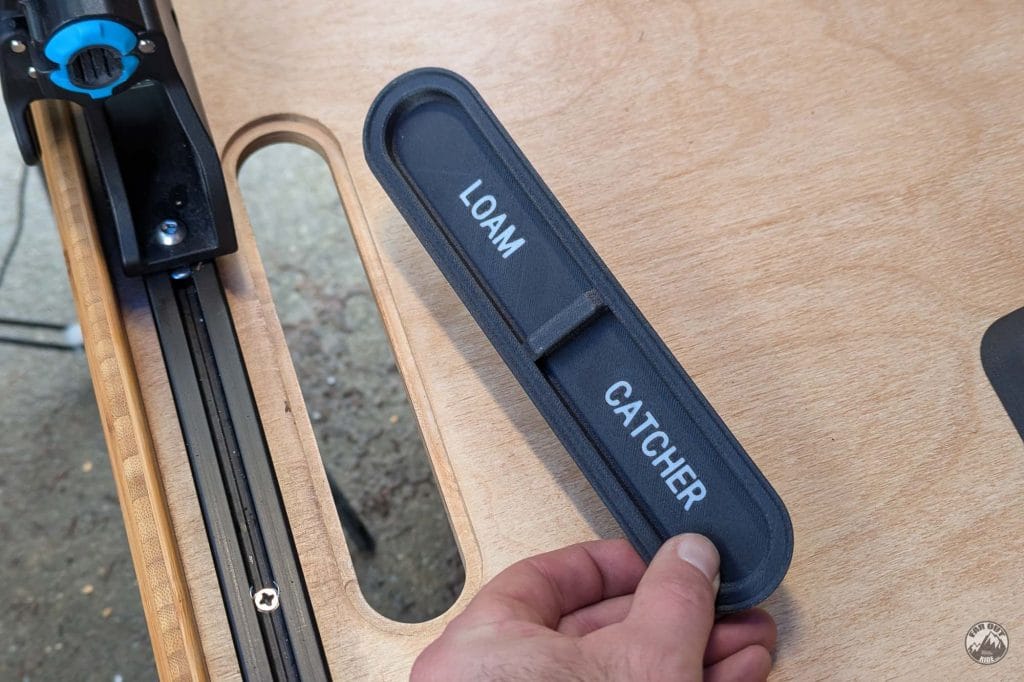
The dream catcher:
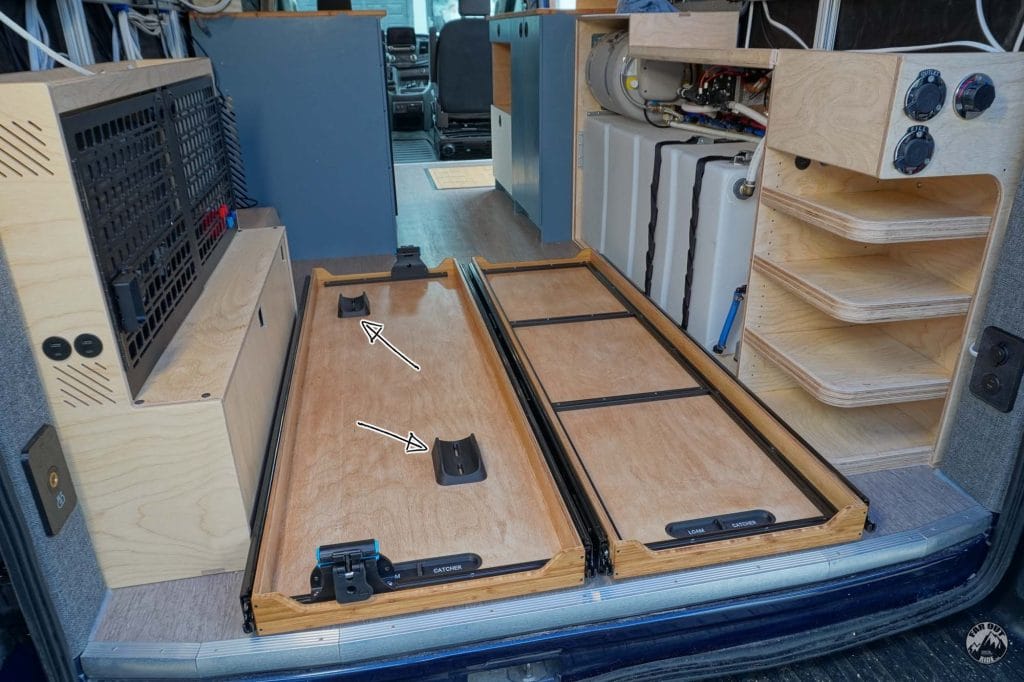
We also made supports for the rear wheel, so we don’t have to search for the correct location each time. They’re still loose at the moment, but they’ll be fastened with 2x #10 x 5/8″ pan head screws eventually:
On Second Thought…
Too soon!




For the threaded inserts, I’m assuming you didn’t drill through the wood, right?
Also is there a reason why you only put one threaded insert per bracket?
I tested it out on a scrap 1/2” plywood and the same Lonseal you have and while the bracket is secure, when I twist it, the bracket becomes loose. I used 1/4” in for pilot and then opened it with 3/8” in drill bit.
I’m wondering if the outer holes on the bracket get secure then it wouldn’t twist and come loose. And increase pull out resistance
My thinking is you only did one hole per bracket because, when you secure all 8 brackets then there would be no twisting? Is that right
Just trying to see your thought process. That’s all!
By the way, the two trays came out perfect! I should’ve made the storage one 1/2” wider. I got left with 0.675 inches of space. My horizontal space was just a bit over 37 inches.
Hi,
1 insert per bracket = 8 attachement point (8 threaded insert + 8 screws) = sufficient in my opinion. But you can go for two per bracket.
Once secured to the slide, the brackets can’t rotate, so that’s not a possible failure mode.
Got it. Yeah I figured that was your thought process. Just wanted to check. Thanks a lot and once again appreciate all the hard work you do!
Awesome to keep the bike tray as low slung as possible. What would be a good minimum space above the tray for bed clearance? Generally, not just to build around one size or style bike.
FarOutVan1’s trays has 40″ floor-to-bed, and it’s a bit much.
FaOutVan2 trays (floor-to-bed) has 36″, and it’s a bit tight… So I’d say 37-38″ should be ideal 🙂
Did you use the American Walnut stain?
What screws did you use to secure the aluminum extrusion to the trays? I dont see it in the material list. I just want to make sure when I buy you get something out of it 🙂
#8 x 5/8″ Stainless Flat Head Screw, added! Thanks for the heads up.
Do you know if/when you will be releasing the other storage cnc files? The tiered ones? Thanks for everything you guys are doing. You really are the GOAT of this!
I had a lot of snags during the installation of the storage…
So I need to introduce all the corrections to the file before releasing it.
We’re currently traveling in the van until August 13th; we’ll resume when we get back. The file should be released somewhere at the end of August (hopefully). Thanks for your patience!
Where will you put your split boards? Maybe use the bike tray? Like build something from the two horizontal 80/20?
Yeah that’s the idea!
No precise plan yet, but the boards/skis will go in the bike or storage tray.
I love that you were able to find a way to get the slides down without needing another side… one of my gripes in my current van that I couldn’t get an extra few inches of storage width.
Question… with the forward facing biking, won’t the handle bar hit the stuff in the right tray stack, or are you just not planning on having stuff/shelves/underbed rack that high?
The right tray rack will be lower, to clear the handlebar. Actually I just added it yesterday and working on adding the details here 🙂
Coming soon!
The m6x6mm bolt that you attach the slides to the bracket is pointing to m5x6mm bolts. Did you end up using the m5?
We used M5x5mm Male + M6x6mm Female sex bolts. The link is pointing to that one. I just clarified this in the article following your comment!
Im really debating whether to do two sliding trays like this or just one big tray, just to maximize the horizontal space. What was your thought process having two trays vs one?
With two trays, it’s easier to access the sides of the drawers (= in the middle of the van).
Useful when loading the middle bike, or accessing storage.
But I guess it depends on the layout of your garage!
Personnally, with a bike-tray and a storage-tray, we like the two-trays layout!
That’s what I figured but just wanted to check. With the slides and the trays it looks like yours totals to like 52 inches. I have 37 inches of garage floor space. I would def want two trays. It’s just one tray will be like 10-11 inches wide. Wondering if that’s too narrow to build shelves.
Also I wish I get a email notification on when you reply!
I have 42in floor width in the garage.
Just added a new feature near reply form: “Email me if someone replies to my comment.” 🙂
Did you have any issues with fitment?
Your trays are 20 inches in outer width and the sliders are 3 inches in width total (3/4 inch each).
Thats like 43 inches for both trays plus sliders.
The bike tray is 19.96″ outer
The storage tray is 18″ outer.
Total width for both trays installed (including brackets) is 42″
I highly recommend two trays. They can get quite heavy and after years of use, pretty rough / high friction. esp with an amateur install. Also, you may not want to pull everything out with people watching, or have everything sliding into each other. It’s also really convenient if you size your trays so that you can slide out a tray with only one door open.