Below, we propose 3 possible ways to install Starlink Mini in your van, depending on your needs:
- Quick & Easy via USB-C ($).
- Recommended for occasional uses.
- Hardwired and using the dish’s built-in Wi-Fi router ($).
- Recommended for most people.
- Hardwired and using a 3rd part Wi-Fi router inside the van (maximum strength and reliability, $$$).
- Recommended for remote work (video conferences and high bandwidth requirements) and gamers.
Then, we go through the installation in our van. Let’s get connected!
Installation Options
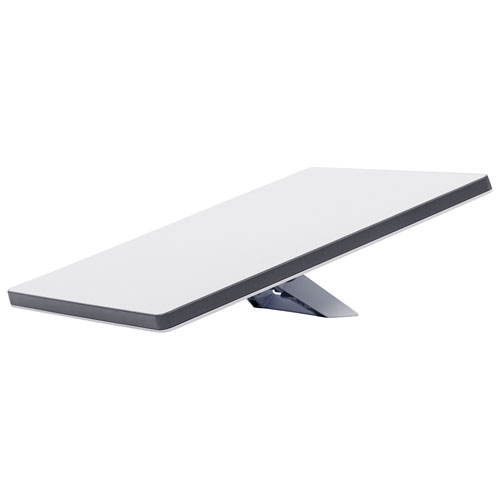
A: Quick & Easy
USB-C Cable | Built-In Router | No Mounting
Pros
- Plug-and-play.
- No mounting required (just place it on your dash or on the ground).
- Protected from snow, rain, & cats.
Cons
- The Wi-Fi signal may be weak and intermittent when the dish is outside.
- Limited cable length for ground deployment.
- Need dedicated space to stow the dish when not in use.
Wi-Fi Router
- Starlink Mini Built-In Router
Power
- USB-C 100W PD

| Products | QTY | |
|---|---|---|
 | Starlink Mini Kit Use this link to get one month free. (For Residential/Roam subscriptions in Canada only) | 1 |
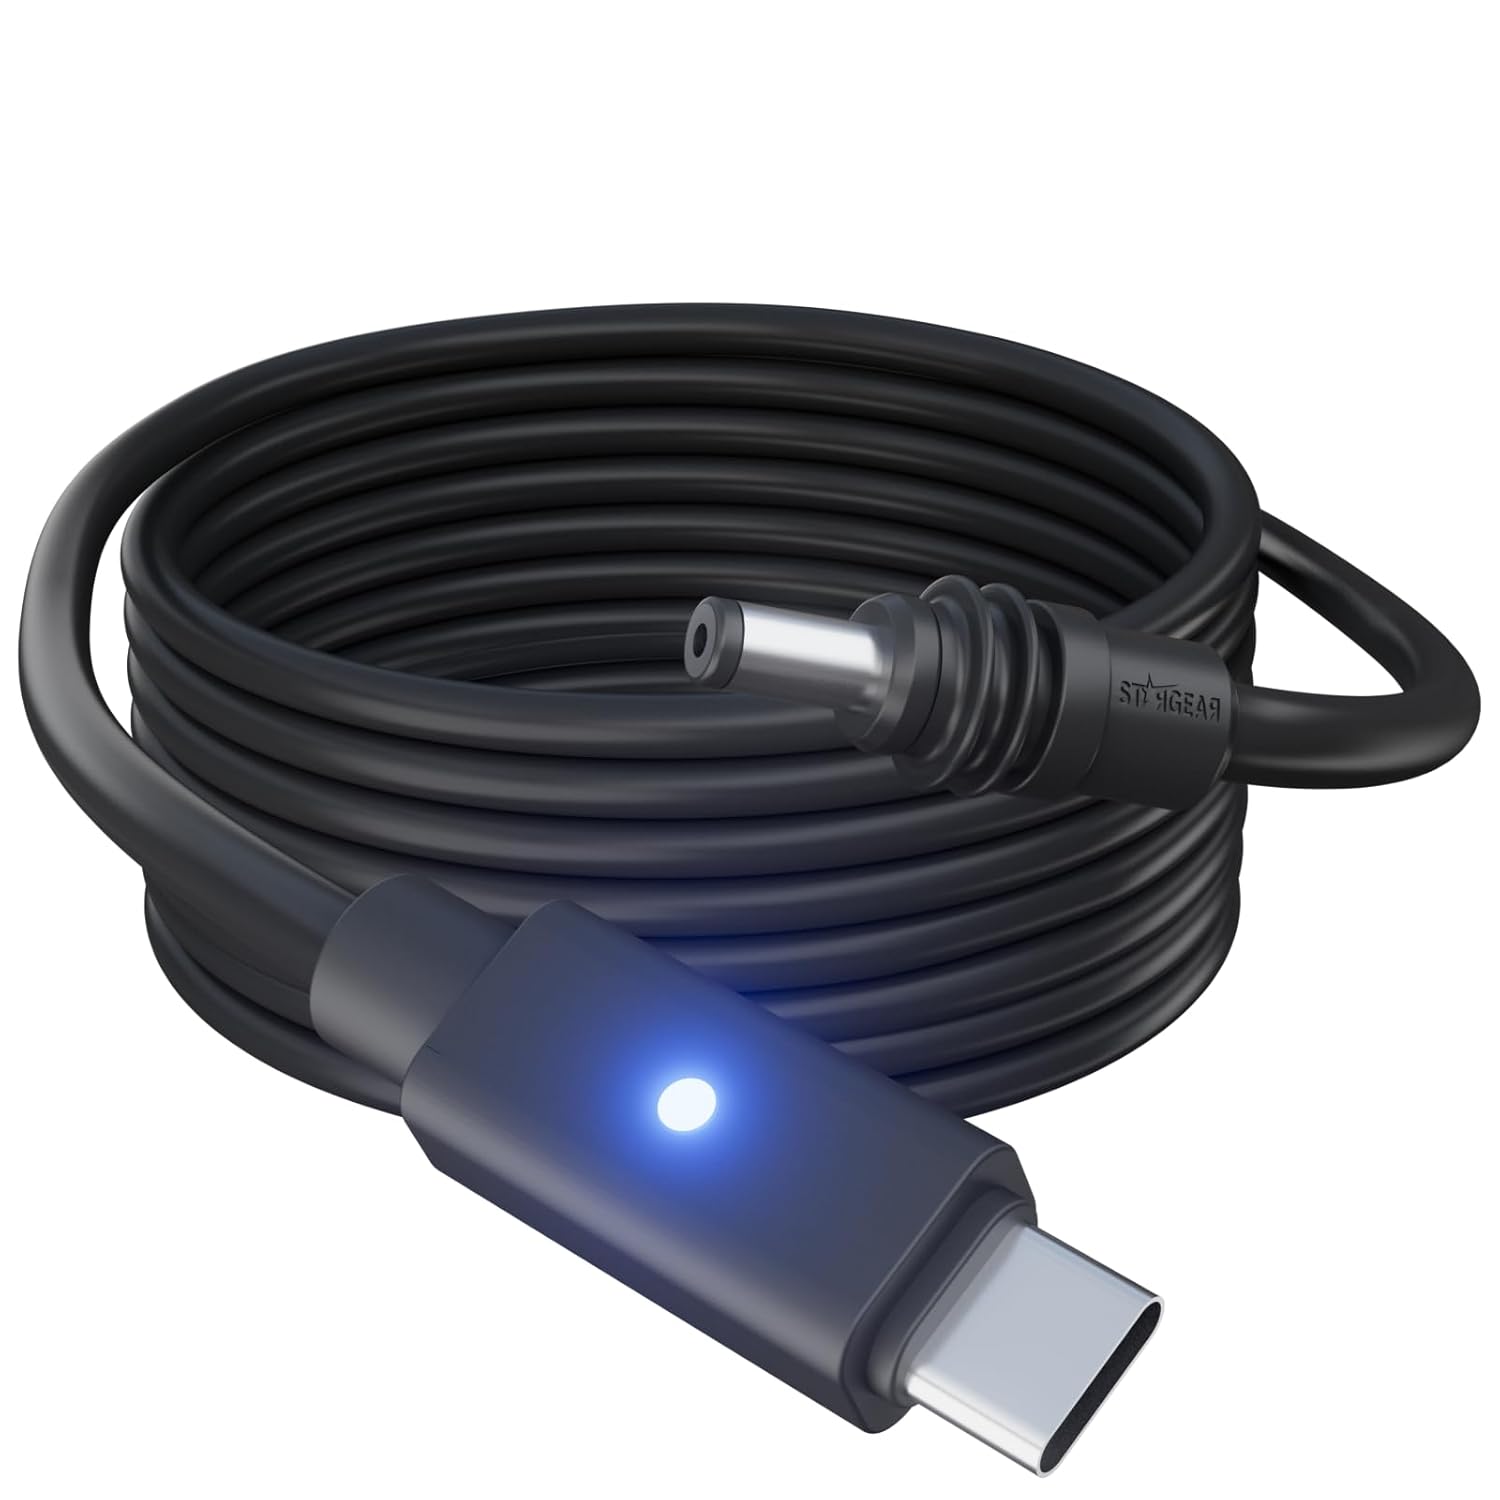 | Starlink Mini USB-C Cable | 1 |
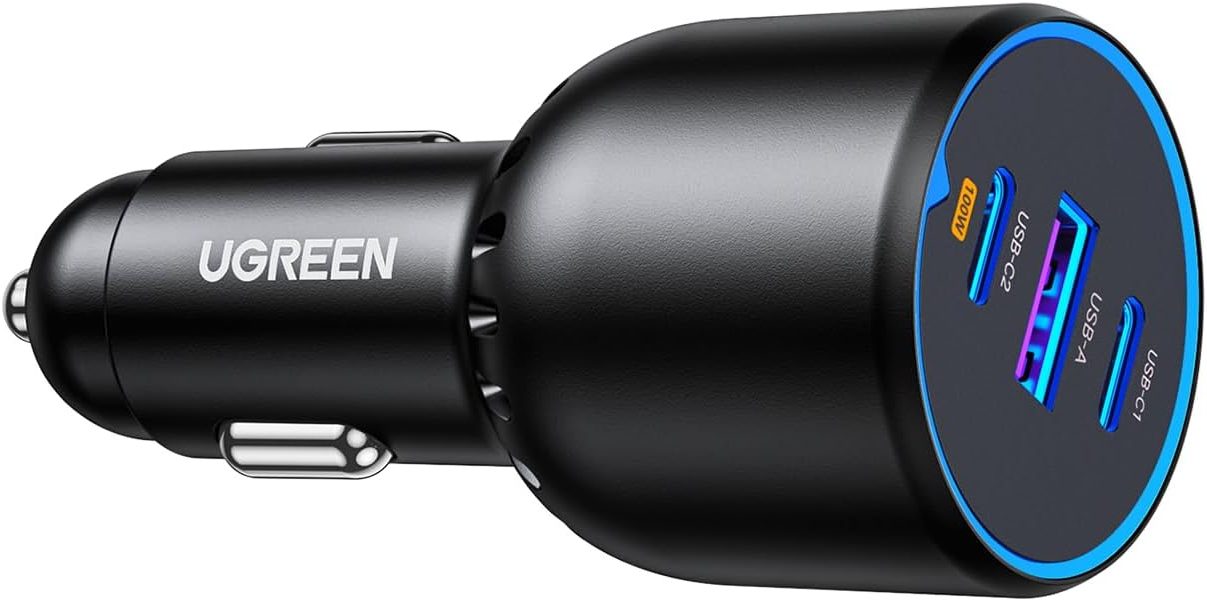 | Car Charger (100W PD) | 1 |
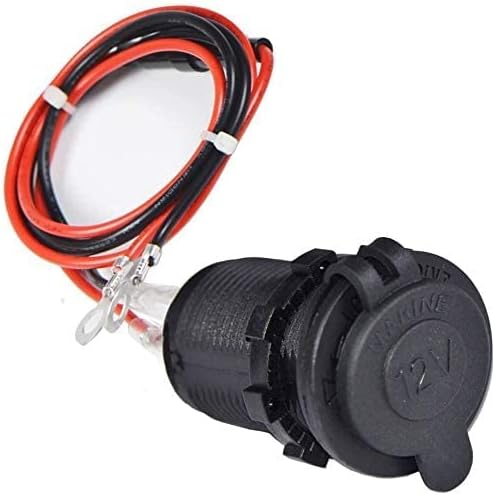 | 12V Socket | 1 |
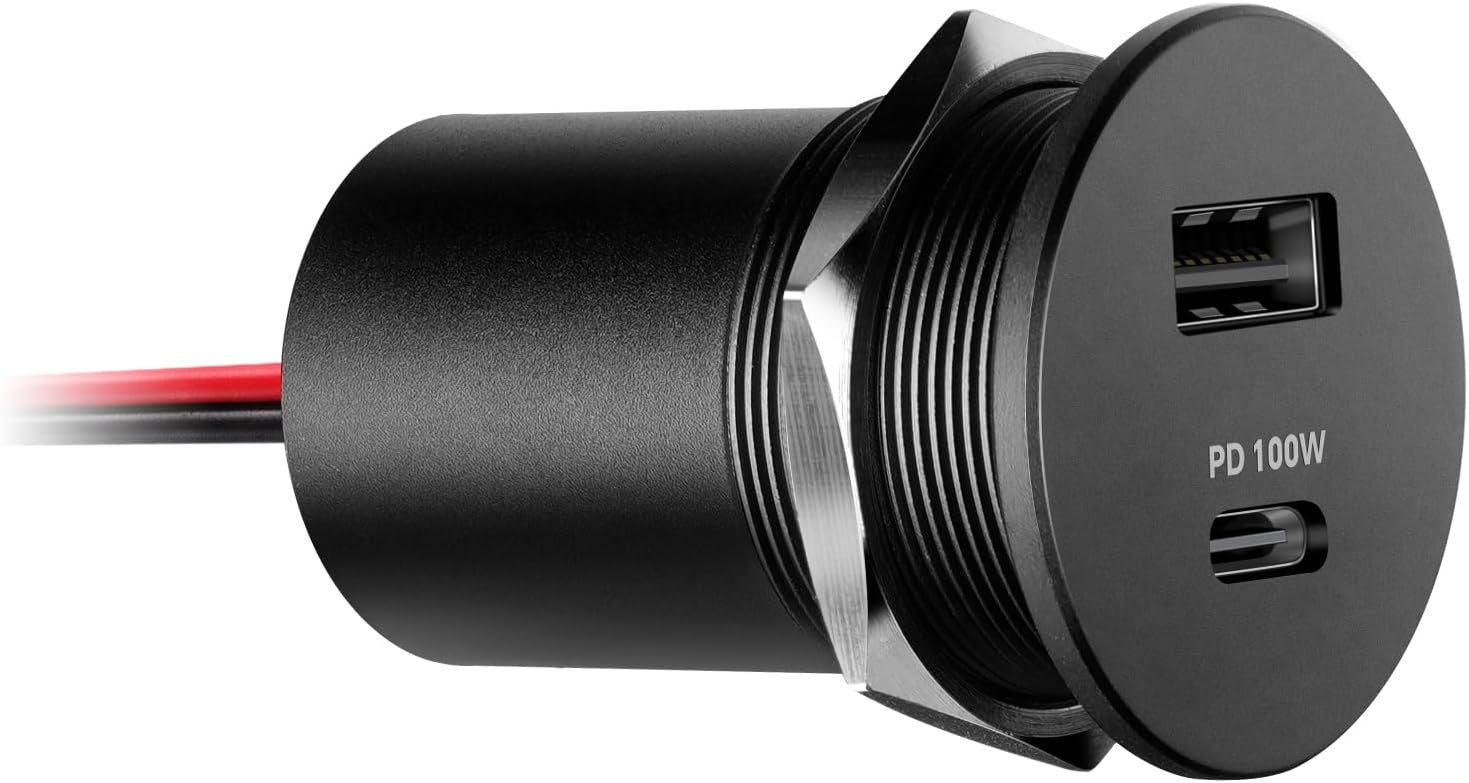 | USB-C Outlet (100W PD) | 1 |
Notes:
- The Starlink Mini USB-C cable is limited to 5m (16ft) to prevent voltage drop.
- Use a 100W PD USB-C port.
B: Hardwired
Hardwired | Built-In Router (in the dish) | Roof Mounted
(our current setup)
Pros
- Simple installation.
- Long cable (50ft) for ground deployment.
Cons
- The router signal may be weak when the dish is outside.
Wi-Fi Router
- Starlink Mini Built-In Router
Power
- Hardwired to 12V, 24V, or 48V electrical system.
| Products | QTY | |
|---|---|---|
| Starlink Mini Kit Use this link to get one month free. (For Residential/Roam subscriptions in Canada only) | 1 |
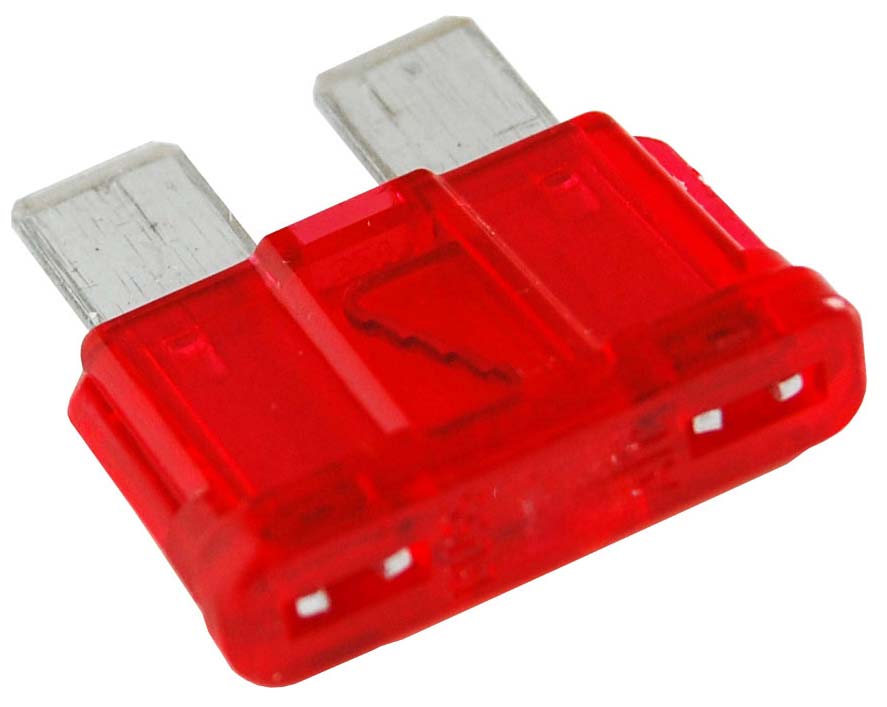 | 7.5A Fuse | 1 |
| 16 AWG Duplex Cable | ||
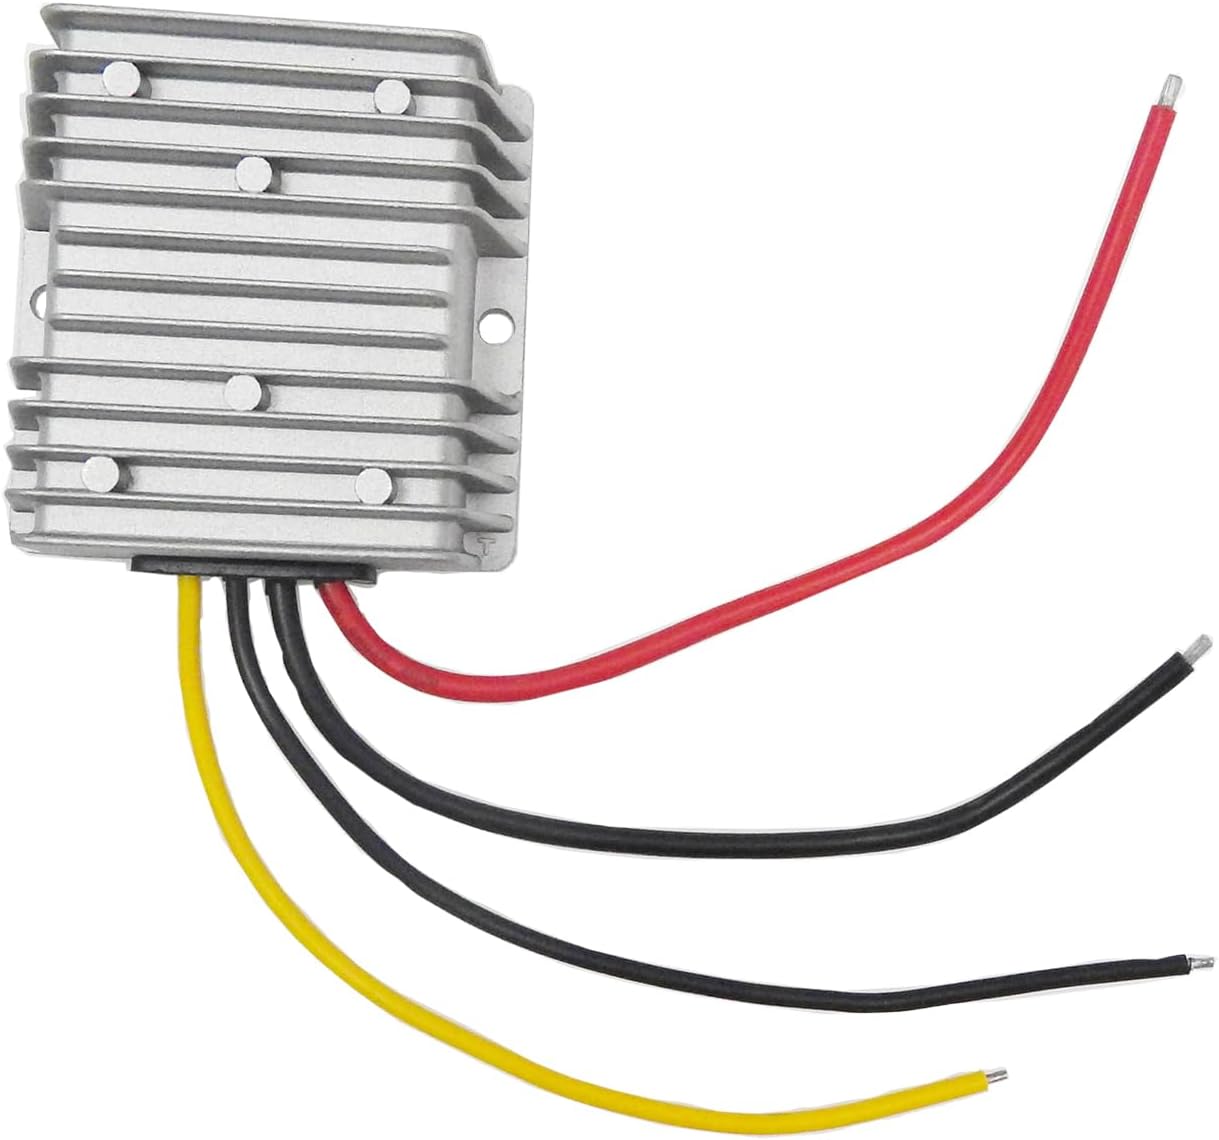 | 12/24V Step-Up Converter to 36V | 1 |
| Wago Inline Connector | 4 | |
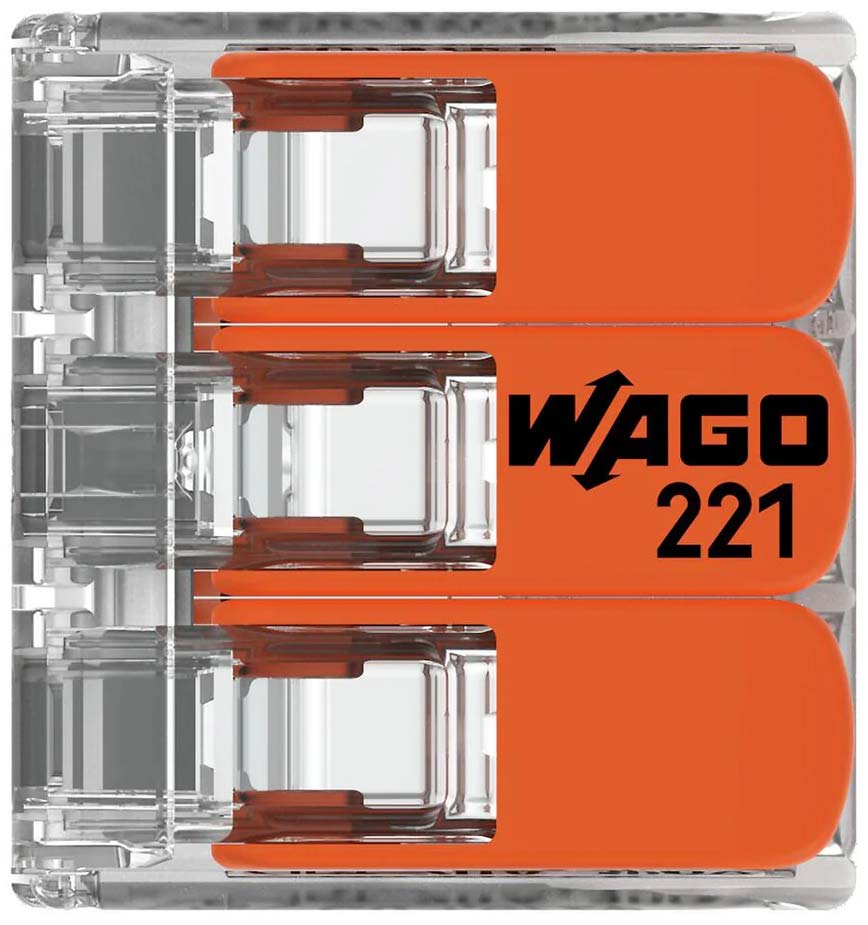 | Wago 3 Conductor | 2 |
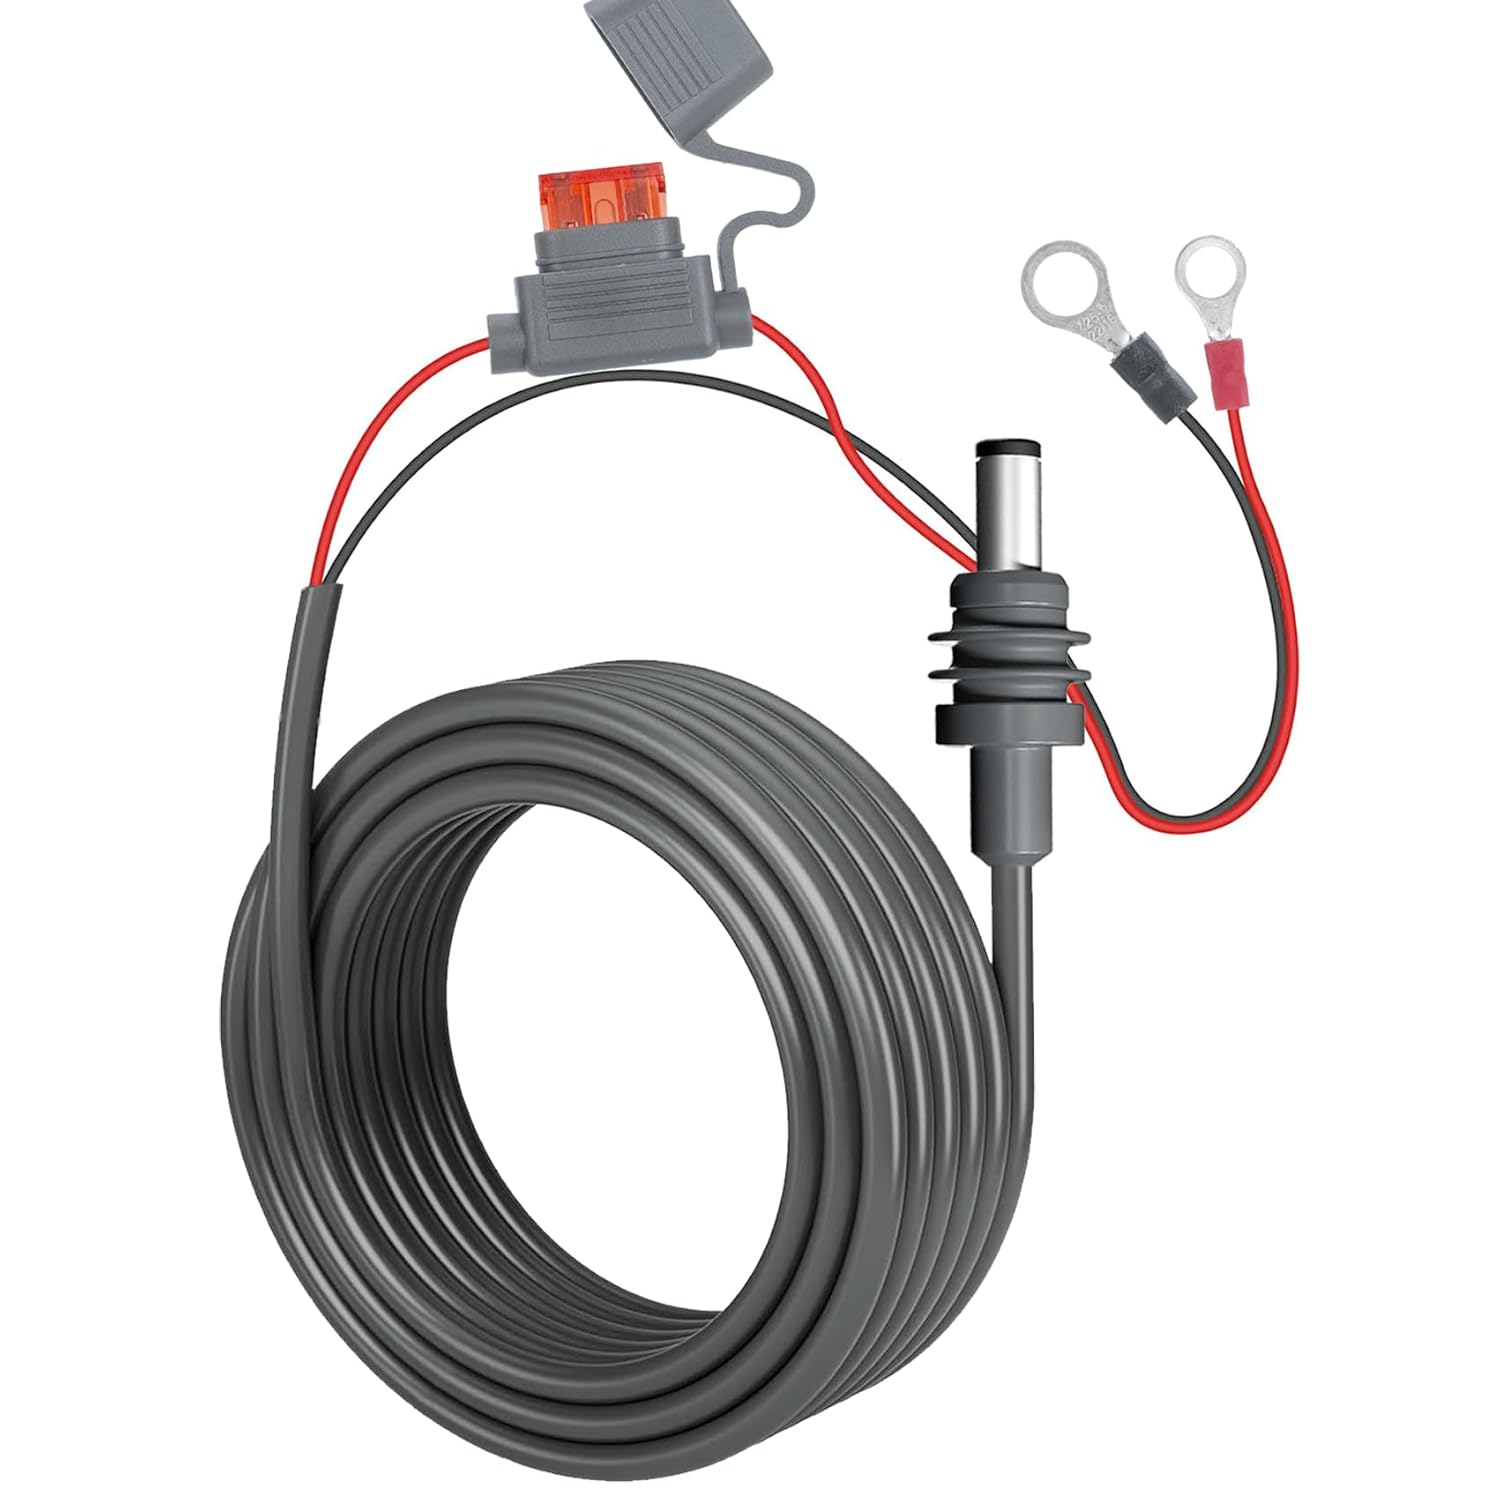 | Starlink Mini Direct Battery Power Cable (32ft, for Roof) | 1 |
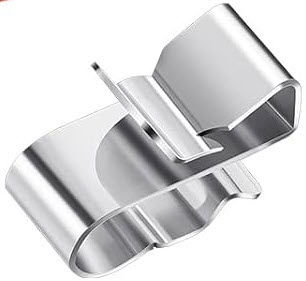 | Solar Cable Clips | 1 |
 | Ford Transit Cable Entry Pad | 1 |
| Ford Transit D-Pillar Starlink/Solar Entry Box | 1 |
Notes:
- Because the Wi-Fi router is located outside the van (in the dish), the Wi-Fi signal may be weak and slower speed may ensue.
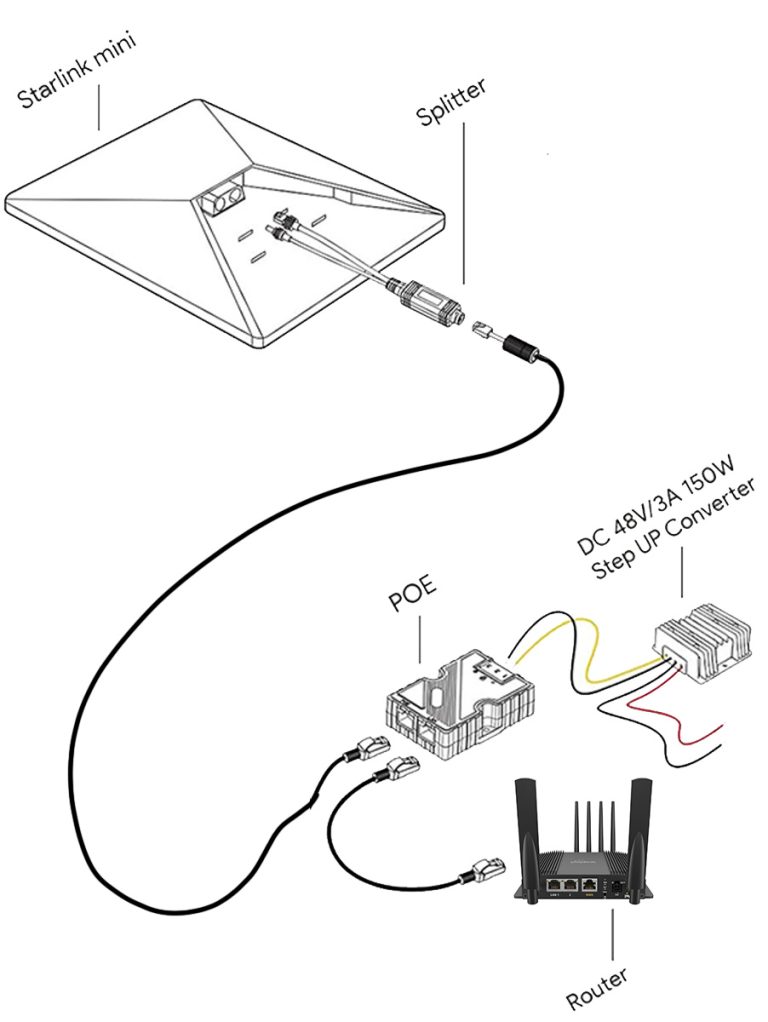
C: Maximum Strength & Reliability
Hardwired | Router inside the Van | Roof Mounted
Pros
- Maximum Wi-Fi strength, because the Wi-Fi router is inside the van.
- Long cable (50ft) for ground deployment.
Cons
- Installation process a bit more involving and requiring a bit more parts.
Wi-Fi Router
- 3rd party router inside the van for maximum signal strength.
- Starlink Mini dish is switched to “Bypass Mode” (via the app) to turn off built-in Wi-Fi and enable 3rd party router.
Power & Network
- Hardwired to 12V, 24V, or 48V electrical system and to router inside the van.
| Products | QTY | |
|---|---|---|
| Starlink Mini Kit Use this link to get one month free. (For Residential/Roam subscriptions in Canada only) | 1 |
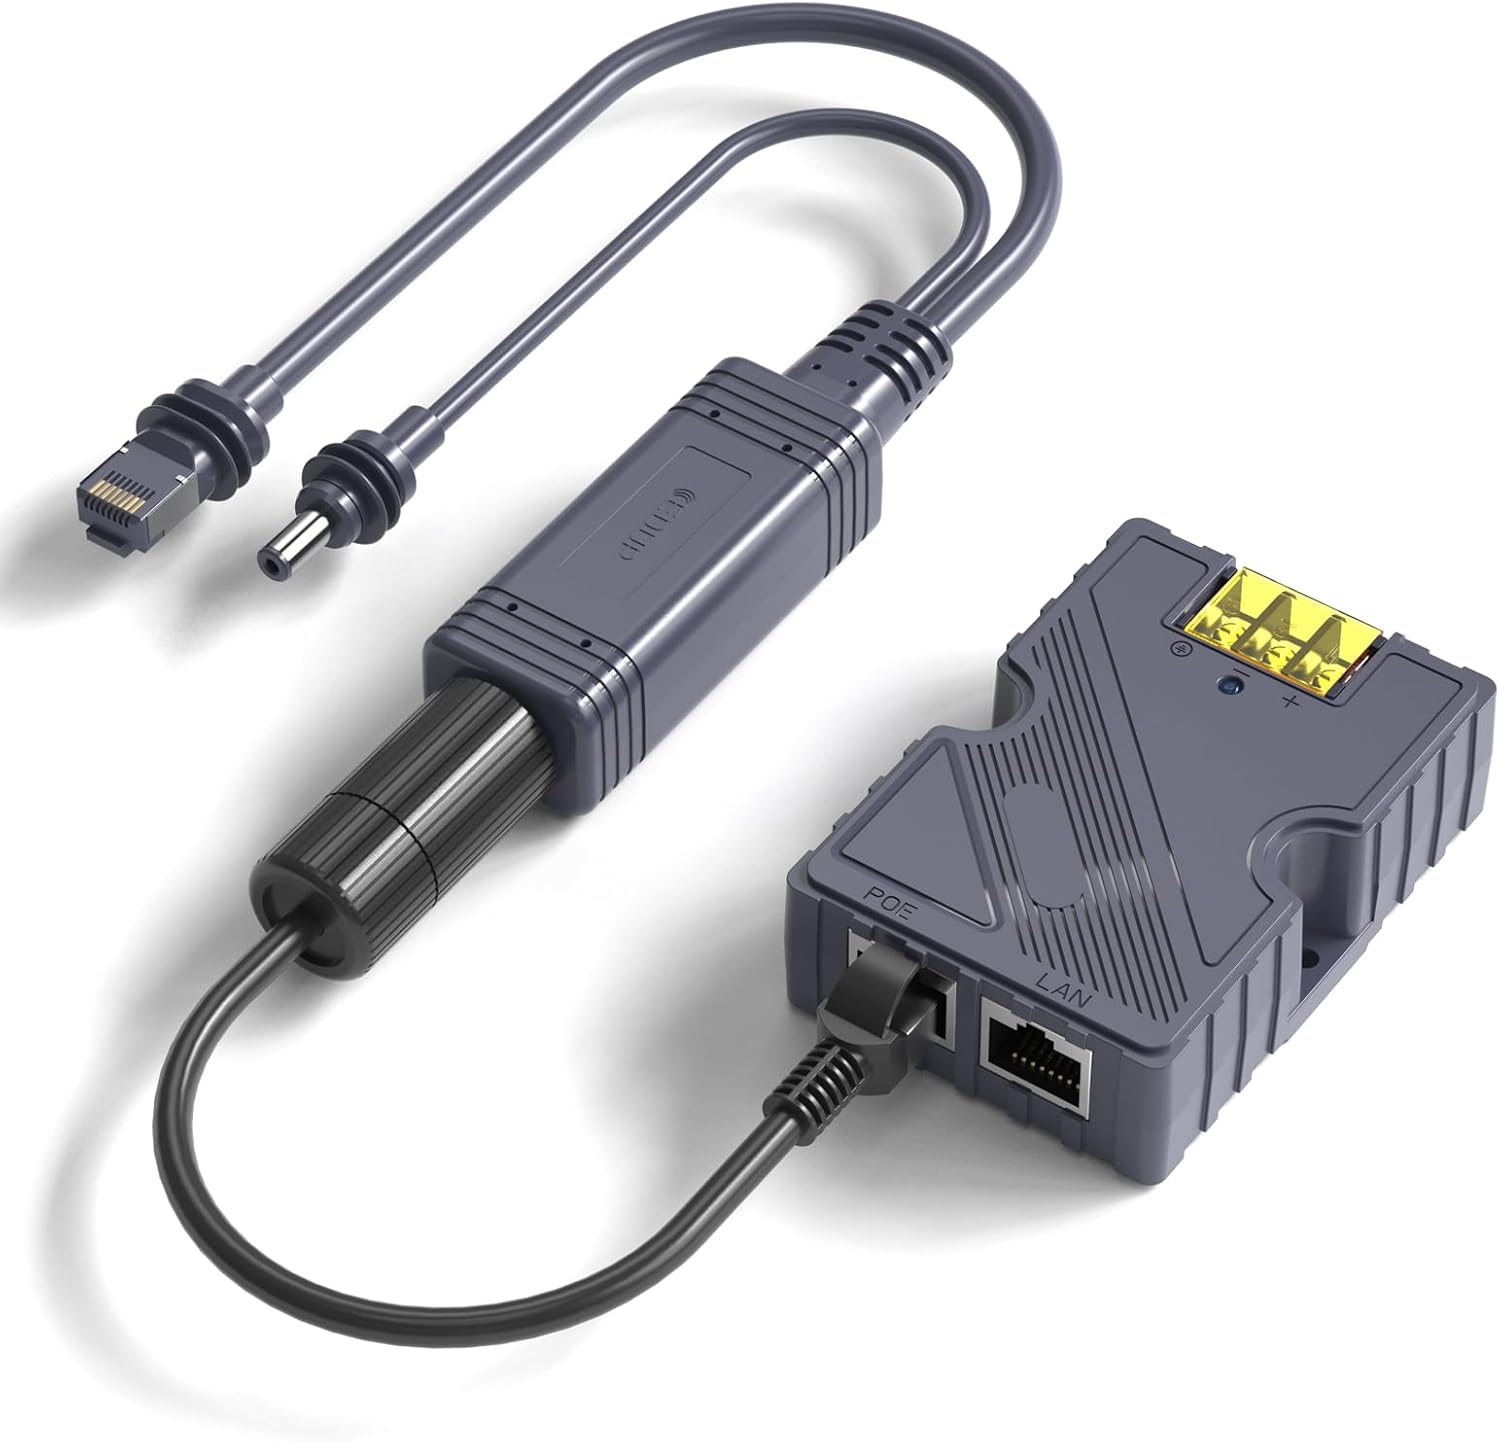 | Starlink Mini PoE Injector Splitter (Allow to use a single cable for power & network) | 1 |
| 12/24V Step-Up Converter to 36V | 1 |
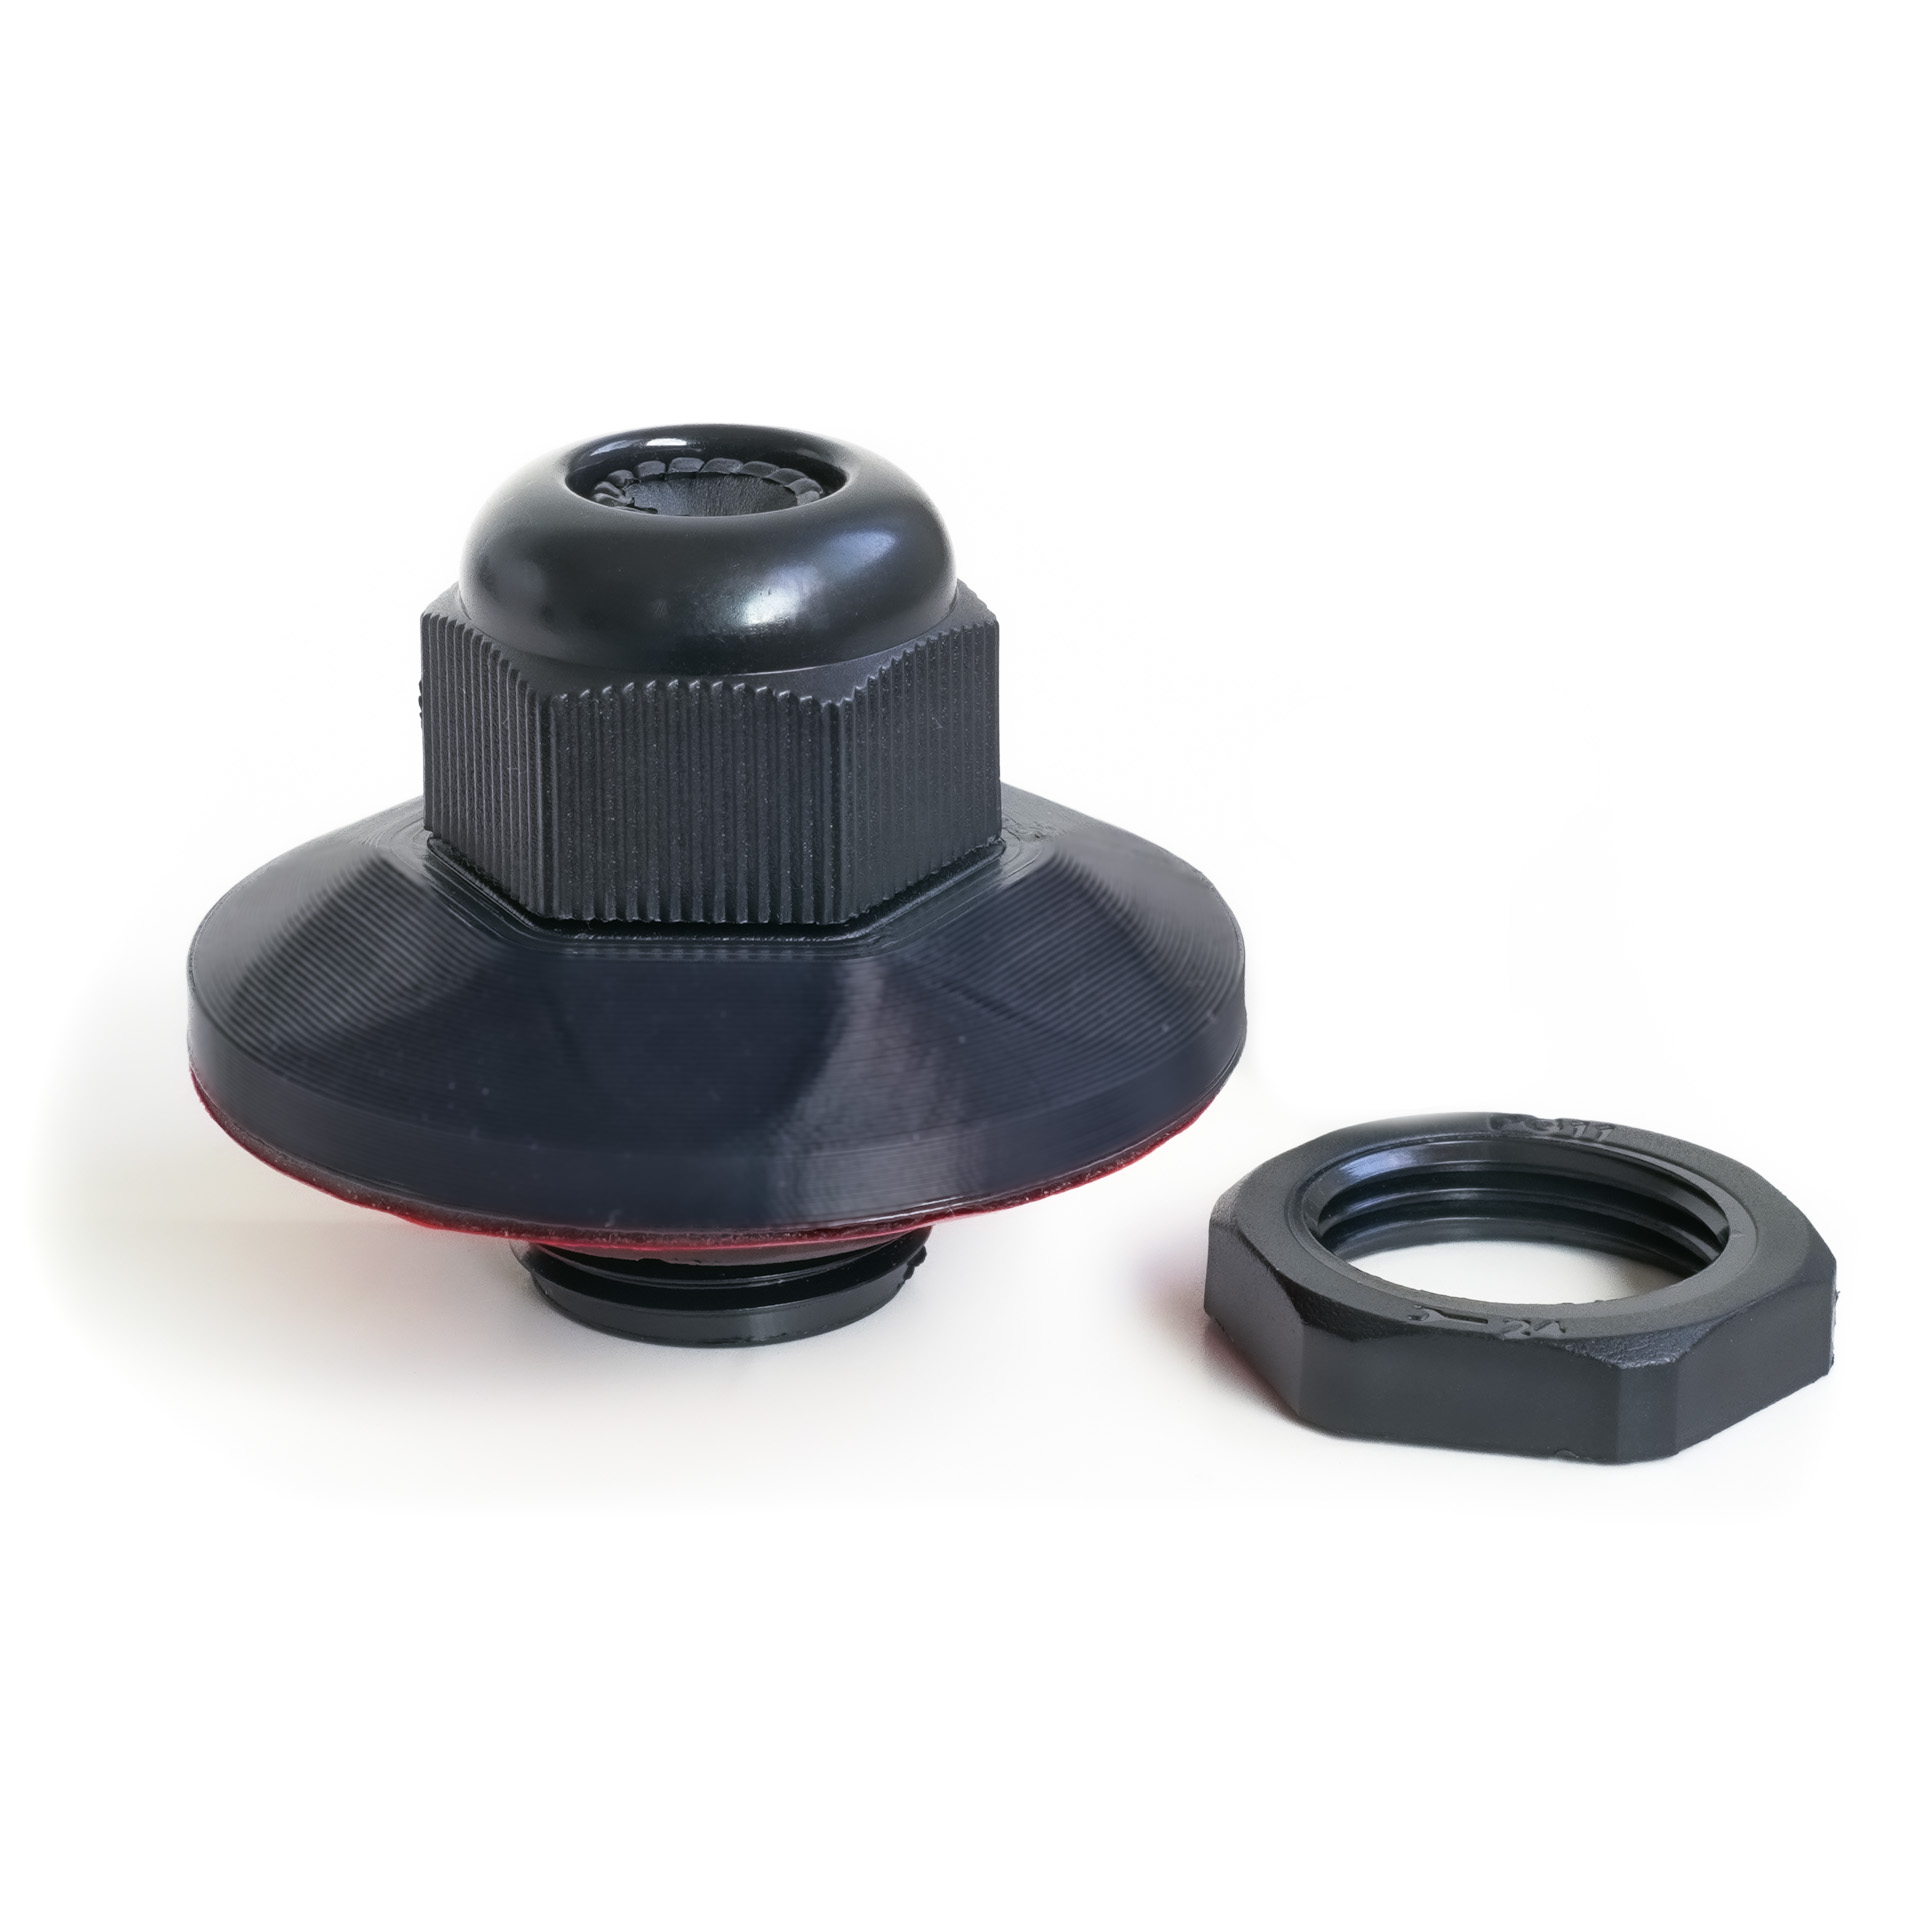
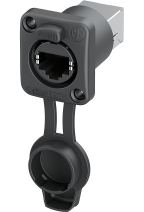 | Network cable bulkhead port (IP67) | 1 |
 | Peplink Max BR1 Pro 5g (see below for entry-level option) | 1 |
Notes:
- This is not an exhaustive list; only the major components are shown!
Wi-Fi Router (Option C)
The router is responsible for picking up the signal (Starlink, Cell, Public Wi-Fi) and broadcasting the Internet connection to the users (you). Not all routers are created equal:
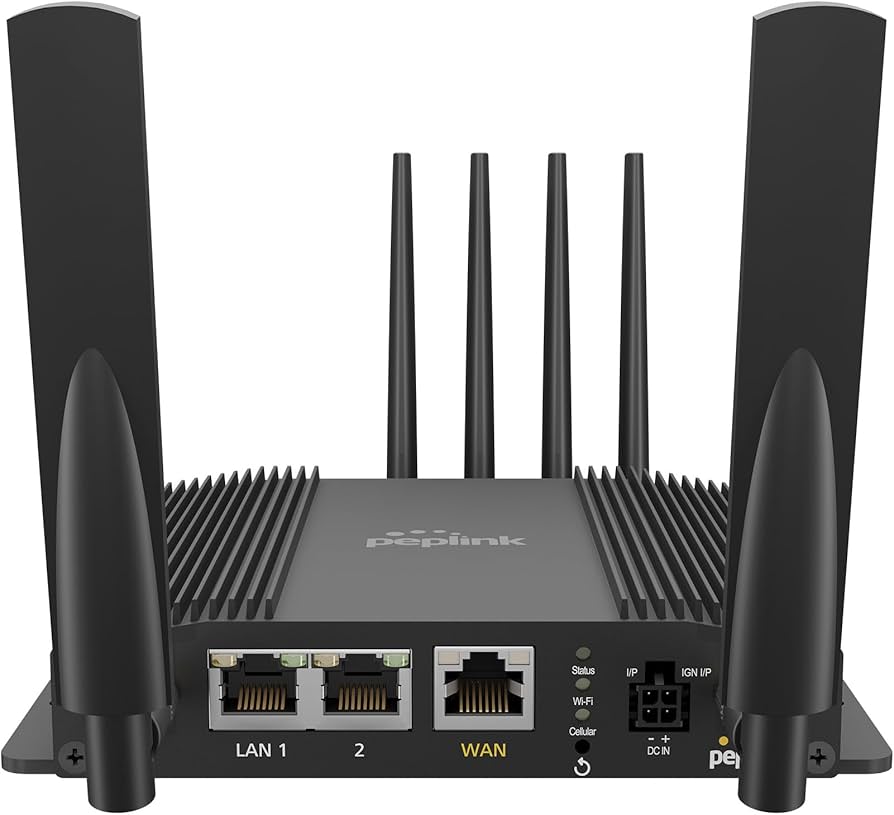
Peplink Max BR1 Pro 5G Wi-Fi Router
(Top-Tier $$$)
- Buy link: Peplink Max BR1 Pro 5G
- Manufacturer resources: Peplink
Despite costing so much, this router is extremely popular amongst remote workers and nomad gamers. If your livelihood depends on a fast, reliable Internet connection, consider this:
- Built specifically for extreme temperatures (-40F to 149F) and mobile environment (shock and vibration resistant, EN 61373 certified).
- WAN: Use Starlink as primary or automatic failover connection.
- SIM and eSIM (5G/LTE): Use cell data (Verizon, etc) as primary or automatic failover connection.
- WISP (Wi-Fi as WAN): Connect to external Wi-Fi (including free networks such as library, etc.) and re-broadcast as your local network.
- LAN Ports: 2 LAN Ports.
- GPS: Integrated GPS receiver with external antenna port.
- Antenna: Port for external antennas (to pick up cell data or external Wi-Fi).
- Wi-Fi 6: Can broadcast 2.4GHz and 5GHz Wi-Fi networks simultaneously.
These features are available with their “PrimeCare” subscription (oh boy, another subscription). If you do not need these features, a subscription is not required. If you stop your subscription, the router will continue to work, but you lose these features:
- Speedfusion: Combine WAN (Starlink), SIM (cell), and other connections to create a single robust and strong network.
- InControl Cloud management: Remote central dashboard for monitoring, configuration, management, etc.
- Firmware upgrades.
- Technical support.
GL.iNet GL-X3000
(Consumer $)
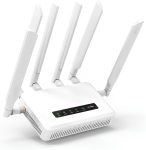
- Buy link: GL.iNet GL-X3000
- Manufacturer resources: GL.iNet.com
A more budget-oriented option still packed with features:
- WAN: Use Starlink as primary or automatic failover connection.
- SIM and eSIM (5G/LTE): Use cell data (Verizon, etc) as primary or automatic failover connection.
- WISP (Wi-Fi as WAN): Connect to external Wi-Fi (including free networks such as library, etc.) and re-broadcast as your local network.
- LAN Ports: 12 LAN Ports.
- Wi-Fi 6: Can broadcast 2.4GHz and 5GHz Wi-Fi networks simultaneously.
Resources
- Starlink Technical Specifications and Resources | Starlink.com.
- Starlink FAQ | Most up-to-date information on service plans, restrictions, standby mode, etc.
- The Starlink Mini antenna accepts 12V-48V DC, and draws 60W max.
- The included plug converts 120V AC to 30V DC.
- The included 50ft cable is a coaxial cable, we don’t recommend trimming it. If you must, use the Direct Battery Power Cable linked in Material section.
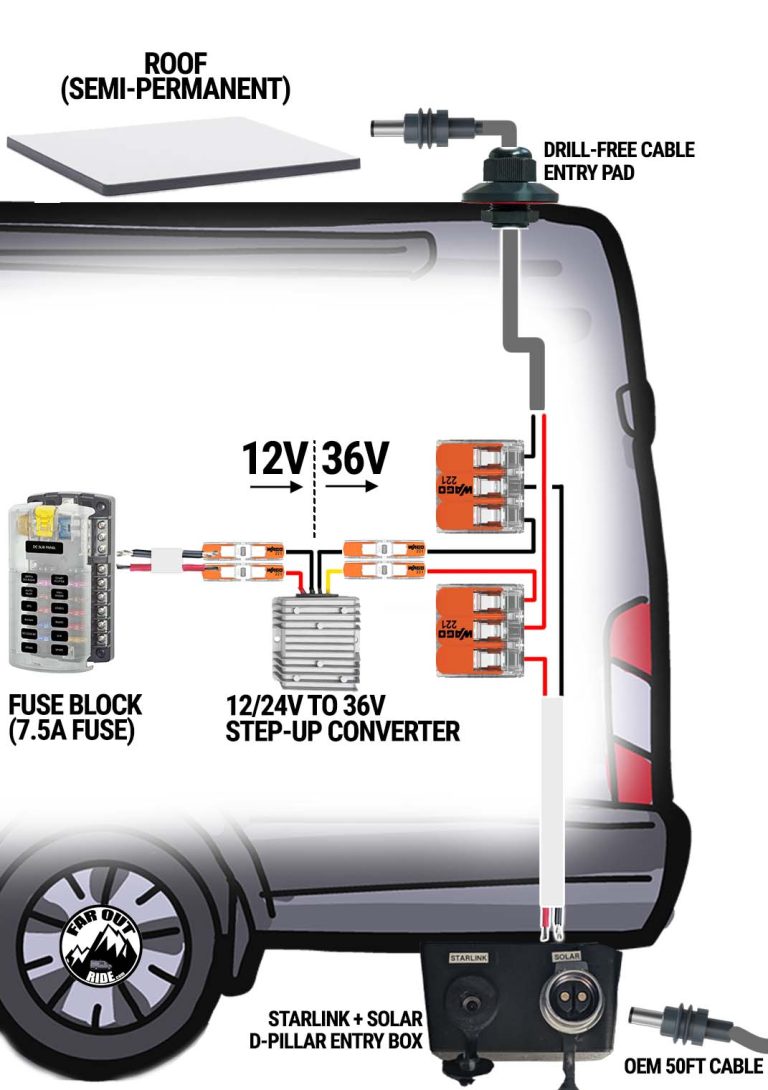
Wiring
We installed our Starlink Mini per Option B.
12V DC
We are wiring the Starlink Mini to our 12V electrical system, because it’s more power-efficient than 120V (especially for low-power, long-duration loads).
While the antenna accepts 12V DC, it may cause random reboots due to voltage drop across the OEM 50ft cable. We therefore recommend stepping up the voltage to at least 30V-48V (just like the included 120V plug does).
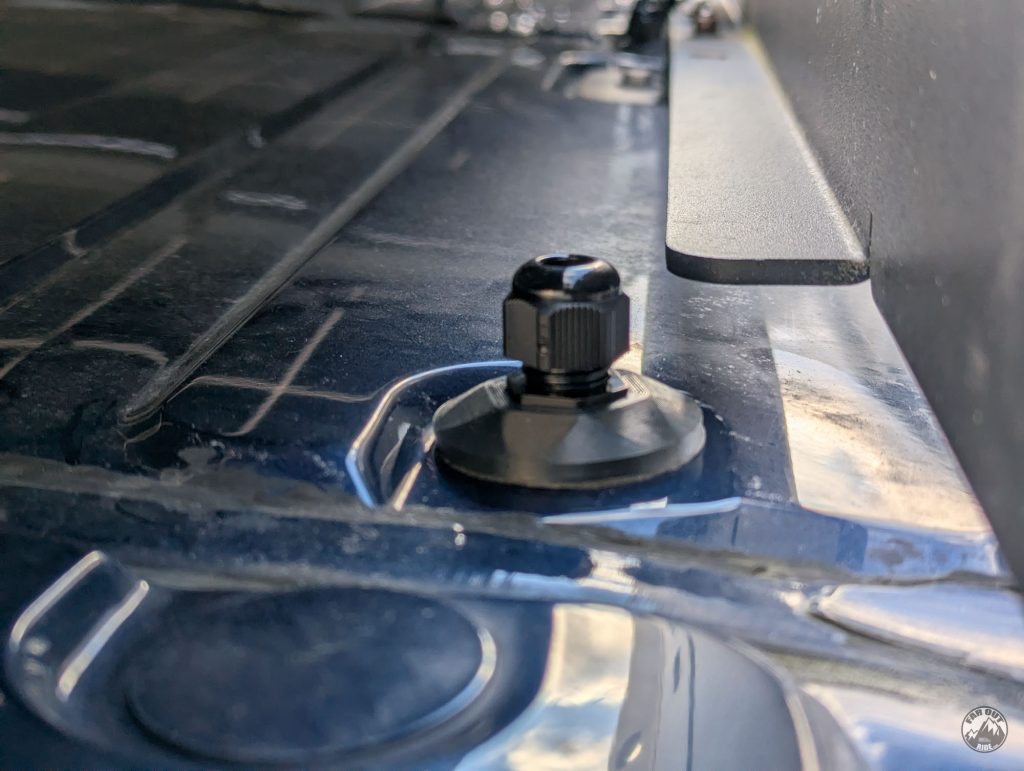
Roof
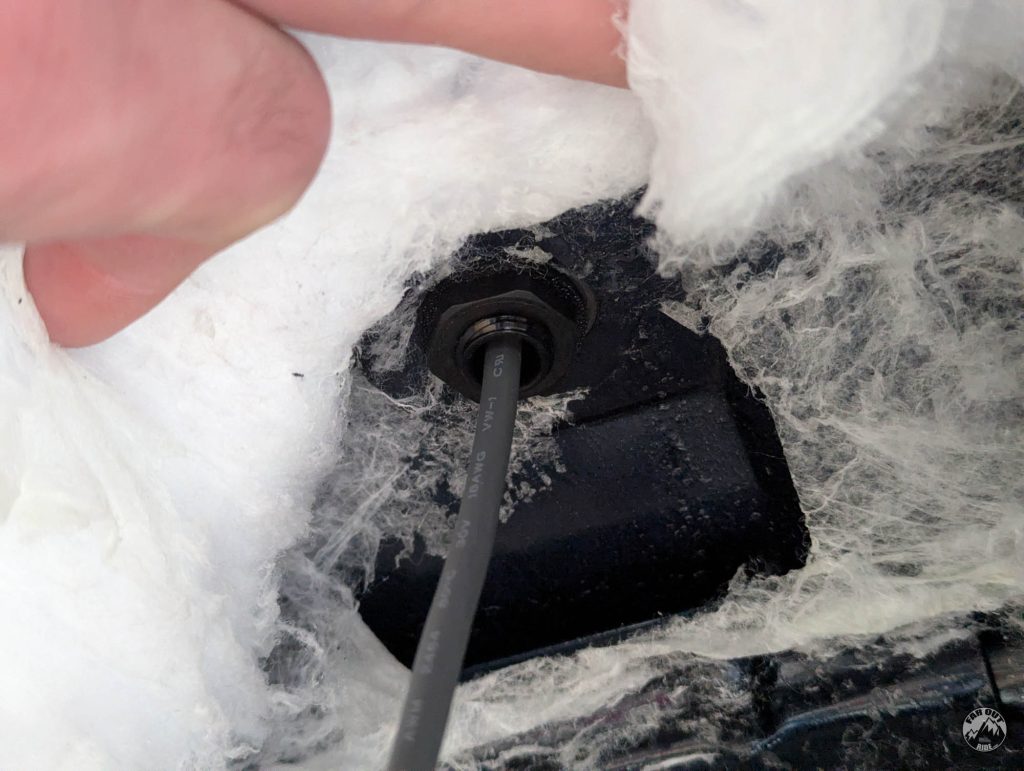
We first installed a Cable Entry Pad over a factory pass-through hole (in-depth technical and installation info here: faroutride.com/product/cable-entry-pad):

No drill, no screws. Easy.
We trimmed away the connectors and the inline fuse that came with the Direct Battery Power Cable (they’re not needed and won’t fit through the pass-through gland):

We started at the Starlink Mini dish…
… and routed the cable all the way to the Cable Entry Pad, using Solar Cable Clips every 12in or so :

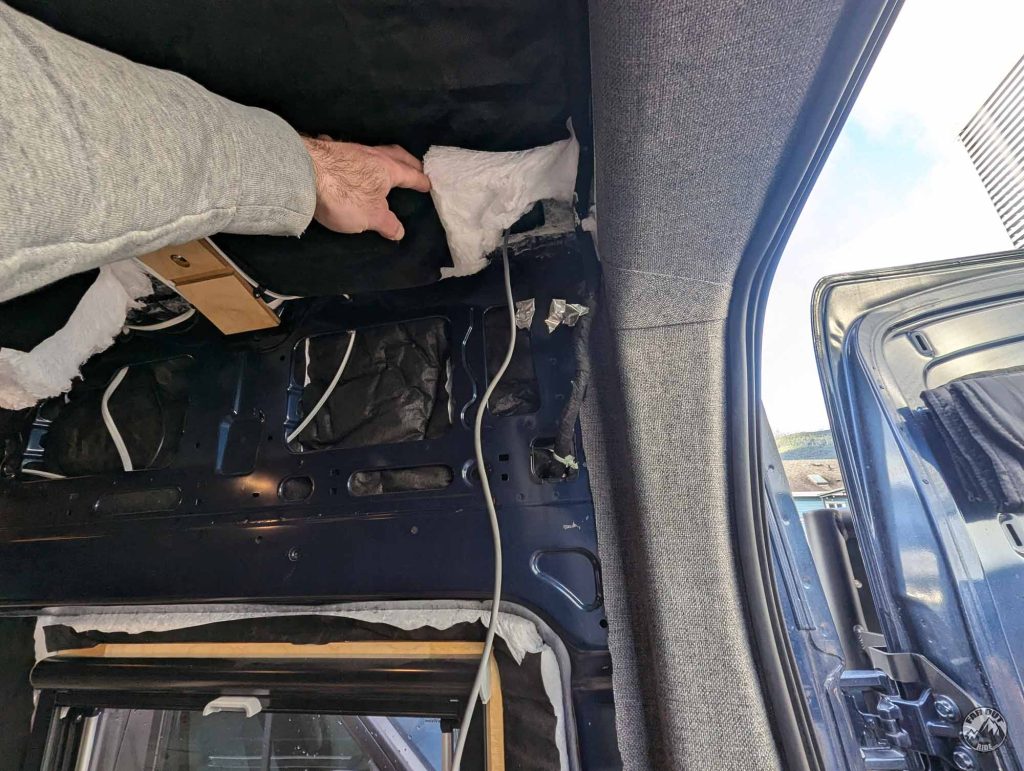
The cable is routed from the top…

… to the inside of the van:
The cable enters the van at the passenger-rear pass-through hole, because this one was still available (others are occupied by solar panels cables and WeBoost antenna):
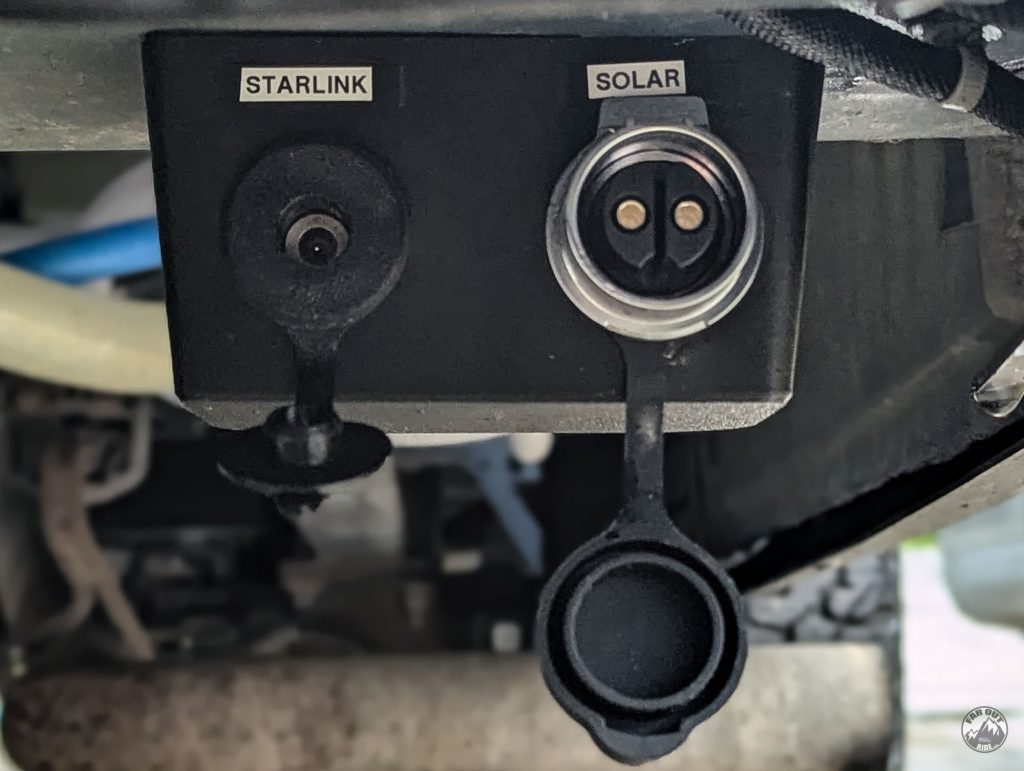
D-Pillar
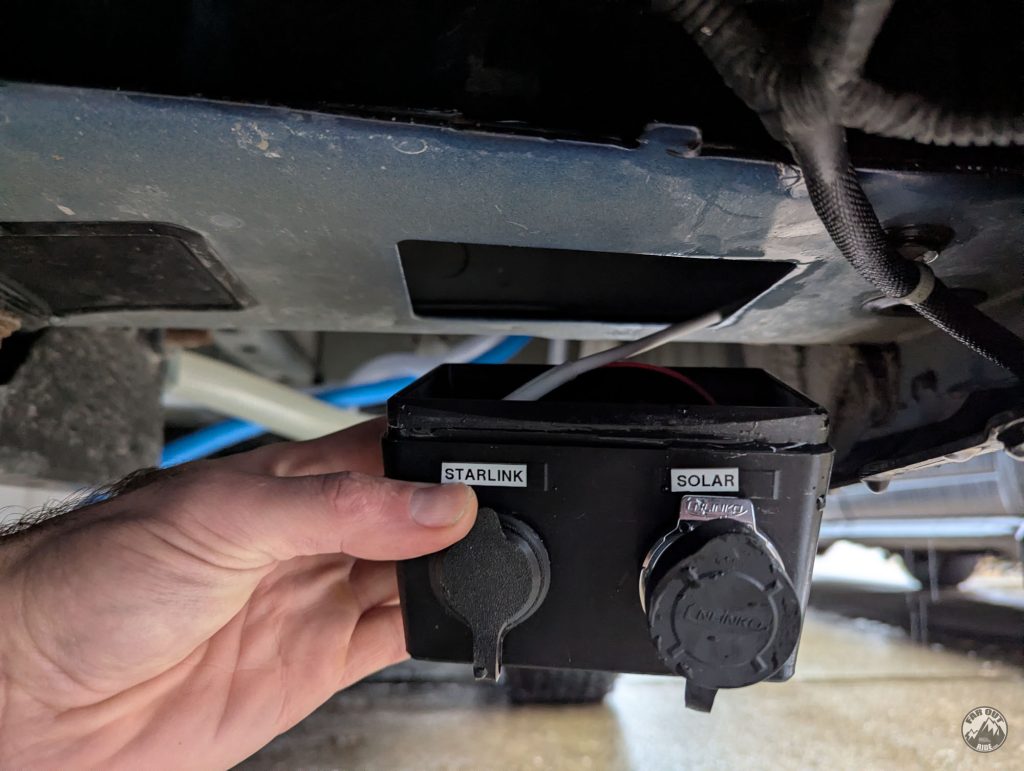
Here’s the Starlink D-Pillar Entry Box we came up with. In addition to the Starlink Mini jack, there’s an extra cutout for ground-deployed solar panels (in-depth technical and installation here: faroutride.com/product/starlink-solar-entry-box):
The duplex cable is routed from inside the van to the D-Pillar cutout via existing openings (no need to drill anything). Like so (image showing our shore power cable):

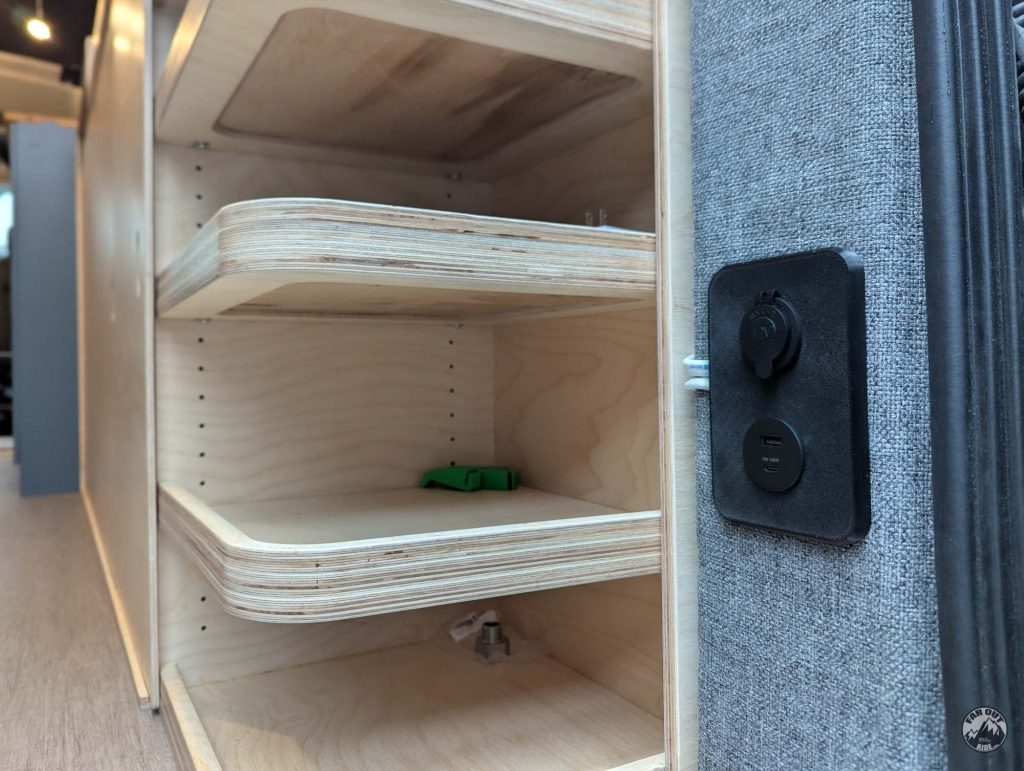
But because we had already installed our water system cabinet and the opening is no longer accessible, we made a custom D-Pillar USB plate and added a pass-through for the cable…
But because we had already installed our water system cabinet and the opening is no longer accessible, we made a custom D-Pillar USB plate and added a pass-through for the cable…
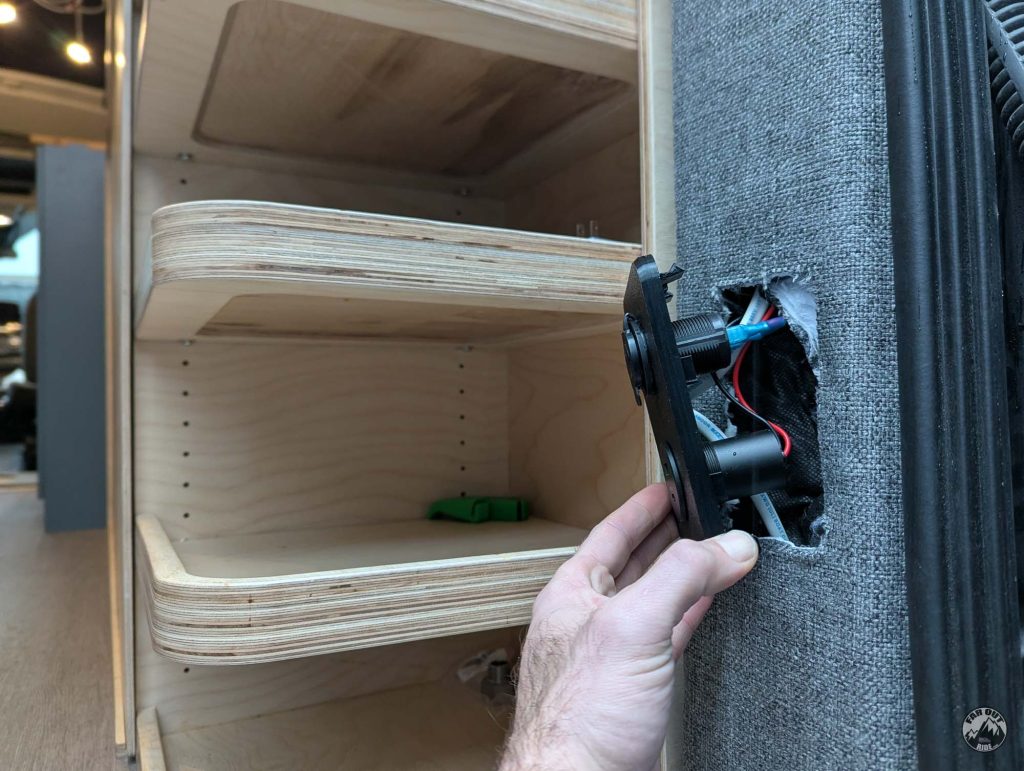
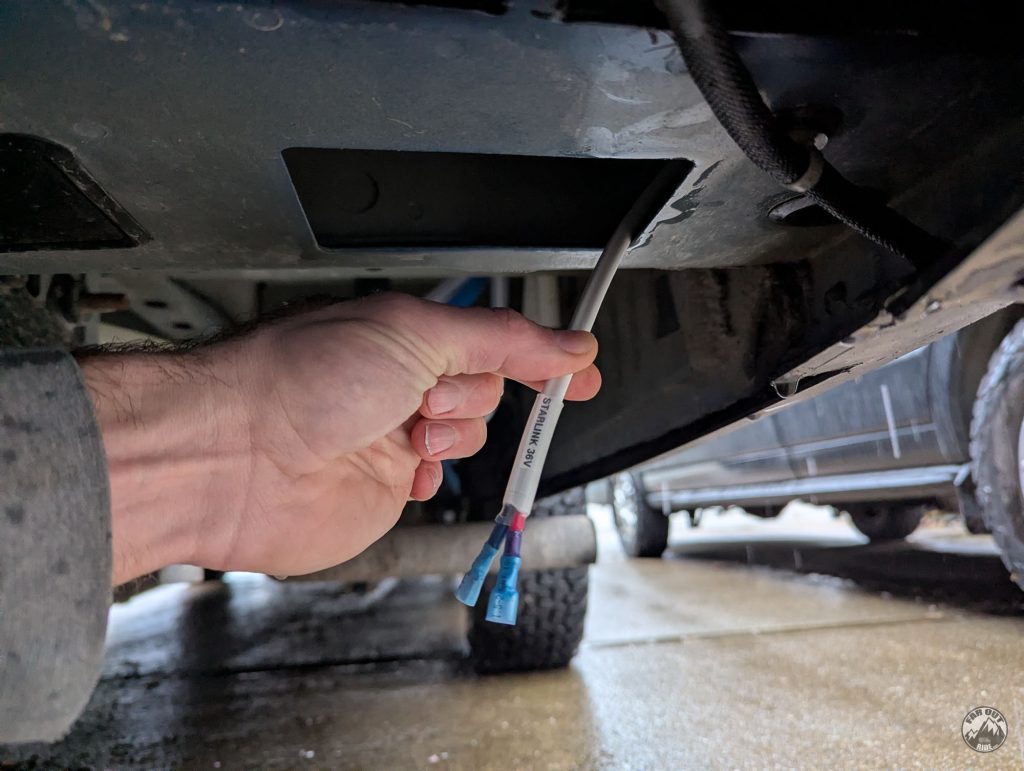
Here we grab the cable under the D-Pillar and we connect it to the Starlink Box using insulated heat-shrink disconnects (we’re not using Wago connectors here, because water occasionally comes out of the frame and a waterproof connection is preferred):
The Starlink Entry Box simply snaps into the D-Pillar cutout (we also made 15A Shore Power Entry Box and 30A Shore Power Entry Box using the same method):
Distribution Panel and Voltage Converter
We first wire the duplex cable to our EcoFlow Power Kit Distribution Panel:
The duplex cable (12V IN), Roof Cable (36V OUT), and D-Pillar Cable (36V OUT) are wired to the step-up converter with Wago Connectors. A bit of a mess right now, working on it!
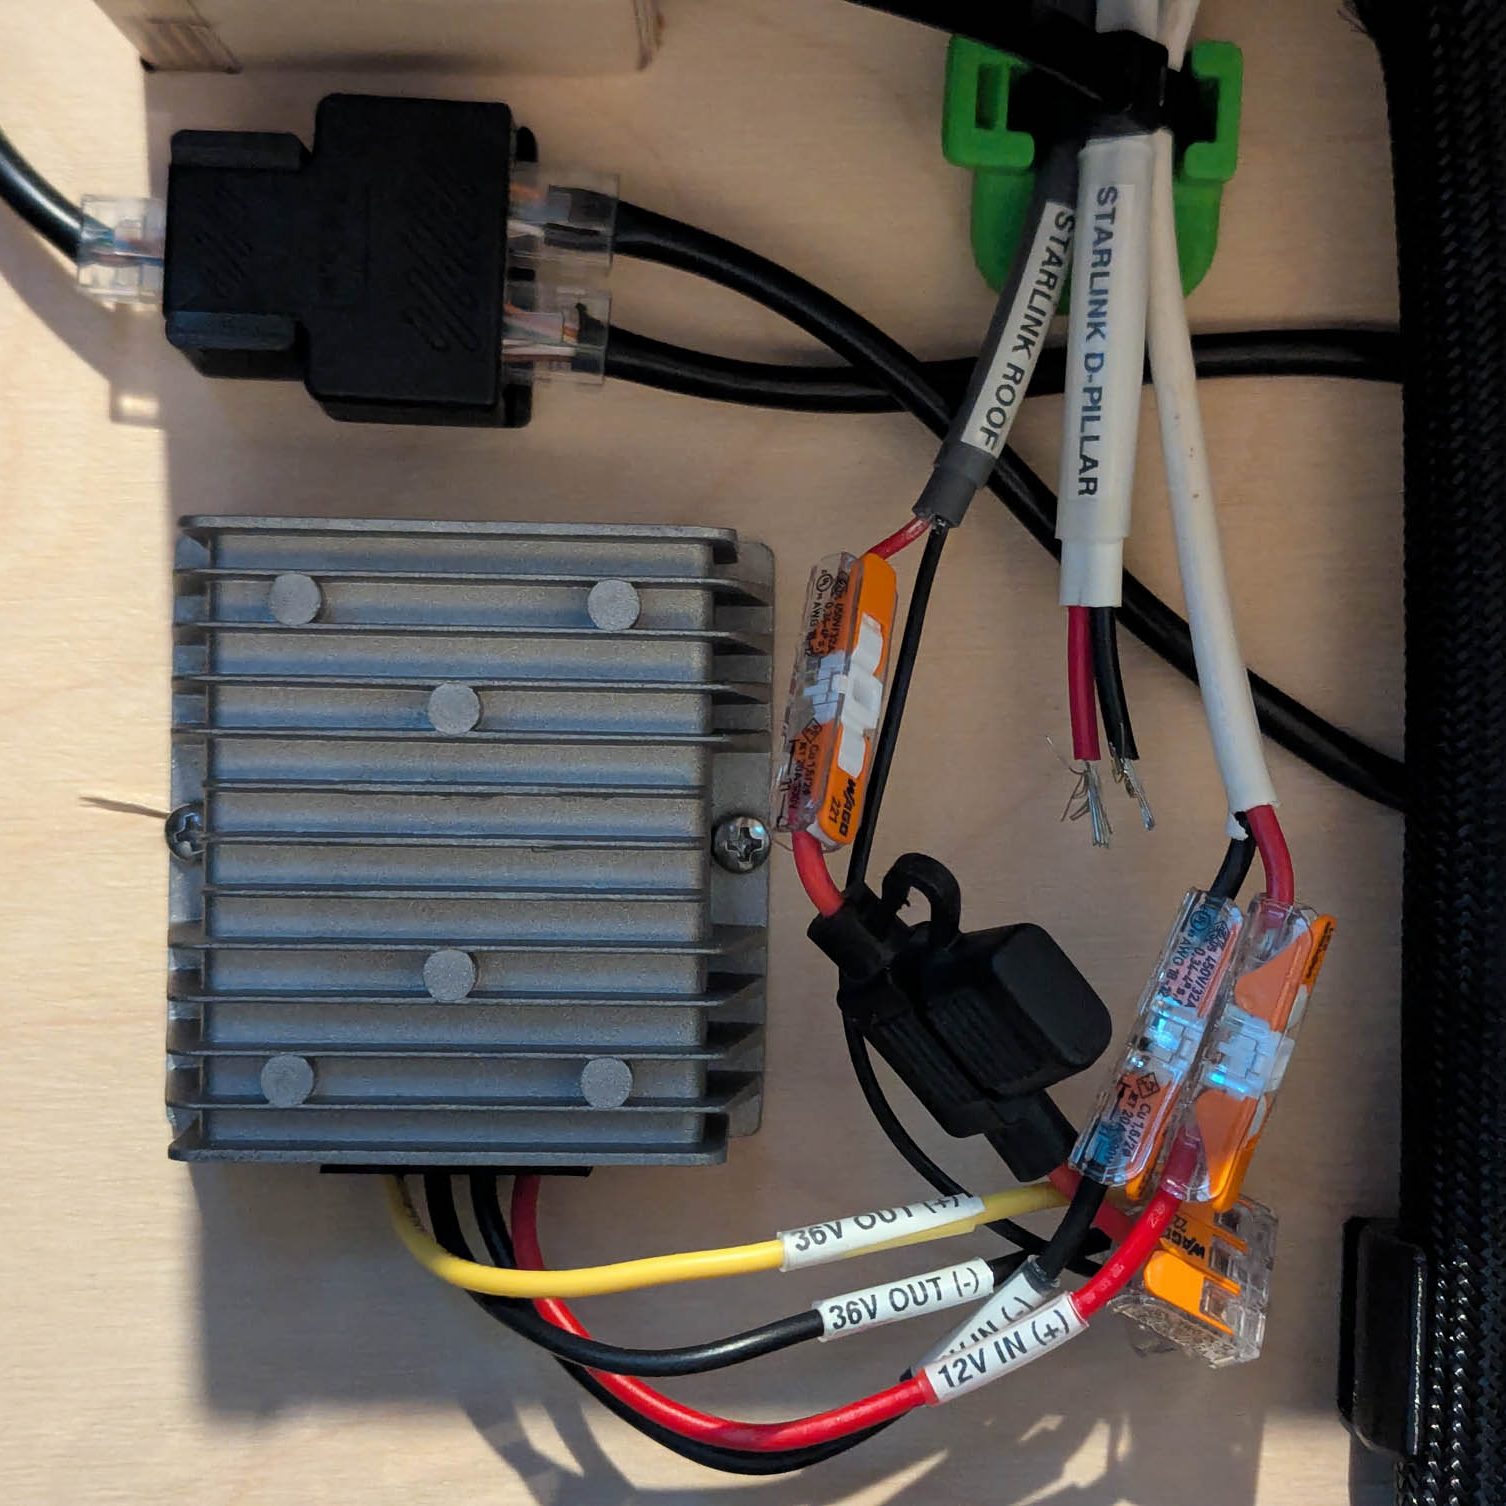
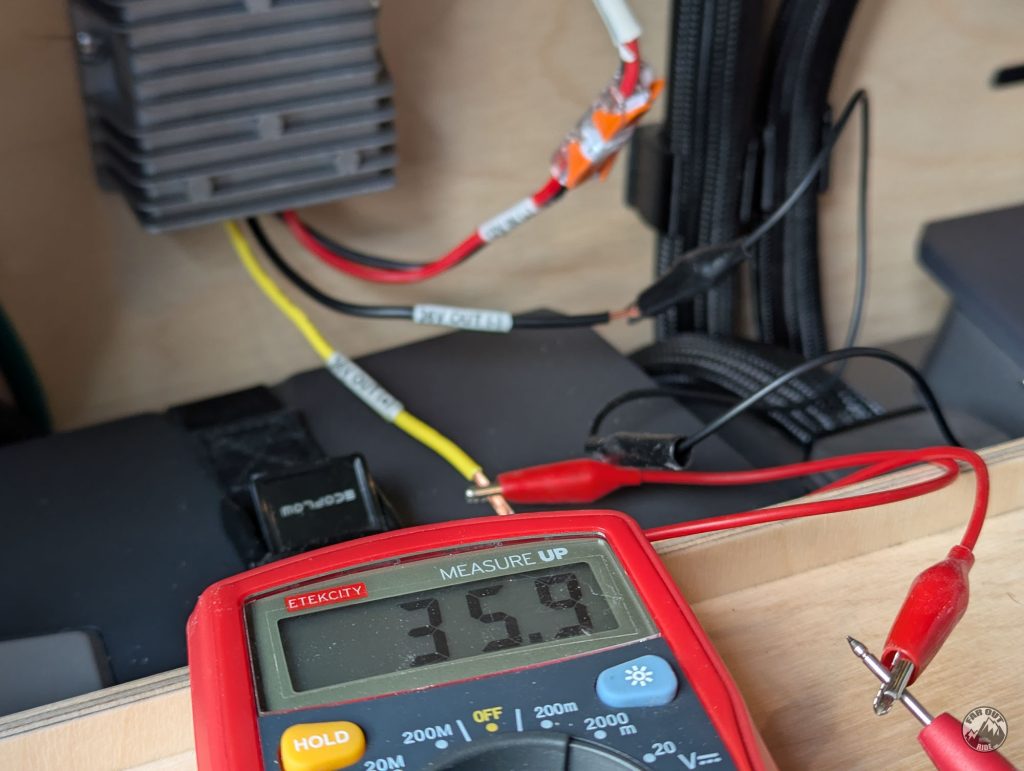
Just making sure the step-up converter is doing its job; it does!
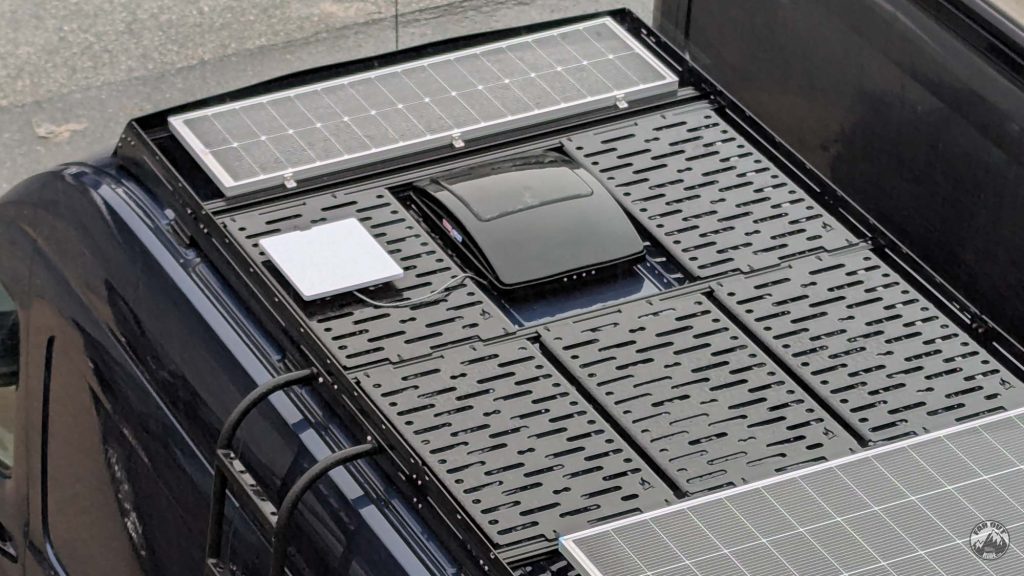
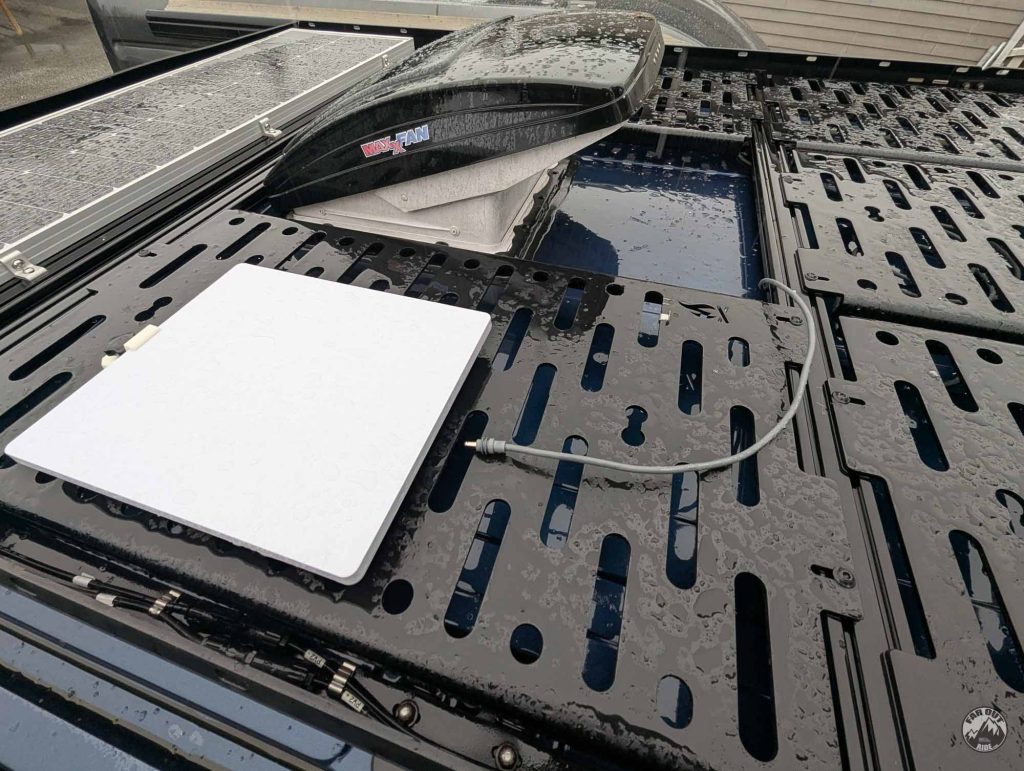
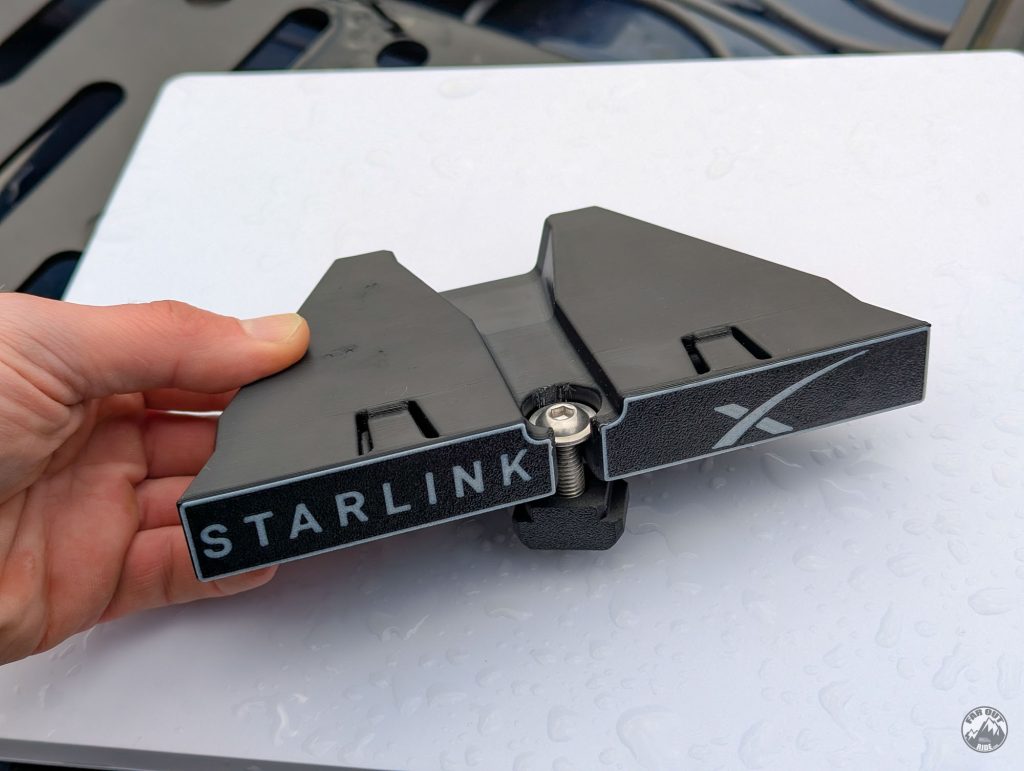
Roof Mounting
There are good mounting options out there (Amazon), but we made our own Starlink Mini Mount (3D Print File) because we wanted our dish to be installed directly to the Flatline Van Co Decking Panel. Also, we’re picky, and a low-profile mount wasn’t good enough; we wanted an super-ultra-low-profile mount…
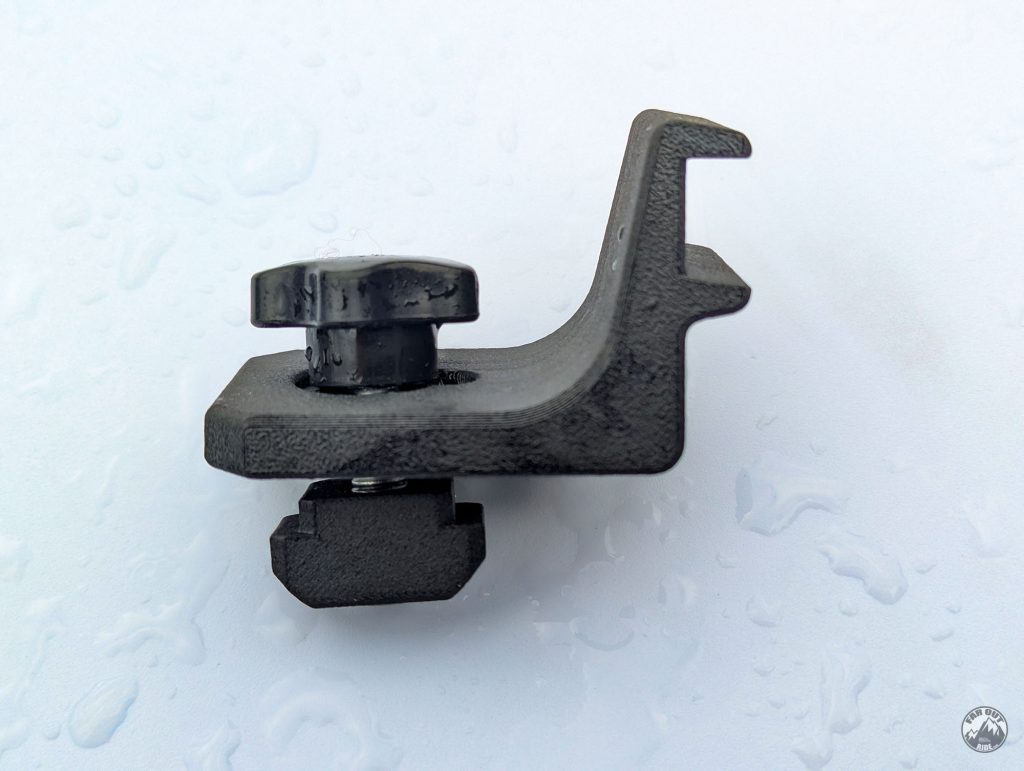
The mount is fastened to the roof deck panel with a M8 screw and a t-nut we made:
Under the mount, there are two pins that index into the decking panel slot:

We also made a holding bracket to ensure the Starlink antenna doesn’t go into orbit:
Without the Starlink Mini dish:
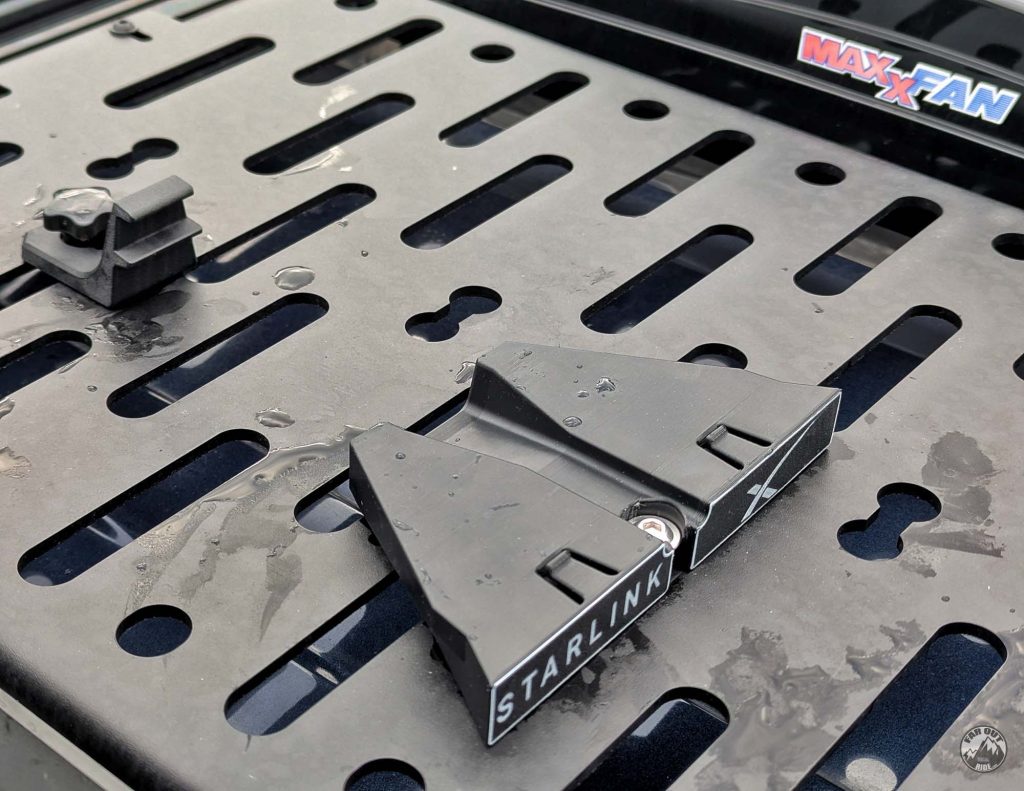
With the dish. It takes a second to install or remove:

The antenna is perfectly flush with the roof rack (faroutride.com/roof-rack) 👌

Ground Deployment
Coming soon!
FAQ
Important stuff we thought you’d like to know. Always refer to the official Starlink Help Page for the most up-to-date information!
Residential vs Roam Plan
The residential plan is restricted at a fixed, land-based location, and cannot be used in motion. The Roam plan allows in-motion use, at home or away.
Obstructions
Starlink requires a clear, unobstructed view of the sky. Things like trees and building, even clouds, can affect performance. That’s why our antenna can be easily removed from the roof; we can take it to a location with a clear view of the sky (50ft cable).
Out-Of-Country Usage
The Roam plan allows international travel out of your home country (where available), but only for up to 2 months. After two months, you need to transfer your account to a new country, or you risk getting your service suspended.
Standy/Pause Mode
Standby/Pause mode is available for $5 per month. This mode still provides unlimited low-speed data for emergency messaging and easy reactivation in dead zones.
On Second Thought…
At the moment we’re using Option B (dish’s built-in router), and we’ll have to perform some tests to know if we need to “upgrade” to Option C (Wi-Fi router inside the van).


I’m considering a similar setup to your Option B. How frequently do you find that you need to move the dish from the roof of your van?
We just installed this setup and haven’t used it yet in the wild (except to test it at the house).
So we’ll have to report on that later!