Seriously, who wants to inflate a mountain bike tire with a floor pump? It’s OLD-SKOOL (do we need to mention we’re being sarcastic here?). Let’s make things right and install an on board tire inflator. We’ll be using the air compressor from our Air-Lift suspension system.
But before we get too excited, there are a few things to know:
- We tap into our Air-Lift suspension system. We have the stock Air-Lift air compressor: it’s a mini-low-volume compressor, MINI-LOW-VOLUME. Don’t even try to inflate a car tire with that, the compressor will toast.
- A normal air-compressor has a large air tank. In our case, the air-bag acts as the air tank; it has a very small volume so after a few PSI is added to the tire, the compressor will kick-in. And there is a few seconds delay for the compressor to kick-in. It’s not as sleek as a normal air-compressor system.
- We operate our Air-Lift at 60PSI, which is more pressure than we inflate our mountain bike tires (28-30PSI max).
- The Air-Lift maximum pressure is 100 PSI. Sorry roadies, no tire inflator for you.
- And finally, when inflating a tire, the Air-Lift system will think that there is a leak. Of course, we’re taking air away from the Air-Lift system, just as a leak would do. The Air-lift remote will therefore display a “LEAK” warning, but it will keep working, so we just ignore it.
In other words: MANAGE YOUR EXPECTATIONS! It works great to fine-tune the pressure in your tires (we run tubeless, so we frequently have to add a few PSI and it’s much better than using a floor pump), but has some limitations.
Alright, still with us? You might want to buy a real portable compressor (with a tank), do this upgrade like we did or keep pumping air like a LOSER (here is some sarcasm again). You choose.
Time spent on the job: 2 hours (assuming you already have the Air-Lift System installed)
Total cost: $100 USD
Material
- Bicycle Tire Inflator for Presta and Schrader valves (Buy on Amazon)
- Quick Connect Air Coupler (Buy on Amazon)
- Air Line Union T (push-to-connect) (Buy on Amazon)
- Air Hose with 1/4 MPT ends (we installed the 6 feet length) (Buy on Amazon)
- Valve for Air Line (push-to-connect) (Buy on Amazon)
- 1/4″ Air Line DOT (Buy on Amazon)
- Push-to-connect to 1/4″ NPT adapter (Buy on Amazon)
Prerequisite

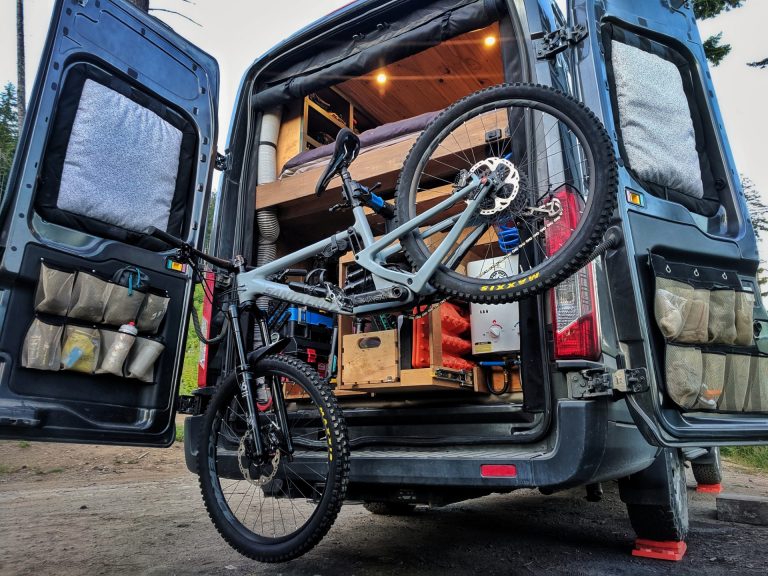
First of all, plan your routing. We tapped into our left air-bag, because this would make the shortest run from the Air-Lift to the tire inflator. Here is the final result:

Let’s do this!
Using the Air-Lift controller, reduce the pressure to 5 PSI (that’s the minimum pressure) so you don’t get blown away when cutting the air line:

Using a carpenter knife, make a nice and straight cut into the air line and install the Union T (it’s a push-to-connect (PTC) fitting; just push straight and that’s it!):

Route your new air line from the Union T to the back of the van (or where you chose to install your tire inflator). Here is our routing:

The following fittings are added in this specific order (refer to picture below):
- Valve (we were concerned that the tire inflator would constantly slowly leak, turns out it doesn’t. We would still install a valve to shut it down for winter or if a leak happens in the future. We don’t want our Air-Lift bags to deflate.);
- A short air line run (like 2 inches);
- Push-to-connect to 1/4″ NPT adapter;
- 6 feet (or else) Air Hose with 1/4 MPT ends (use teflon tape!);
- Quick Connect Air Coupler (use teflon tape!);
- Bicycle Tire Inflator for Presta and Schrader valves.

We’re using a Quick Fist Mount (Buy on Amazon) to hold the air hose in place:

Nice!!

On second thought
Please read the introduction on top of this page! We think the tire inflator is a great upgrade, we use it very often. But don’t expect it to work exactly as a normal air compressor system!


So, do you (or can you) use this to adjust the pressure in your van tires? With the “reservoir” you might not damage the pump, so??
An air tank would help for sure, but still, this compressor is low volume. It’s not intended to inflate tires. If our intention was to inflate tires, we would have go with something like this (on the new van maybe?): https://amzn.to/3olrqCm
Est-ce que c’est possible de joindre un réservoir d’air au compresseur de suspension à votre avis ?
C’est “possible”, mais le compresseur d’Air Lift est pas fait pour autant de volume… Il va chauffer et arrêter pour se protéger. Un compresseur style ARB est le bon outil: https://amzn.to/3bBKHGt