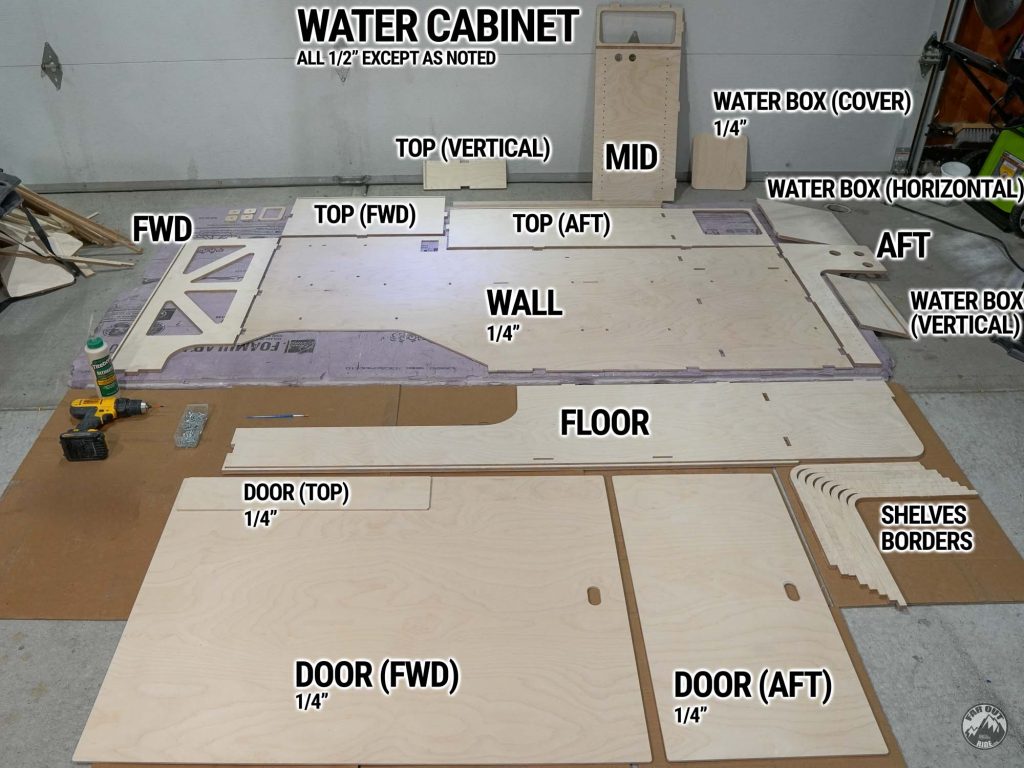
We’re almost ready to work on the water system! But first, we need to build the water cabinet that’ll house the fresh tank, pump, water heater, and more. Here’s everything about our Water System Cabinet. Let’s dive in!
Material & Resources
Time
TBD
Cost
TBD
Weight
TBD
Material
| ITEM | DESCRIPTION | QTY | BUY |
|---|---|---|---|
| 6mm (1/4″) Plywood | Wall panel, doors, water box cover, etc. | Source Locally | |
| 12mm (1/2″) Plywood | For most panels. | Source Locally | |
| #4 x 1in Flat Head Screws | To clamp panels together during glue-op. | 1 | Amazon |
| Wood Glue | Titebond III Ultimate Wood Glue. | 1 | Amazon |
| Sanding Disks for Orbital Sander | To prep for coating, and sand between coats. | 1 | Amazon |
| Polyurethane Sealant | To seal/protect the cabinet. | 1 | Amazon |
| Lint-Free Rags | To apply polyurethane coating. | 1 | Amazon |
| 1/8″ Landau Foam | Closed-cell foam for thermal break. | Campervan-HQ | |
| 3M 90 Spray Adhesive | To bond Landau Foam to the cabinet. | 1 | Amazon |
| ITEM | DESCRIPTION | QTY | BUY |
|---|---|---|---|
| M6 Rivet Nuts | For a strong and reusable fastening point. | 8 | Amazon |
| Rivet Nut Setter Tool | Many types of tools are available, but we use this one personally. | 1 | Amazon |
| M6 x 30mm Flange Button Head Screws (Stainless) | To fasten the upper cabinet into the rivet nuts. | 1 | Amazon |
| Spacers | To add space between the wall and the cabinet, and to account for the van recessed surfaces. (The 3D-Print file on MakerWorld is parametric; you can change the length before downloading the file!) | Amazon MakerWorld | |
| Straps for water tank | 1.5″ x 8ft lashing straps 2-pack. | 1 | Amazon |
We gathered all the water system components under this page:


Fabrication
Fabrication day is the best day! I spend more time that I care to admit on the computer (design), and it feels so good being in the shop, where things get real 🤩
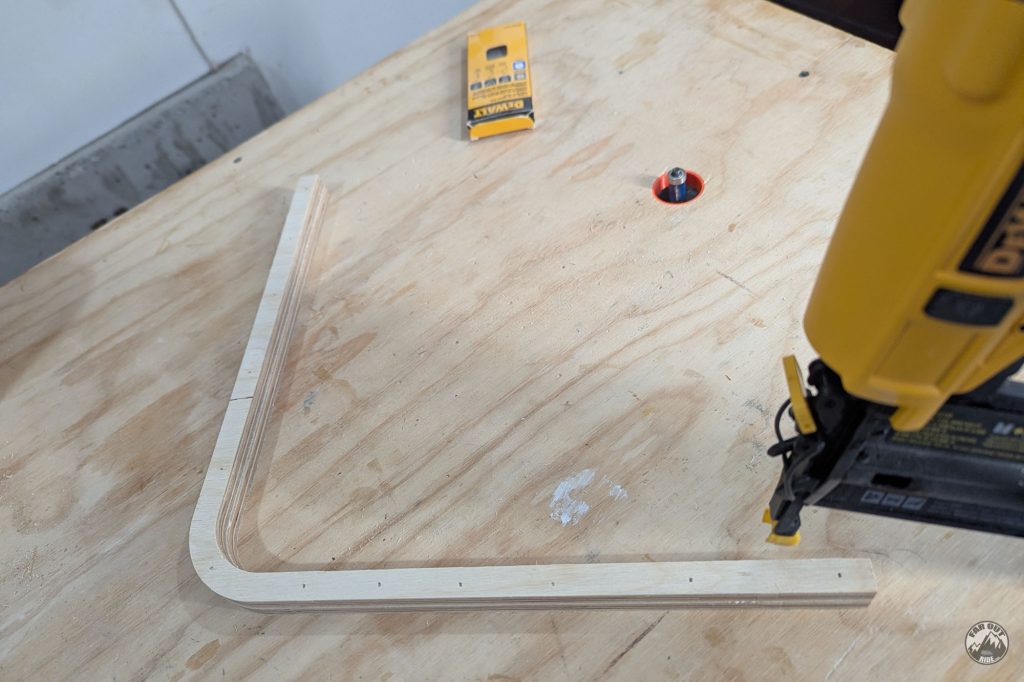
Cut
I’ve got all my parts cut on the CNC the day prior (see this YouTube video if interested) and sanded with an orbital sander (220 grit). We’re ready to assemble!
Assemble
If you have the CNC files and are following along, you MUST install the Top-AFT Panel & Water Box (Horizontal) BEFORE the FWD Panel. Like so:
- MID Panel to Floor Panel.
- FWD Panel.
- Floor Panel.
- Top AFT Panel.
- Water Box (Horizontal).
- FWD Panel.
- Water Box (Vertical).
- Top-Vertical.
- Top-FWD.
(I’m not showing this specific order in the photos below, because the original design didn’t work well and made the change afterward)
All the parts, except I realized I forgot to cut the shelves (x3)…
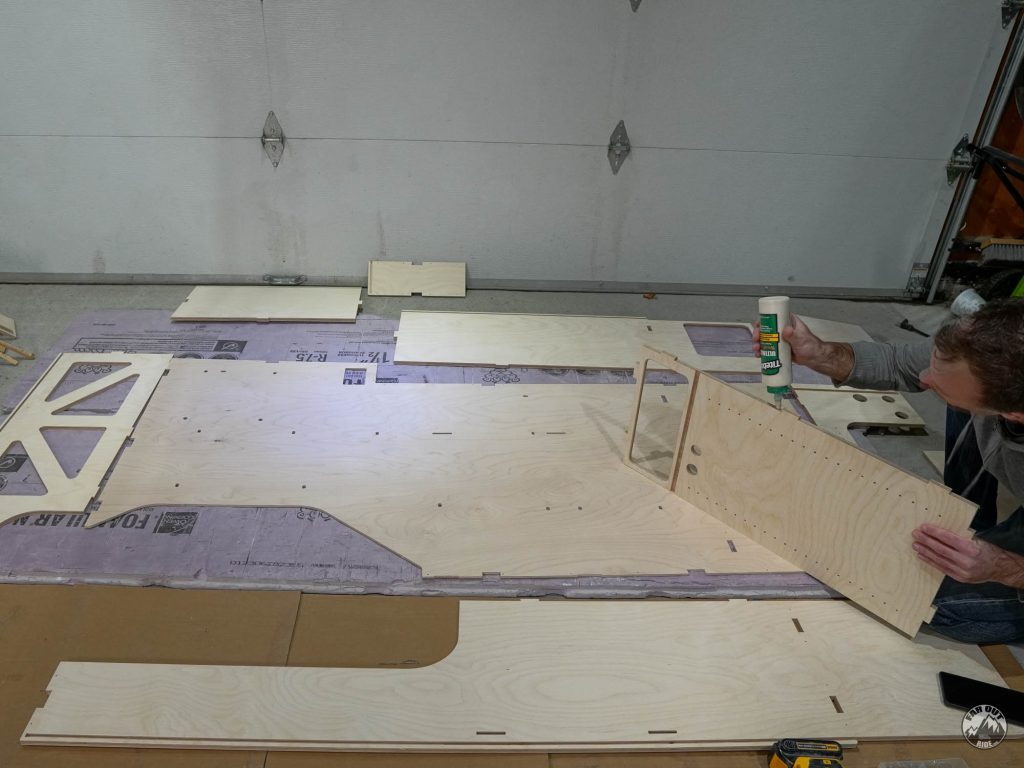
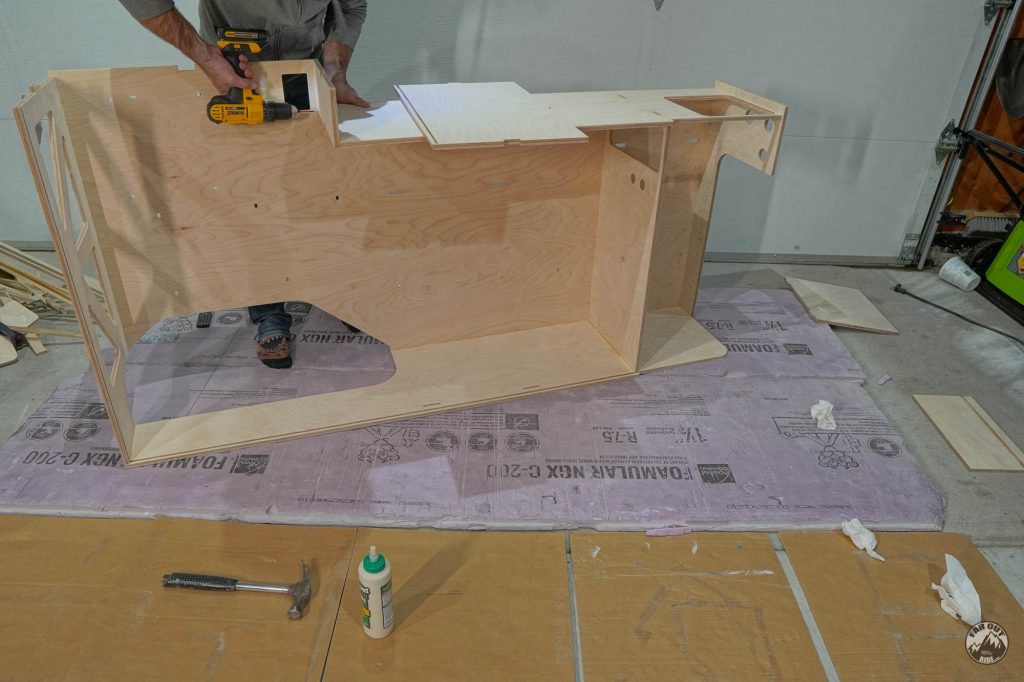
Here, I start by assembling the MID Panel to the Wall Panel.
ALL the mating surfaces are glued together, as usual.
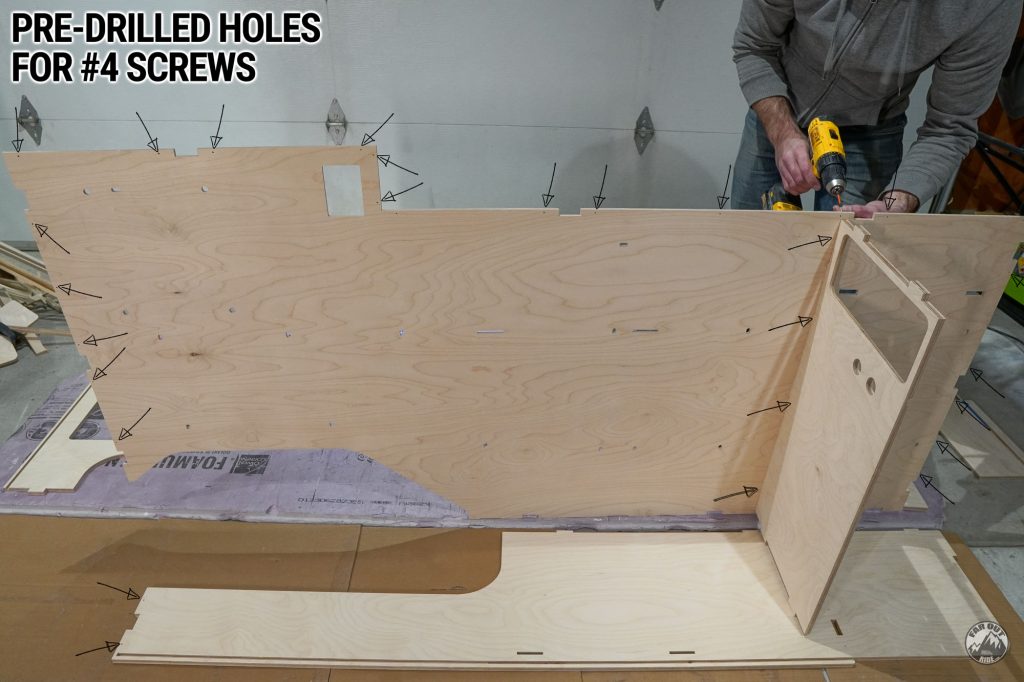
New for this cabinet, I added holes for #4 screws in the CNC files. The screws provide better clamping than brad nails, and they minimize the need for clamps (which are kind of a pain to use and not cheap). We’re learning!
– I retrofitted all the CNC files with this change –
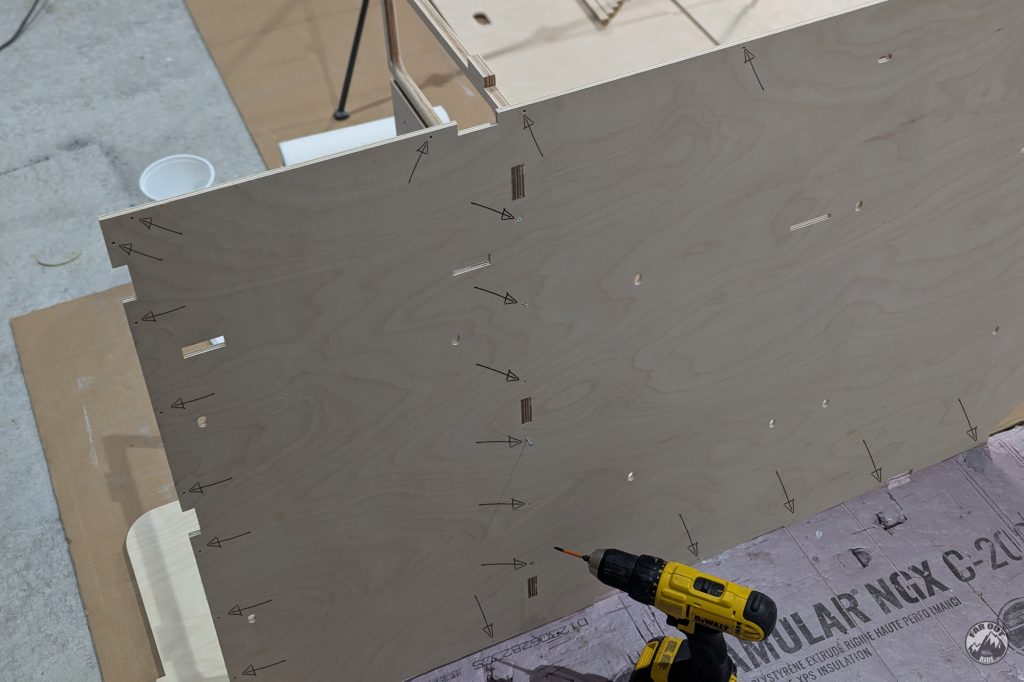
Just to show the back of the Wall Panel:
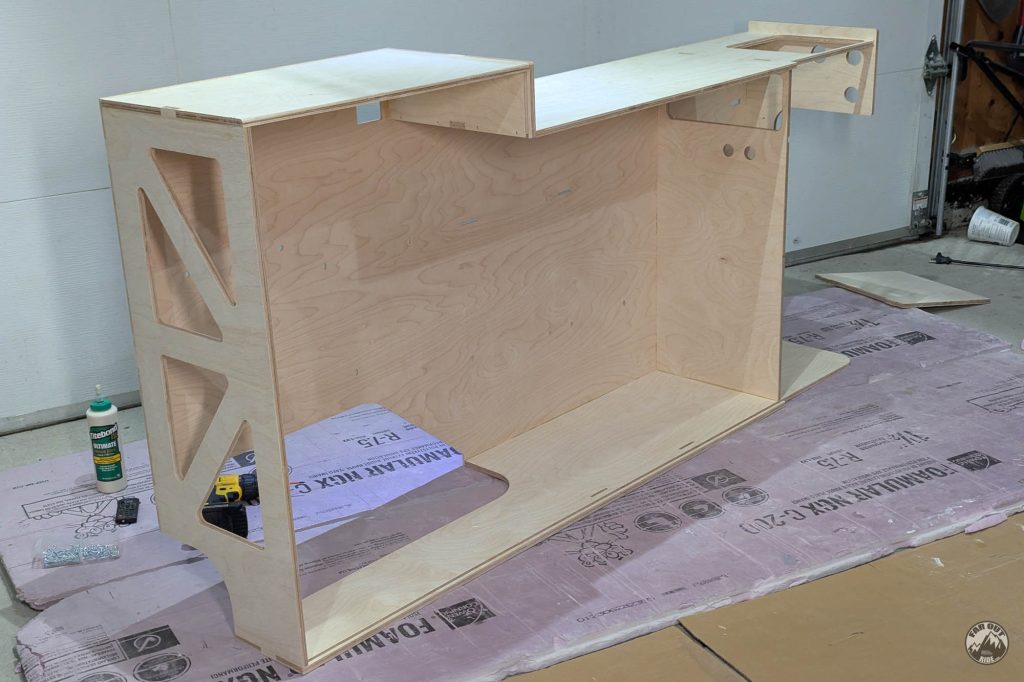
Next goes the Floor Panel:

Then I add the Top-AFT Panel:

AFT Panel (always have clothes handy for wiping the oozing glue!):

Top-Vertical Panel:
Top-FWD Panel:
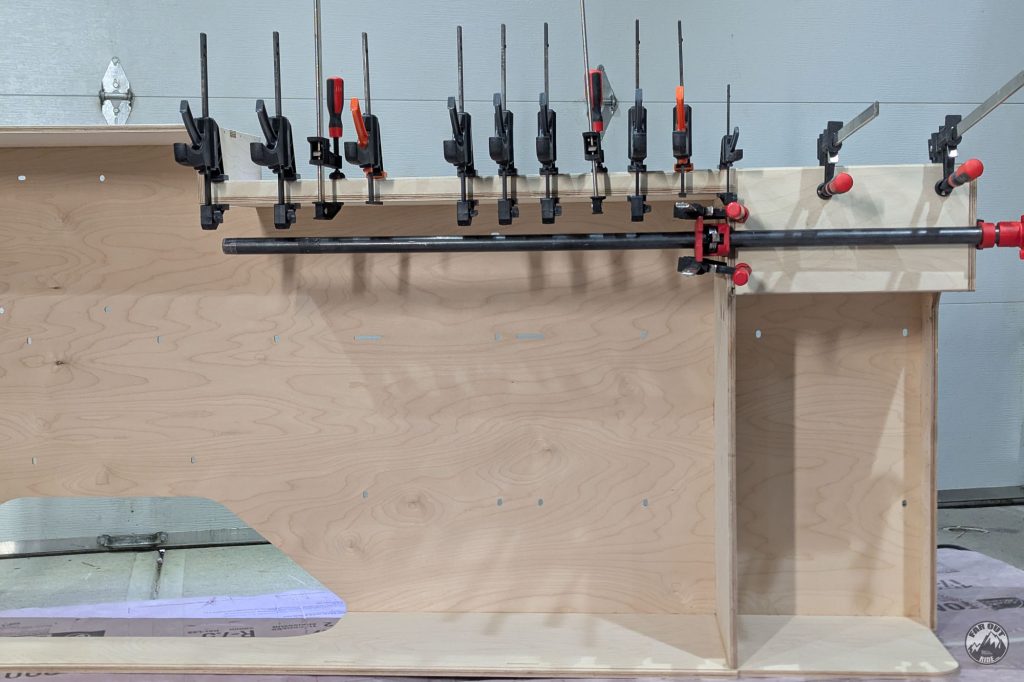
Water Box Vertical (I’m trying to avoid screws, as these surfaces are visible):

Top Border:
Backers for 120V outlet and Isotemp water heater (they’re glued):

The Bottom Shelf Border is made of 2 pieces of 1/2″ ply. Here I’m adding glue:
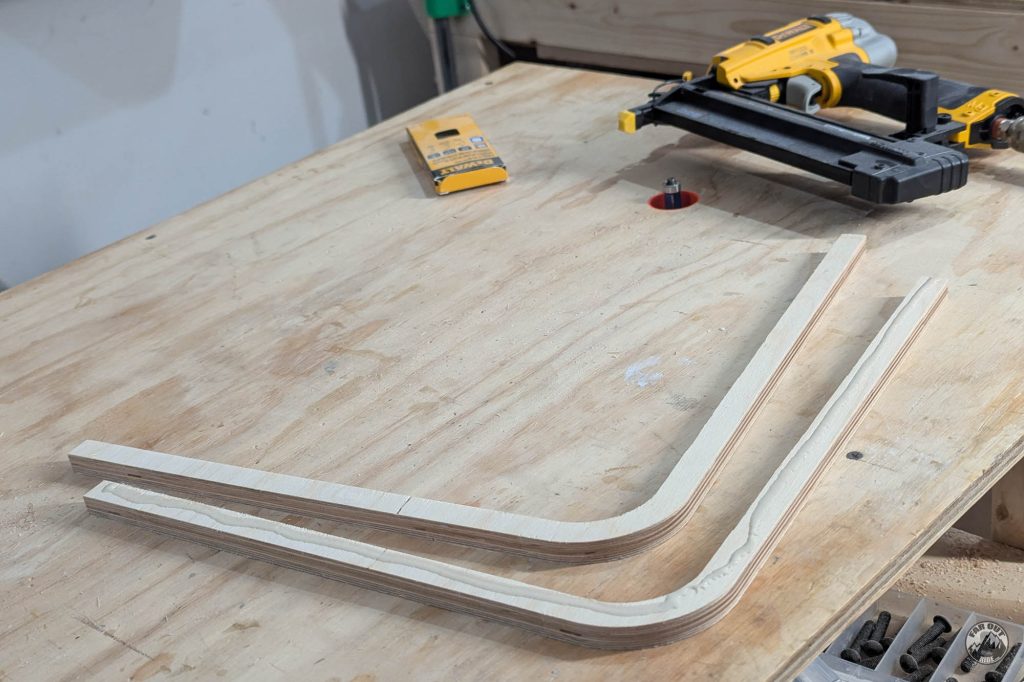
And I use a Brad Nailer to add 3/4″ brad nails (from the bottom, which is not visible) to clamp them together:
I applied glue to the border, and it’s then screwed from the bottom:

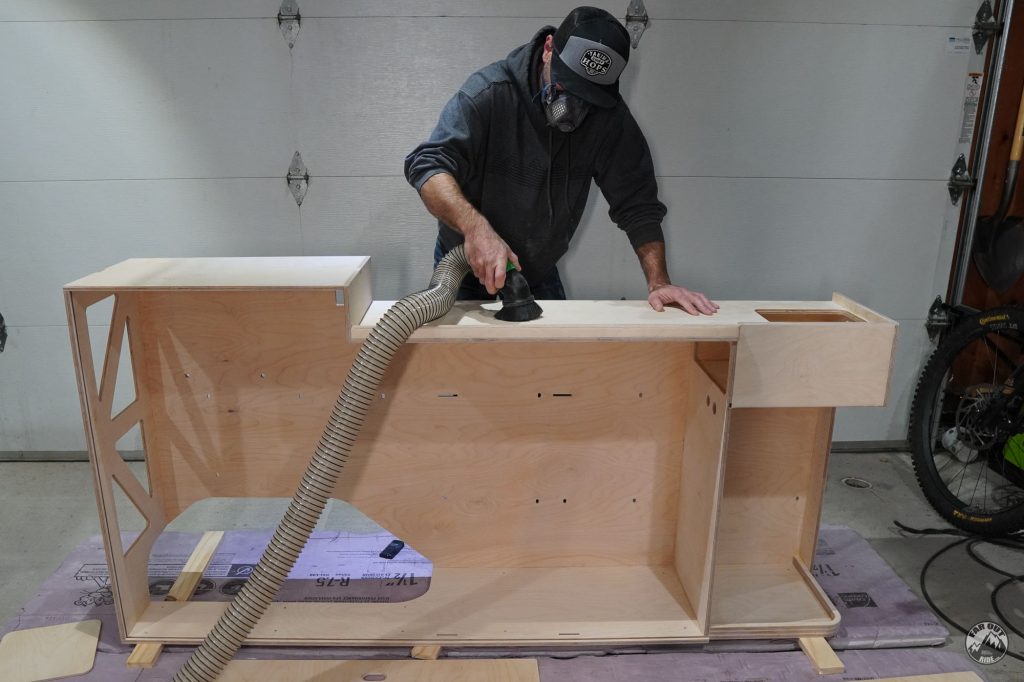
Finish
Coating protects wood from scratches, stains, and slows down moisture exchange. Here’s how we finished the cabinet:
- Sand (220-Grit), then clean with a vacuum and wipe with a cloth.
- Apply 1st coat of water-based polyurethane with a lint-free cloth. Let cure at least 4 hours.
- Sand (3xx-Grit), clean.
- 2nd coat of water-based polyurethane.
- Sand (400-Grit), clean.
- 3rd coat of water-based polyurethane.
Sanding releases invisible fine particles that’ll make their way inside your lungs. Wear a mask!

We like to use a vacuum with a round brush adapter before applying the coating (also wipe with cloth):
We use lint-free rags to apply the polyurethane:

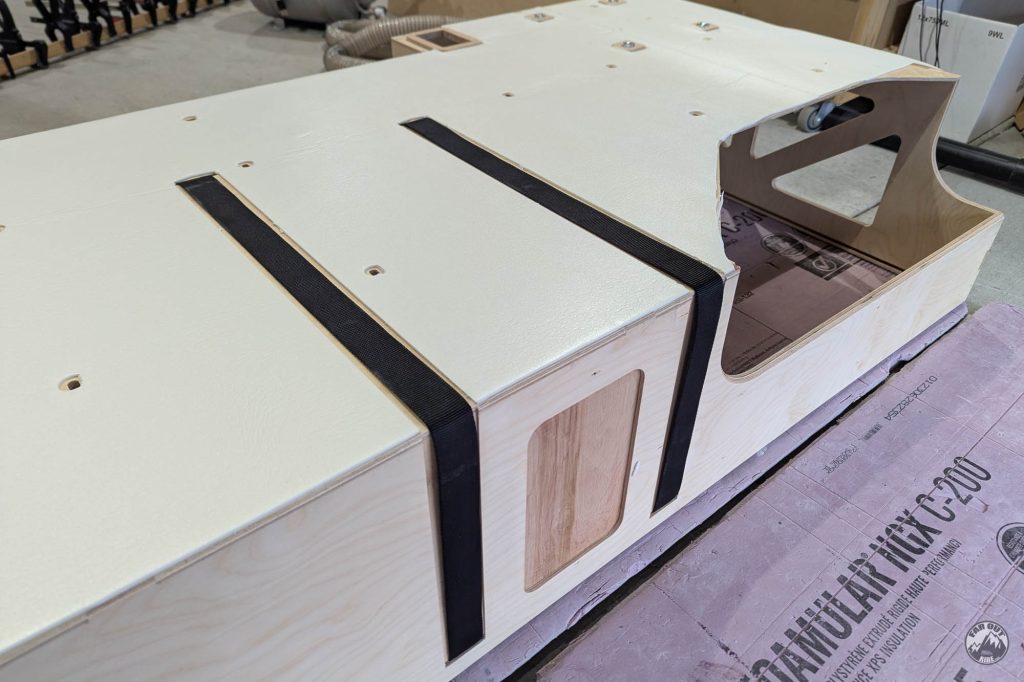
Thermal break
Metal is an excellent heat conductor, and wood is not bad either. As a result, heat can “jump” from the metal to the wood when both are in contact. This is called a thermal bridge.
To prevent heat transfer between the metal and the wood, we like to separate them with a layer of closed-cell foam (Landau). This is called a thermal break.
Want to know more about heat transfer and insulation? Check out this guide:

I use 3M 90 to bond the 1/8″ Landau Foam to the cabinet. I loosely masked the surfaces where I didn’t want adhesive:

Use a carpenter’s knife to remove foam as required (a Hole Punch works great for removing foam around screw holes!).

Testing the water tank straps… excellent!
Installation
Fasten the cabinet to the van
I like to take a photo of what’s behind the cabinet, because I tend to forget after a few years… Here it is, for the archives:

I prepped the van by adding M6 rivet nuts and by adding spacers over the rivet nuts:
The cabinet is still missing the shelves, but that’s OK I can work on these later. Ready to take it home!

Before fastening the cabinet to the wall and the floor, I ensured the straps were well-positioned (in the slots, free to move) and I added some Thinsulate over the wheel well:

Everything Else
At this point, we’re getting into plumbing territory. Everything else is gathered in our Water System Installation page:
On Second Thought…
Too soon!


