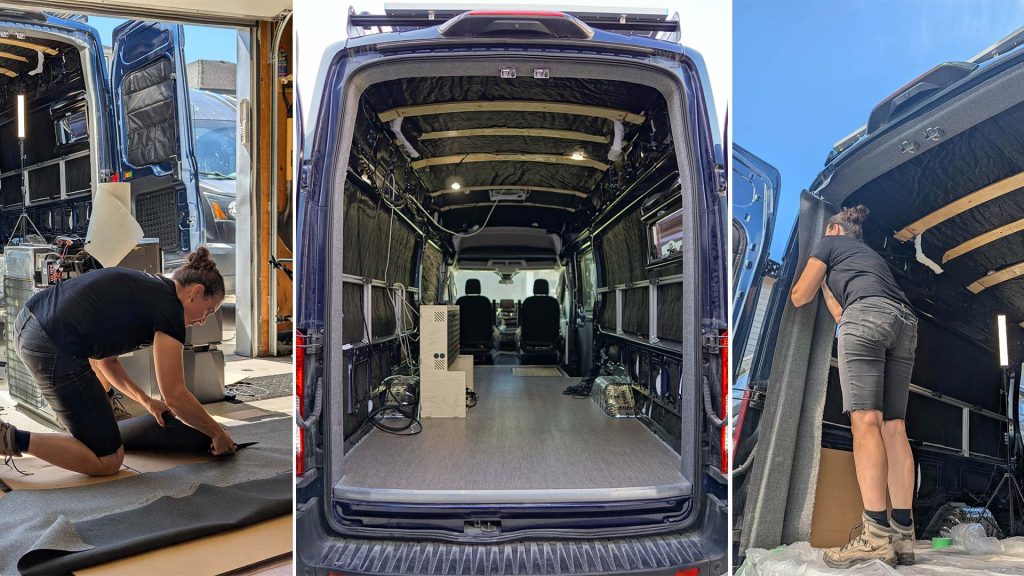
Wrapping bare components with upholstery fabric in a van isn’t just about aesthetics! It comes with several other perks:
- Noise reduction. Upholstery absorbs sound and minimizes reverberation compared to bare wood or metal.
- Thermal insulation. Adding Landau foam padding and fabric provides an extra layer of insulation.
- Comfort. That foam and fabric adds a layer of softness and support.
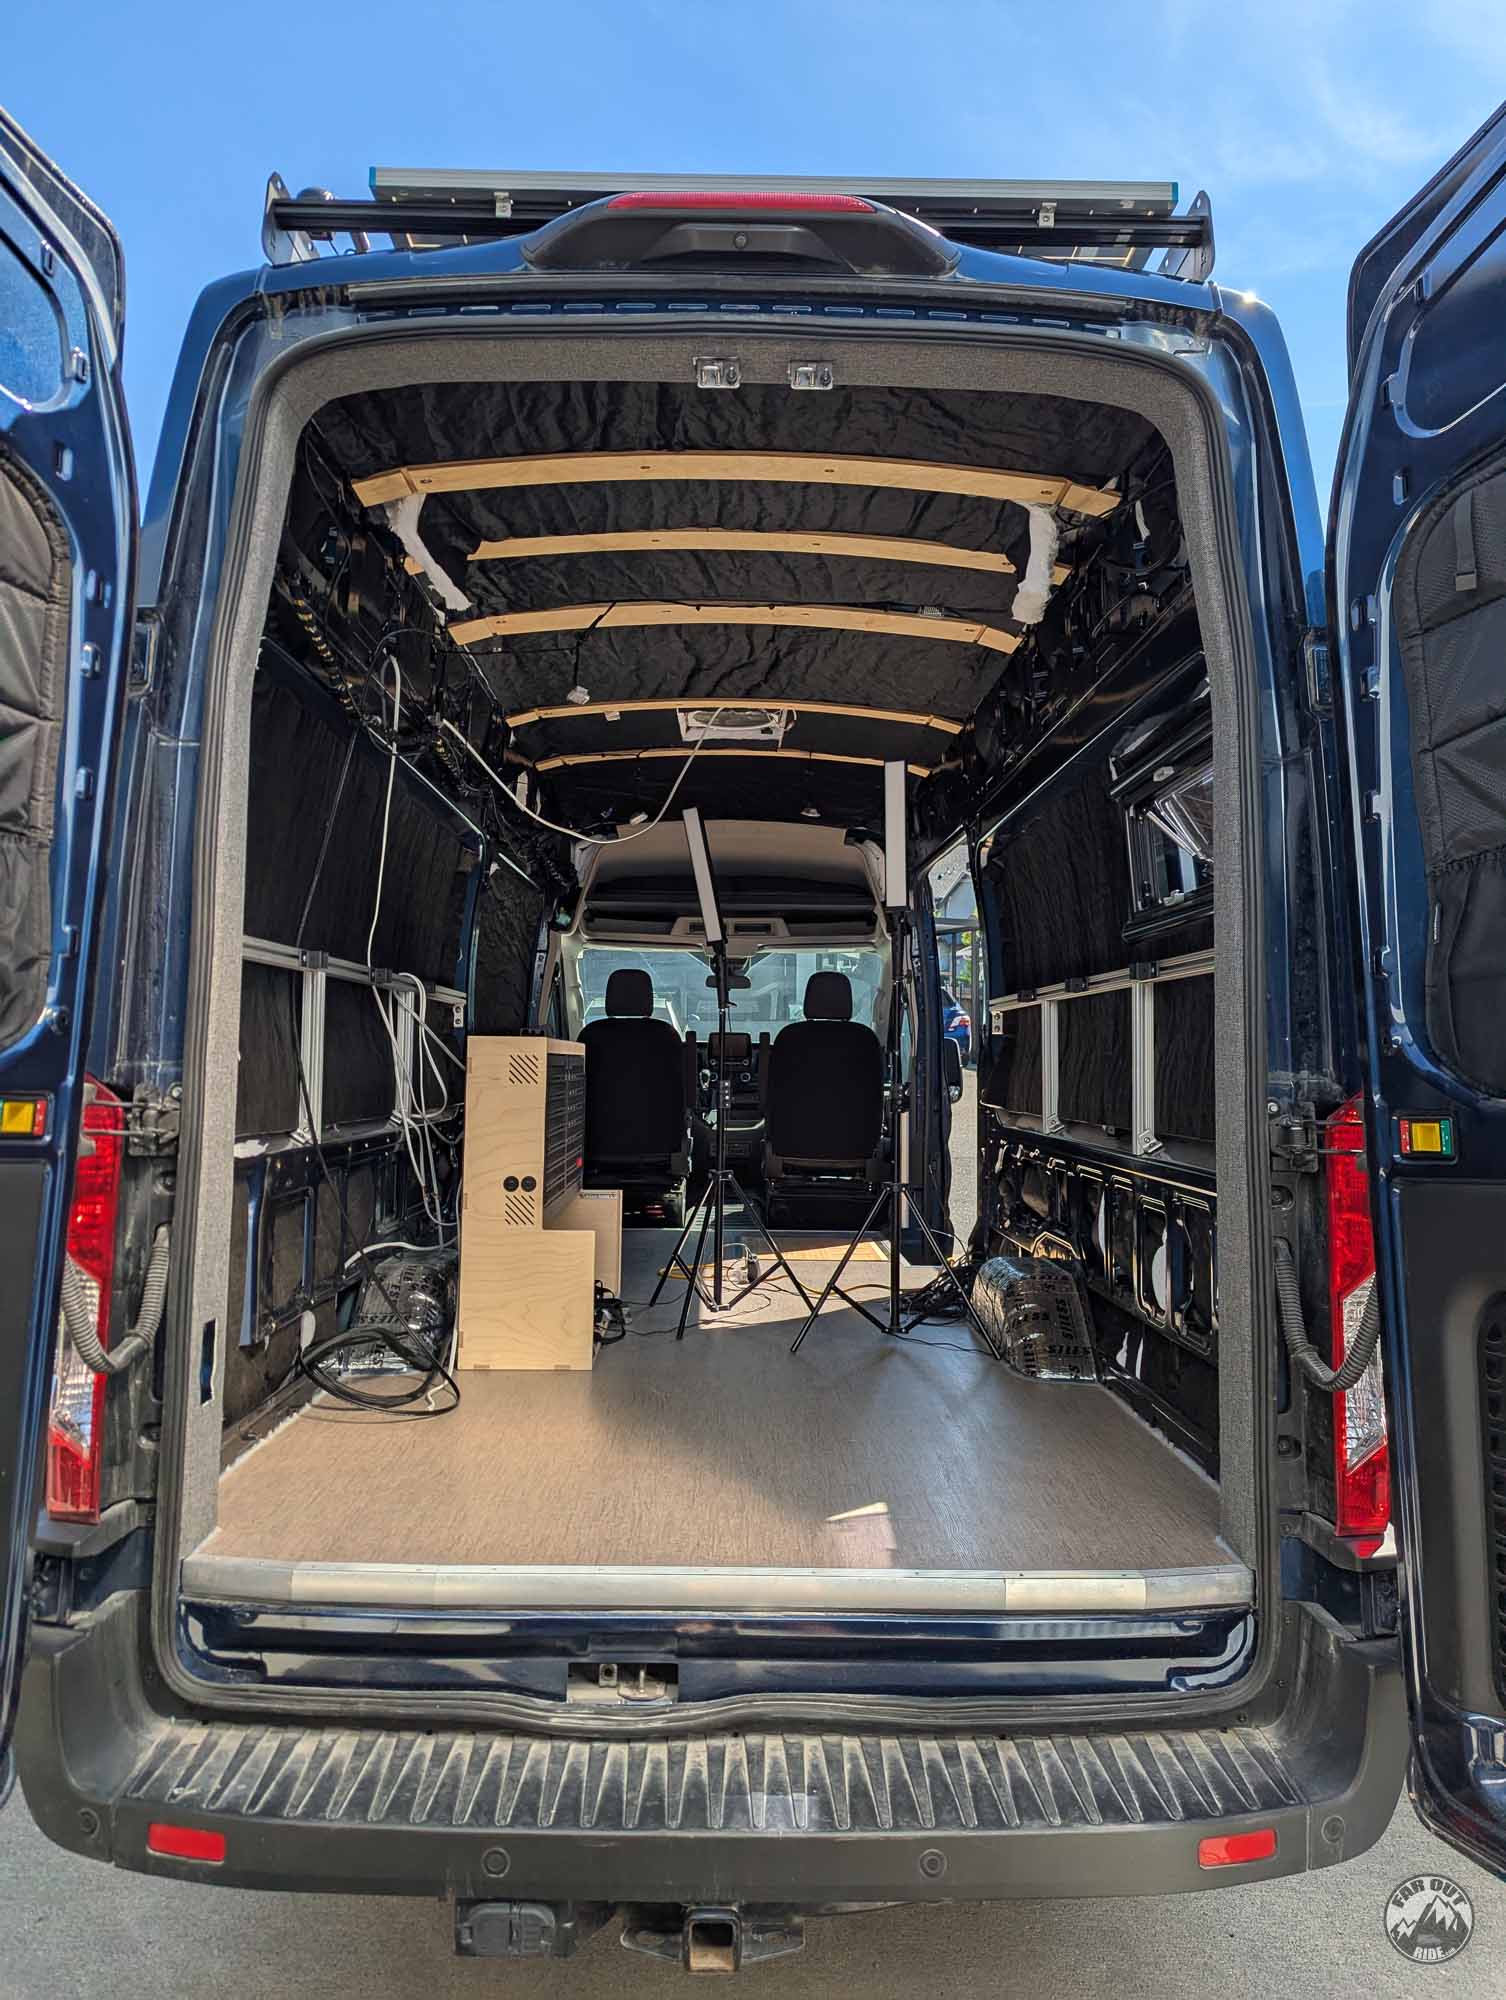
Here’s how we upholstered the wall panels and frames in FarOutVan2. Let’s dive in!
Material
Fabric
We used Marathon Grey Heather 1010 (equivalent to Gemini Dark Grey GM15). It’s durable, easy to clean, UV-resistant, and hydrophobic (repels water). It’s typically sold by the yard (1 yard = 3 feet) x 54″ wide:

Foam Padding
Landau is a closed-cell polyethylene foam. It’s waterproof, flexible, lightweight, and adds some thermal and sound insulation properties. It’s typically sold by the yard (1 yard = 3 feet) x 60″ wide. 1/8″ thickness works great for upholstery padding:

Adhesive
An adequate upholstery adhesive shall be heat-resistant, compatible with foam and fabric, and relatively simple to apply (for us DIYers!). We’ve seen several people using adhesive that gave good results at first glance, but failed in the long run (bubbles, gaps, etc). Here is what’s work:
- 3M 90 Spray Adhesive. A good go-to adhesive, it works for most projects (not compatible with polystyrene foams, such as XPS Foam Boards we used for our Floor).
- 3M 74 Spray Adhesive. A safe alternative for projects involving rigid foam (XPS, foam blobs).
In all cases with any adhesive, pay close attention to the directions (application, bond time, open time, etc.).
Others
| ITEM | DESCRIPTION | BUY |
|---|---|---|
| Isopropyl Alcohol | To clean and degrease metal surfaces prior bonding. | Amazon |
| Painters Tape | To mask surfaces. | Amazon |
| Aluminum Flashing | To plug large cutouts or reconstruct curved surfaces. (see D-Pillar section) | Amazon |
| Aluminum Tape | To bond aluminum flashing (and more). | Amazon |
| Fabric Scissors | To cut fabric. | Amazon |
| Utility Knife | To trim foam and fabric to size. | Amazon |
| Auto Trim Removal Tool | To remove plastic trims from the Pillars | Amazon |
Pre-Requisite
As you can see we upholstered after we did our floor, but it would be easier to do it before!
If you haven’t already now is a good time to insulate the interior of the D-Pillar, before it’s covered with upholstery.
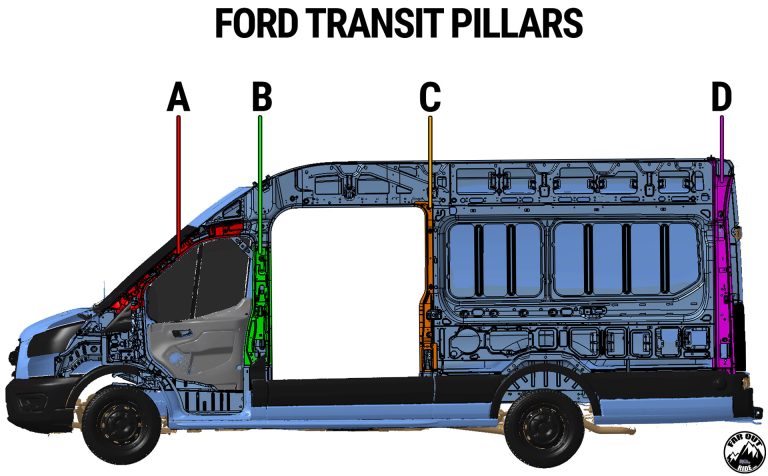
B-Pillar
1. First, we want to pop the plastic trims away from the B-Pillar:
2. Locate the clips along the B-Pillar:
3. Here I’m using a paint can opener to pop the clips out (an Auto Trim Removal Tool would be better…):
4. All we need is to make some space to stuff the fabric in:
5. Protect the plastic trim and the surrounding area and clean the surfaces to be bonded with isopropyl alcohol:
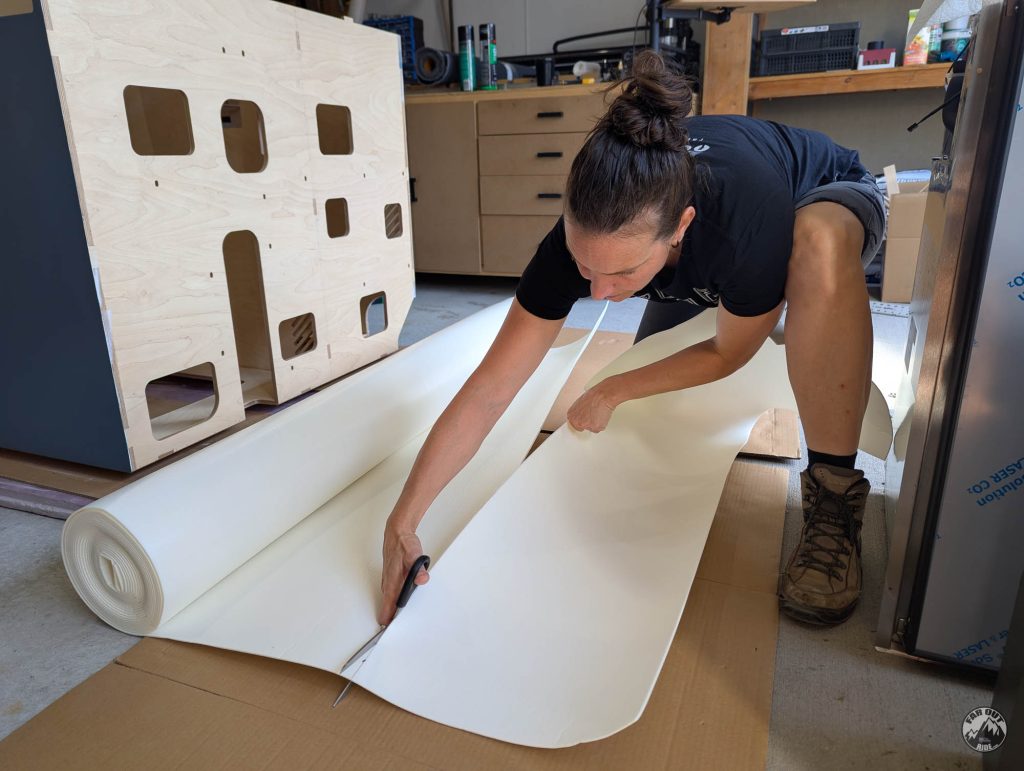
6. Trim the fabric to have 1-2 inches excess all around (the excess will be trimmed later):
7. Spray the 3M 90 to the fabric, ensuring to get 100% coverage:
8. Spray the B-Pillar with 3M 90, wait a minute for the adhesive to become tacky:
9. Rub and apply pressure to all the fabric to be bonded to the B-Pillar:
10. Trim the fabric and stuff it between the plastic trim and the B-Pillar :
11. B-Pillar wrapped in fabric before putting the plastic trim:
12. B-Pillar with the plastic trim back in place:
Sliding Door Frame
1. Remove the sliding door seal:
2. Pop the B-Pillar plastic trim away:
3. We first trimmed the fabric to cover the top of the sliding door:
4. Apply 3M 90 spray adhesive to the frame:
5. The top fabric piece covers the area we needed:
6. We then proceeded with the B-Pillar:
7. Trim and stuff the fabric under the B-Pillar plastic trim:
8. Before putting the plastic trim back into place:
9. Wrap the C-Pillar with fabric:
10. Trim the fabric flush with the metal edge all around the door cutout:
11. Before putting the door seal back into its place:
12. Passenger B-Pillar wrapped and door seal installed:
13. Passenger C-Pillar wrapped and door seal installed:
D-Pillar
Re-Route the Electrical Harness
1. Remove the harness clips and retention devices to give it some slack:

2. Use tape to route it out of the way (it’s temporary; the final routing will be made while building the ceiling):

Remove the Lights and Make a Smooth Surface
1. Pop the lights out and disconnect the wire:

2. Use scissors to cut Aluminum Flashing to size (6″x6″ worked for us):

3. Use Aluminum Tape to fix the Aluminum Flashing in place:

4. Smooth surface to upholster:

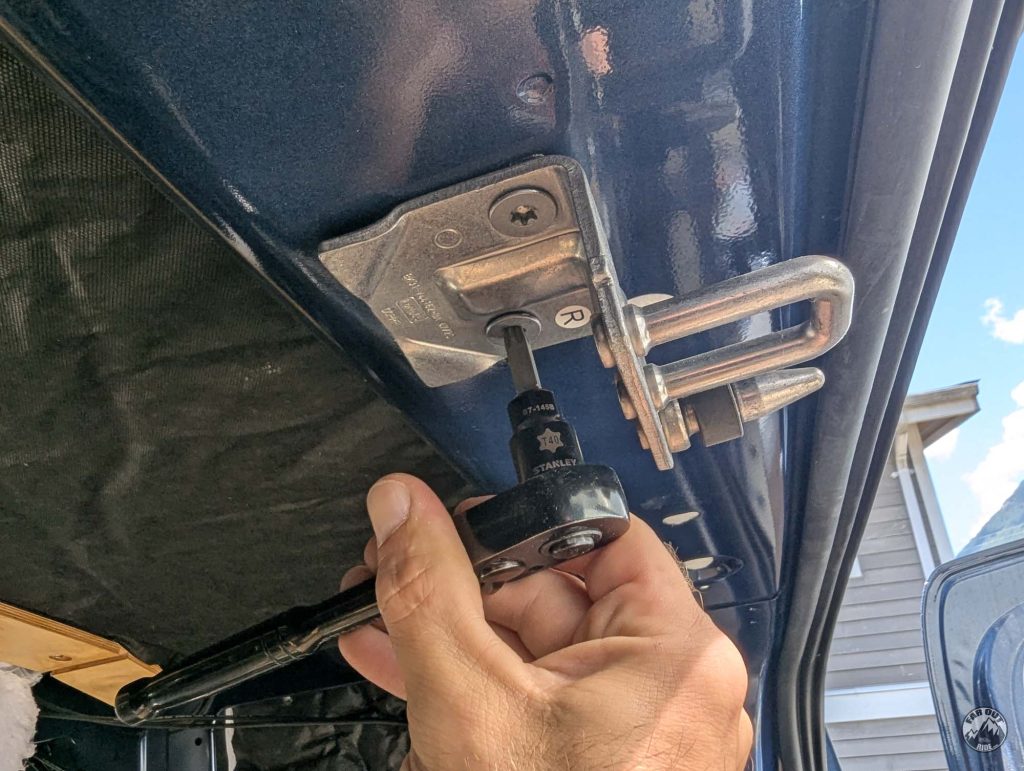
Remove the Door Lock Striker Plates
1. Pop the striker plastic covers out:

2. Use a T40 Torx to remove the striker plates:
3. Cover the mating surfaces with painter’s tape to prevent adhesive from getting there:
Remove the door seal
1. Pull the door seal to remove it from the top and side edges:
2. Use Isopropyl alcohol to remove the grease:
3. It’s OK to leave some grease on the outer edge:
Clean all the surfaces with Isopropyl Alcohol
Install the Landau Foam
1. Cut 3 pieces of Landau Foam, leave some extra material to be trimmed flush after installation. Here is what we used:
- Top: 11″ x 60″
- Sides: 14″ x 60″
2. Apply adhesive to the Landau and Metal (100% coverage). Try to avoid the edge common with the seal (we don’t want Landau there). Wait 1-2 minutes:
3. Start by bonding the center and work your way outward:
4. Trim the Landau away from the seal surface and from the surface mating with the striker plates:

5. Repeat for the sides (start at the bottom):
6. Use leftovers to fill the gaps between the top and the sides:
(not shown: reapply painter’s tape to the striker plate surface)
Install the Fabric
1. Cut three pieces of fabric, leaving some extra material to be trimmed flush after installation. We used 11″ x 54″ for the top, and 14″ x 62″ for the sides (we have a high-roof Ford Transit):
2. Apply adhesive to the fabric, the foam, and to the edge common with the seal (metal). Wait a minute:
3. Bond the fabric starting in the center, and work your way outward:
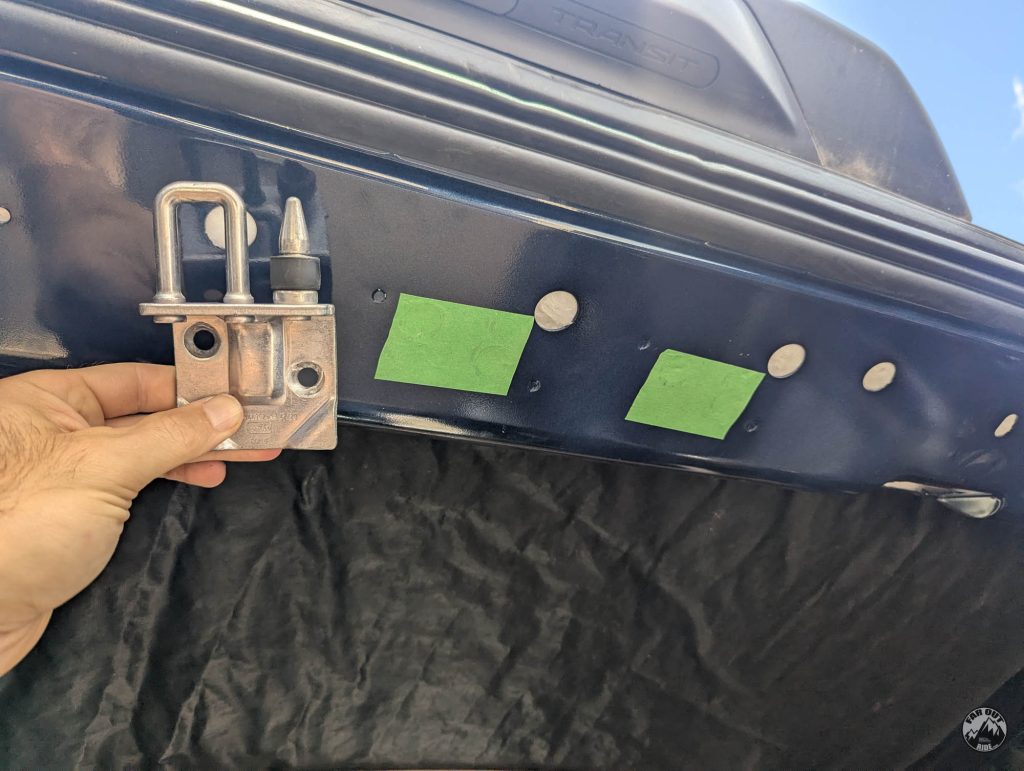
4. Trim the fabric common with the striker plates:
5. Reinstall the striker plates, ensuring there is no fabric or foam in between:
6. Reinstall the striker plate covers:
7. Repeat for the sides. Adhesive:
8. Fabric:
9. Trim flush with the edge common with the seal:
10. The fabric is flush with the seal’s edge (right), but there’s still extra inside (left):
11. We are trimming it to leave approximately an inch extra (it’ll be tucked behind the wall later):
12. Next, we will hide the seams between the top and sides:
13. Isabelle first used paper to find out the proper shape, then cut the fabric per the template she made:
14. Apply adhesive to the back of the fabric, wait 1-2 minutes:
15. Fold the fabric onto itself, like so:
16. We used a roller to make the edges nice and crisp:

17. Protect the adjacent surfaces with painter’s tape, and apply adhesive to both surfaces to be bonded:
18. Bond the seam trim to the fabric:
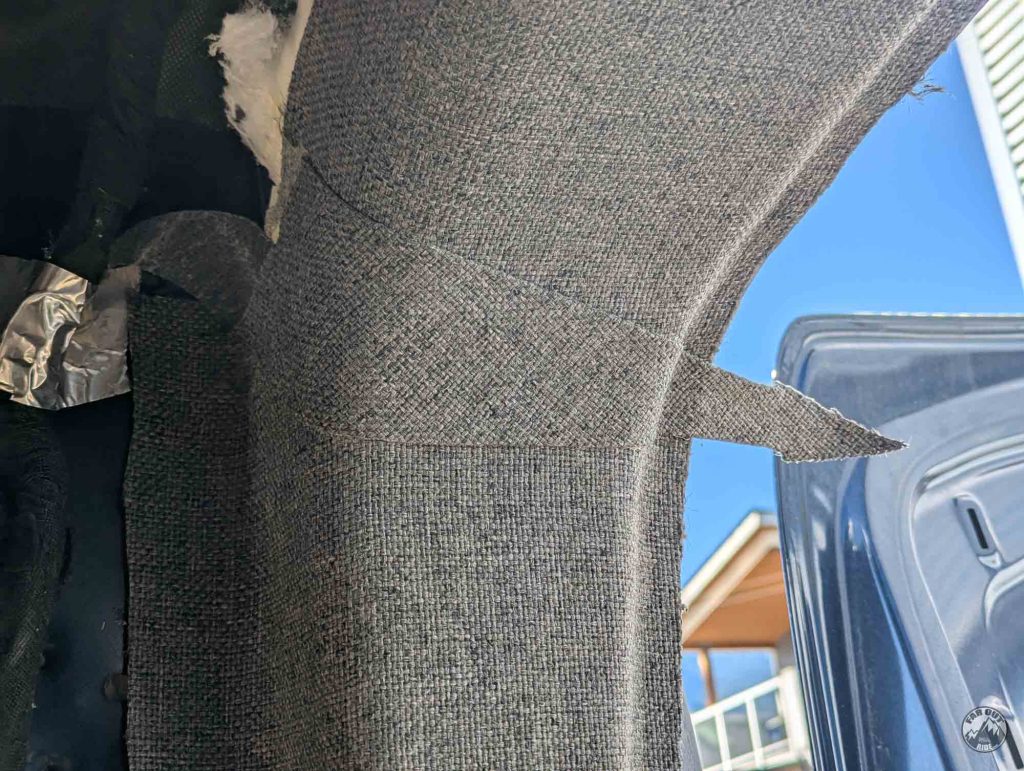
19. Trim it flush:
20. Voilà!
ReInstall the Door Seal
1. Reinstall the door seal all around:
2. Looking good…
We made it!
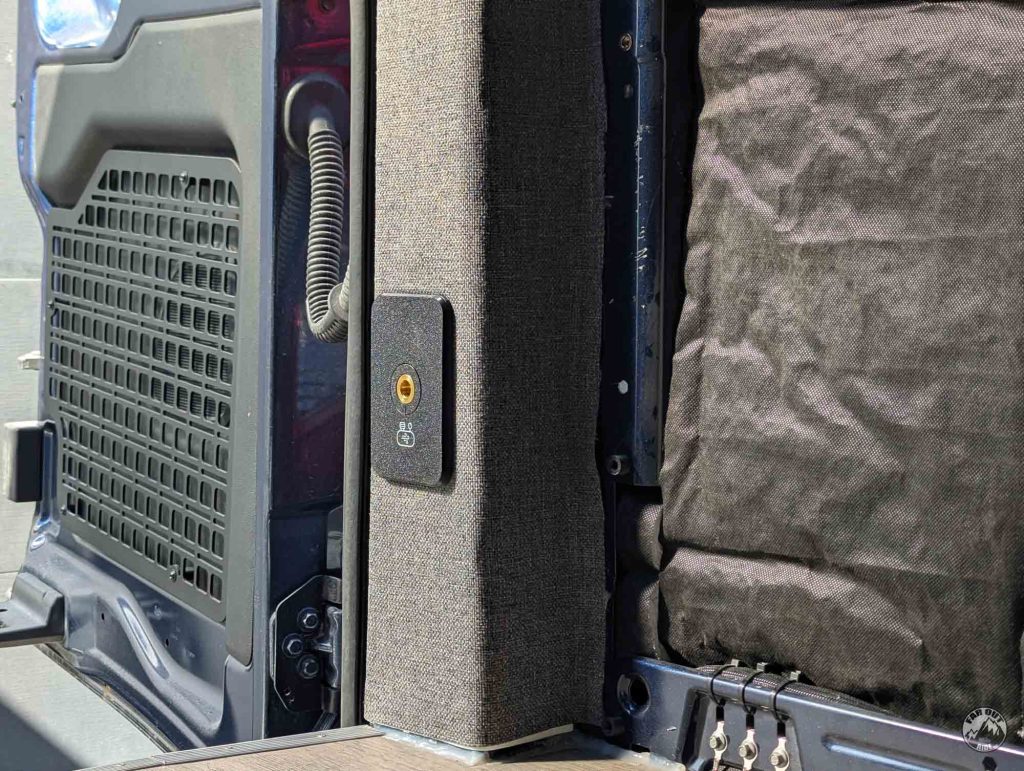
ReInstall the Compressor Air Coupler
1. Use a knife to trim the upholstery around the d-pillar cutout:
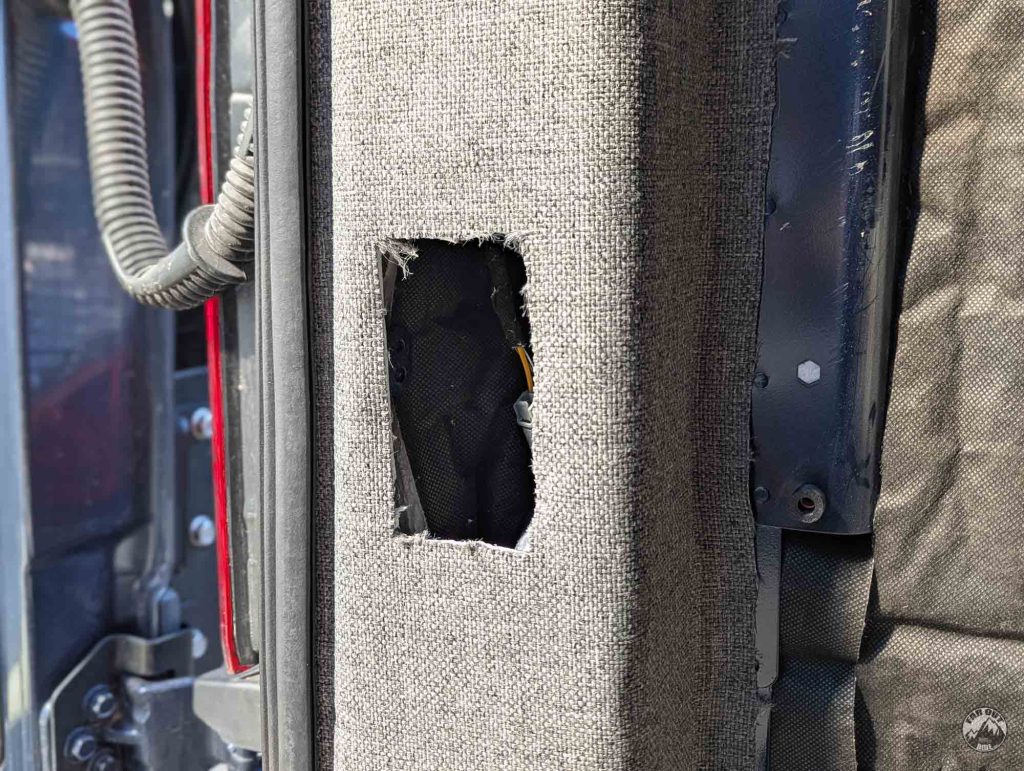
2. Connect the hose and snap the Air Coupler Plate into place:
Make and Install a USB & 12V Outlet Plate:

New Level Unlocked: Electrical Cabinet
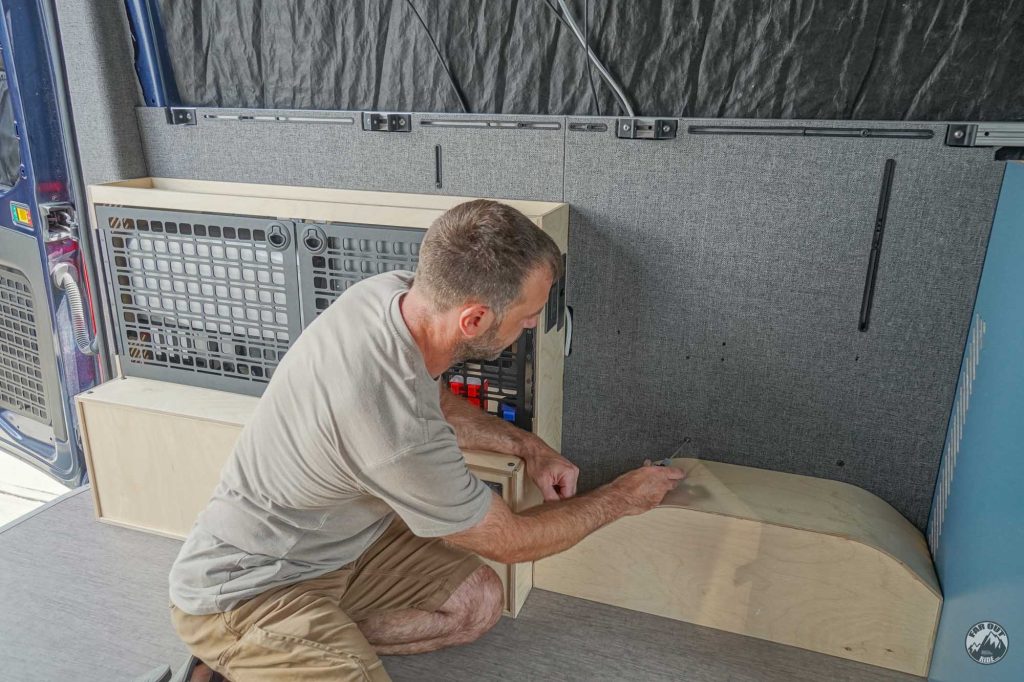
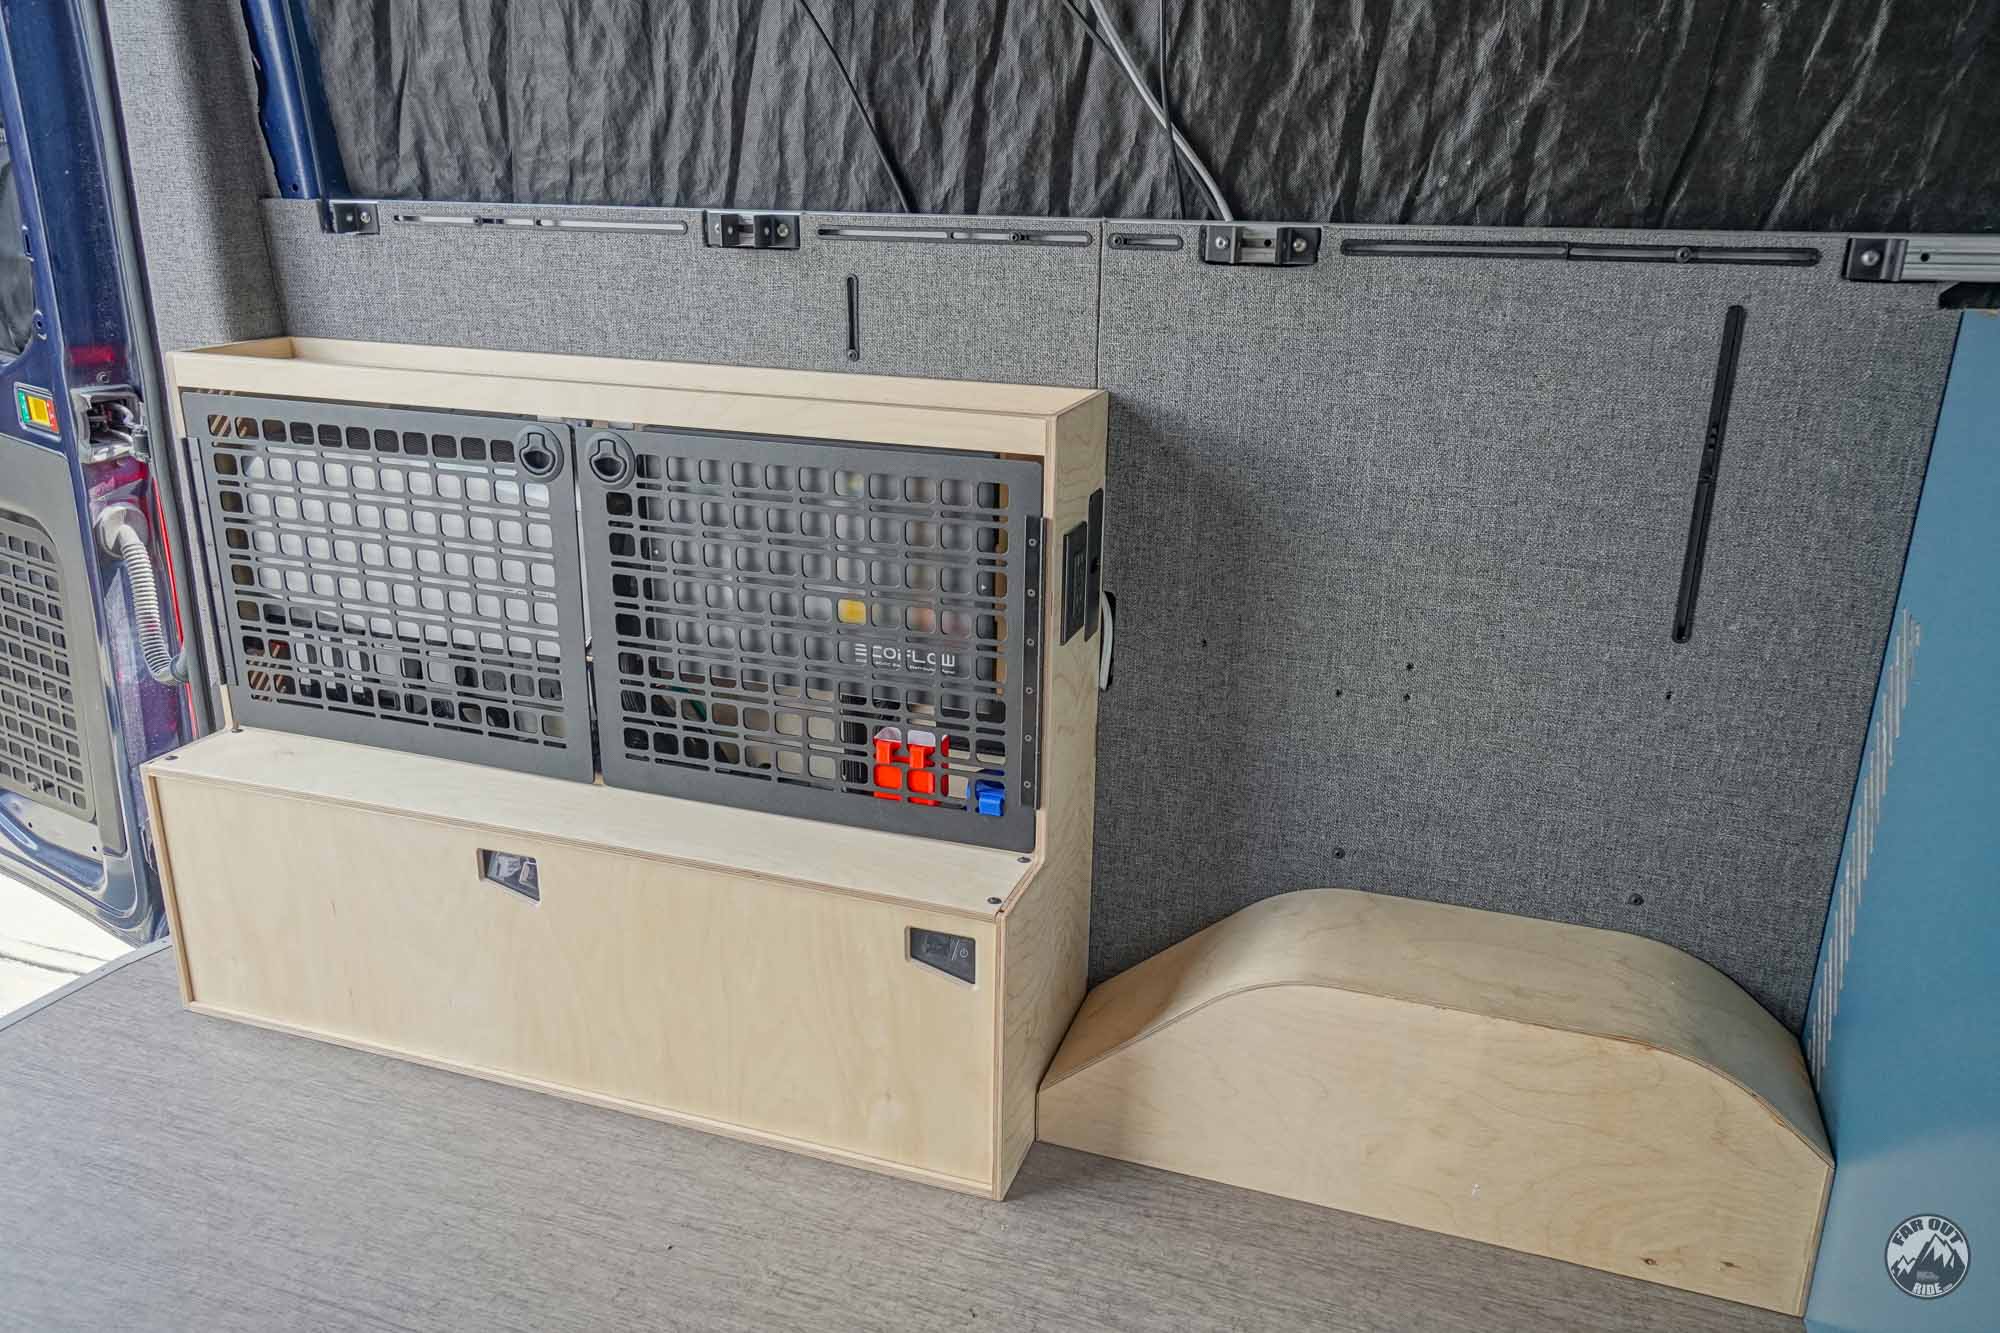
And with the D-Pillar wrapped, we can at last install the electrical cabinet permanently, yay!
Thanks to AVC Rig for the valuable tips!
Garage Wall Panels
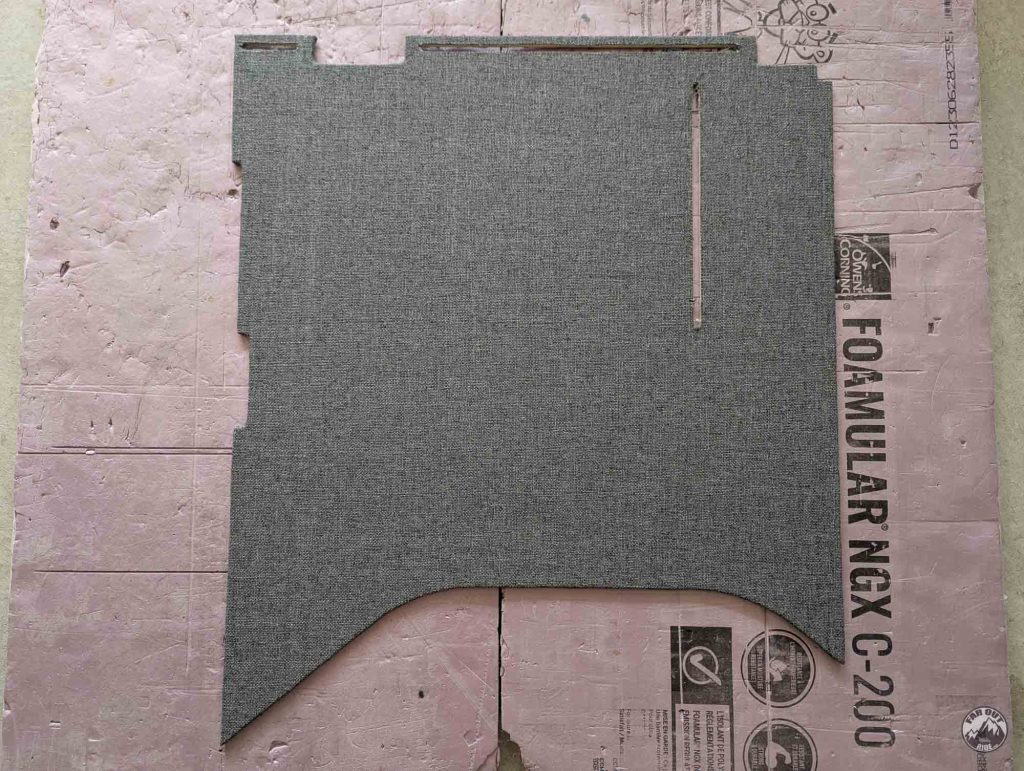
Driver-AFT Panel Upholstery
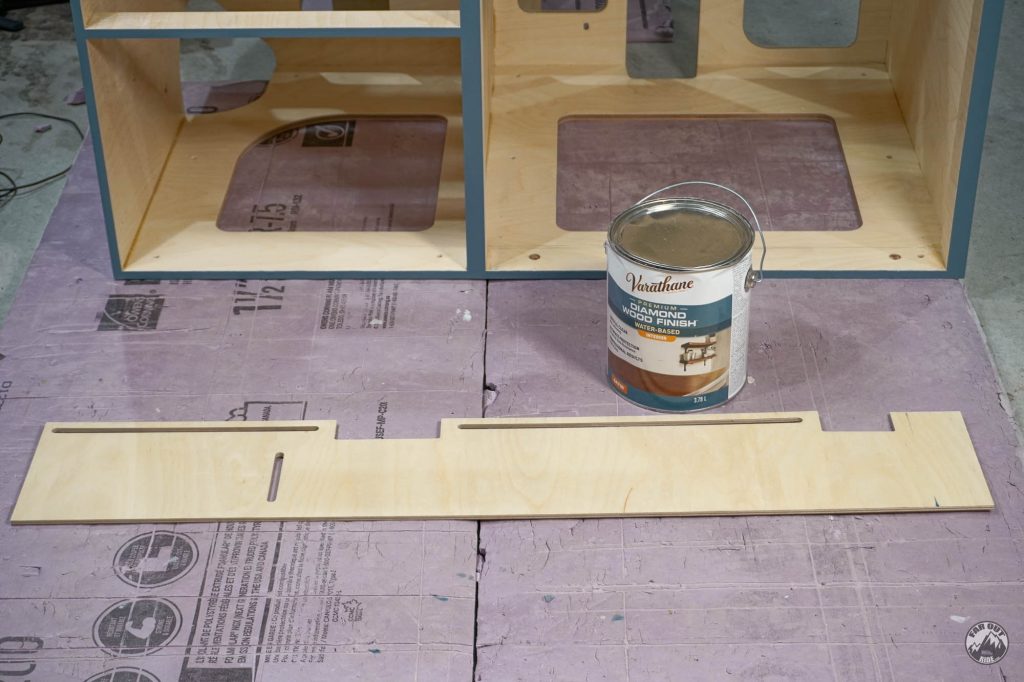
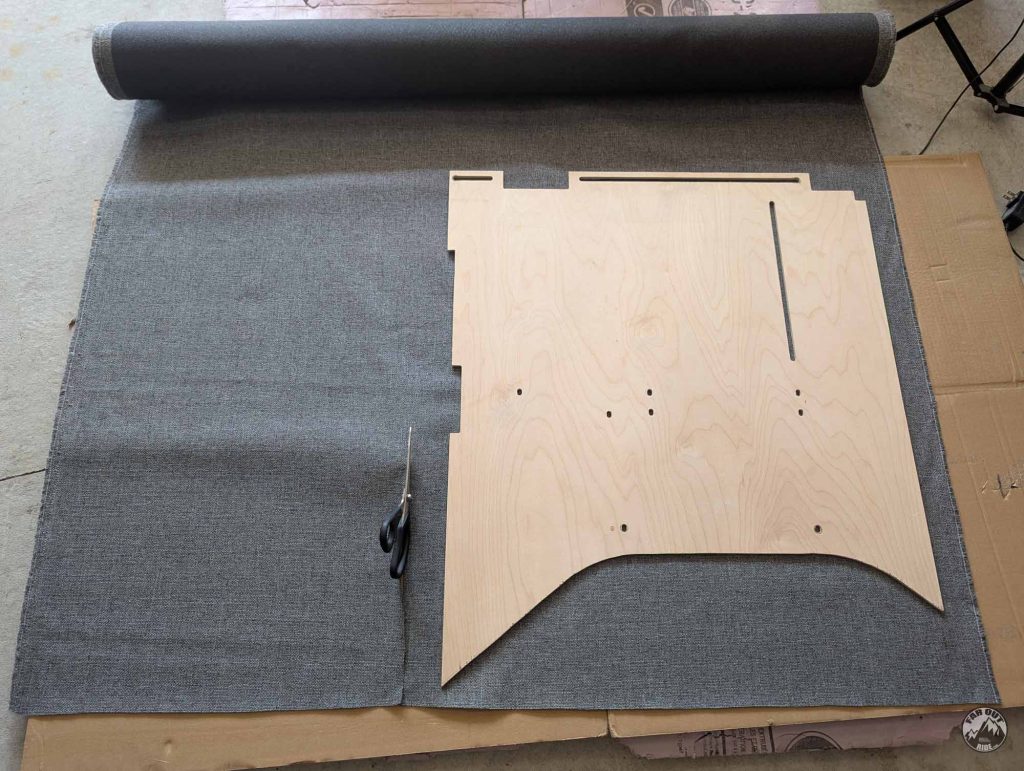
1. Seal the back side of the panel to protect it from condensation and mold (we never leave wood unsealed in our van!). We used a water-based clear polyurethane:
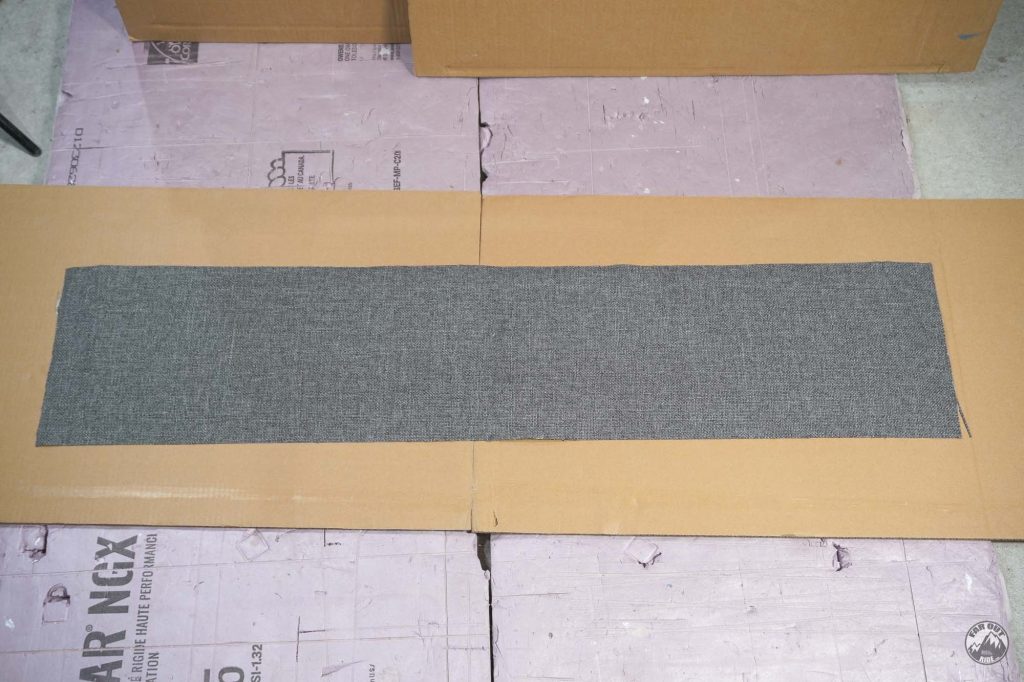
2. Roughly trim the fabric with scissors so that it extends about 2-3 inches beyond the edges:

3. Apply adhesive to the first half of both the panel and the fabric. Wait one minute:
4. Unfold and apply pressure on the first half, then apply adhesive to the second half (wait a minute):
5. Unfold the fabric and apply pressure on the second half:
6. Flip the panel with the back facing you. Apply adhesive to both the fabric and the panel (ensure to spray the edges as well). Wait a minute:
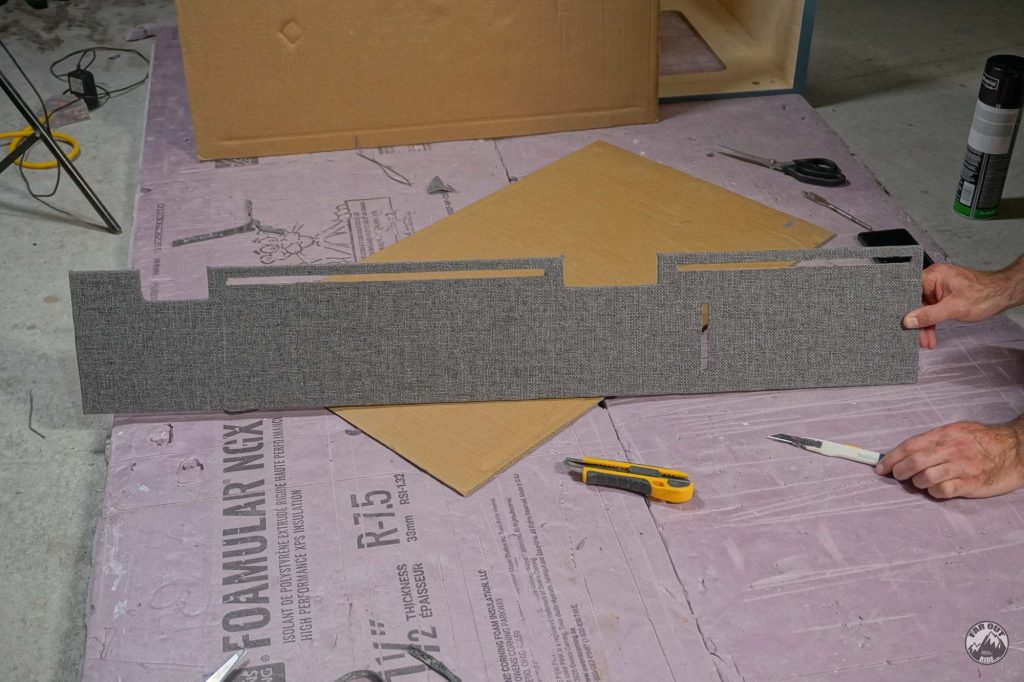
7. Fold the fabric to the back of the panel, while tensioning it (pull on the fabric to remove any wrinkles). Make relief cuts for inside corners, make “shark fins” for outside corners:
8. Trim the shark fins flush with a pair of scissors:

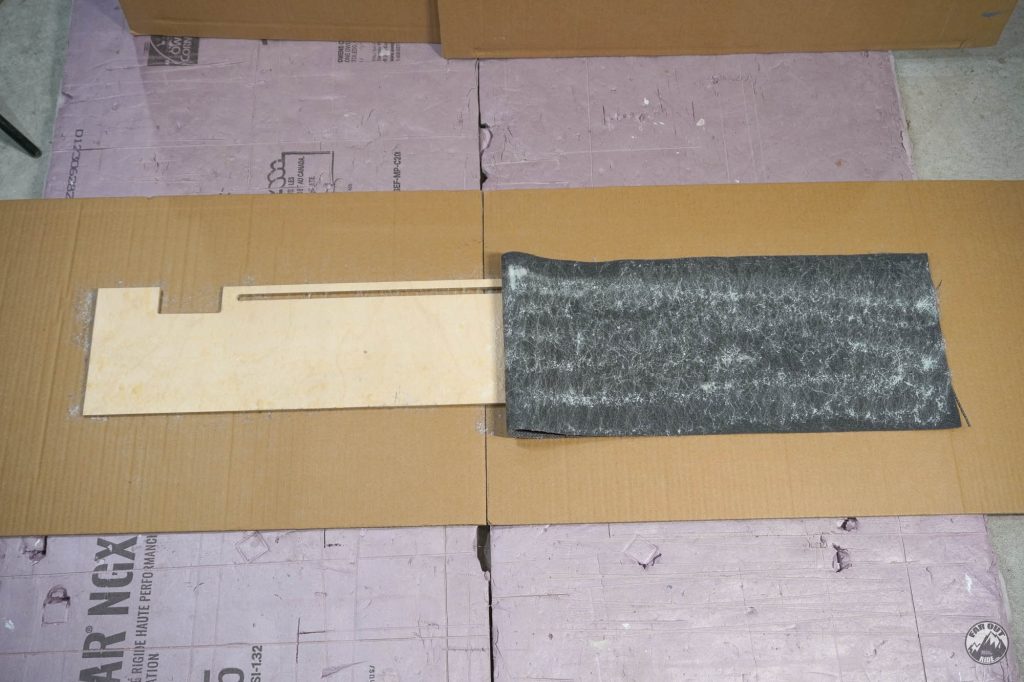
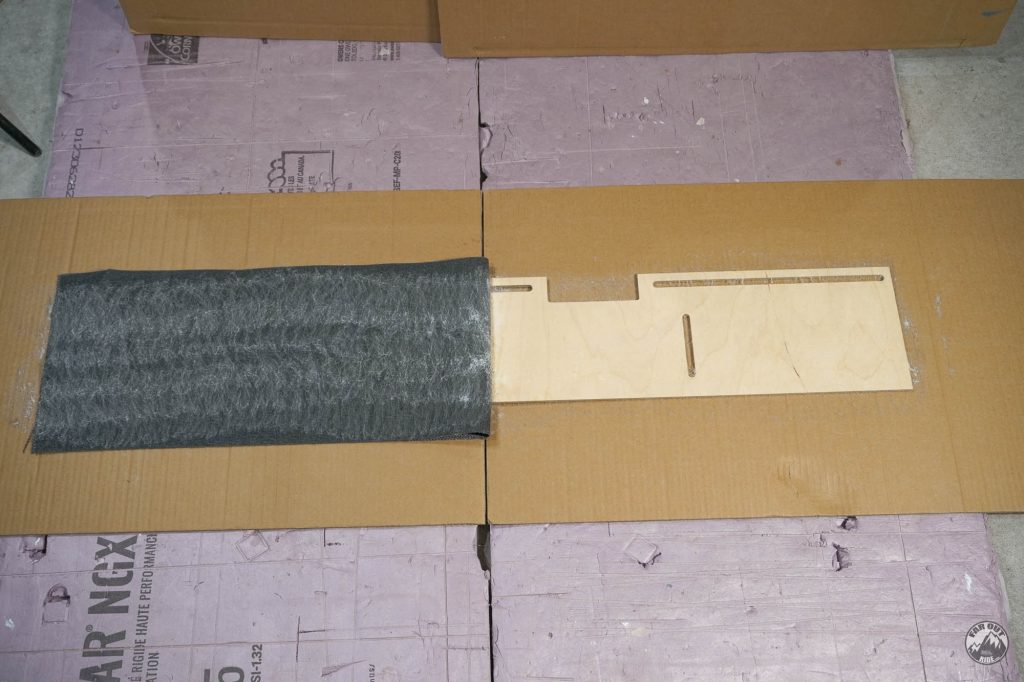
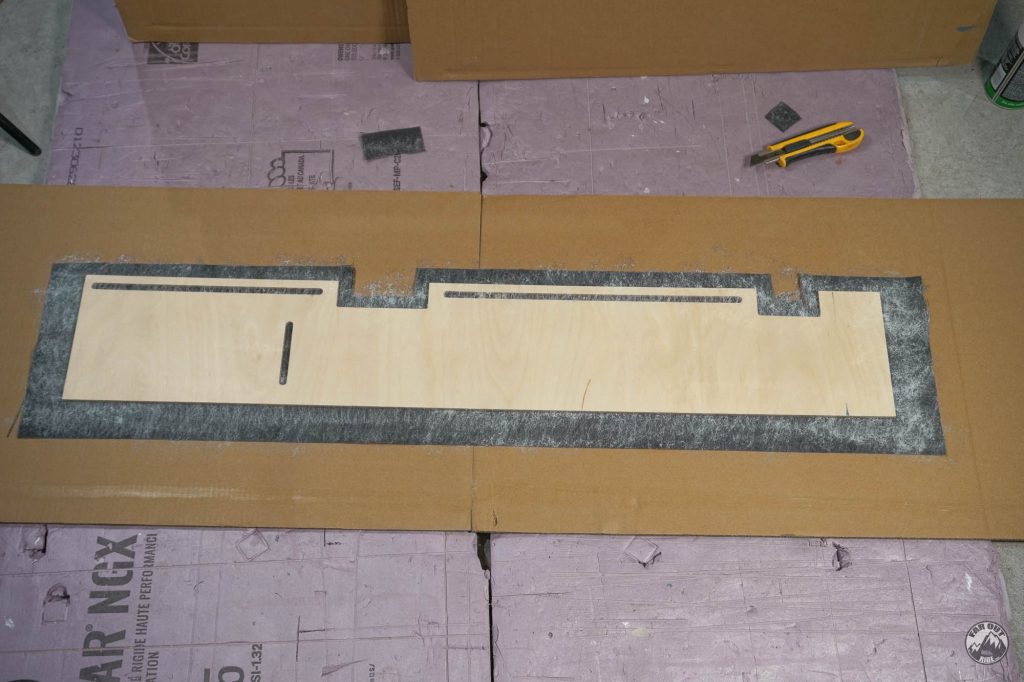
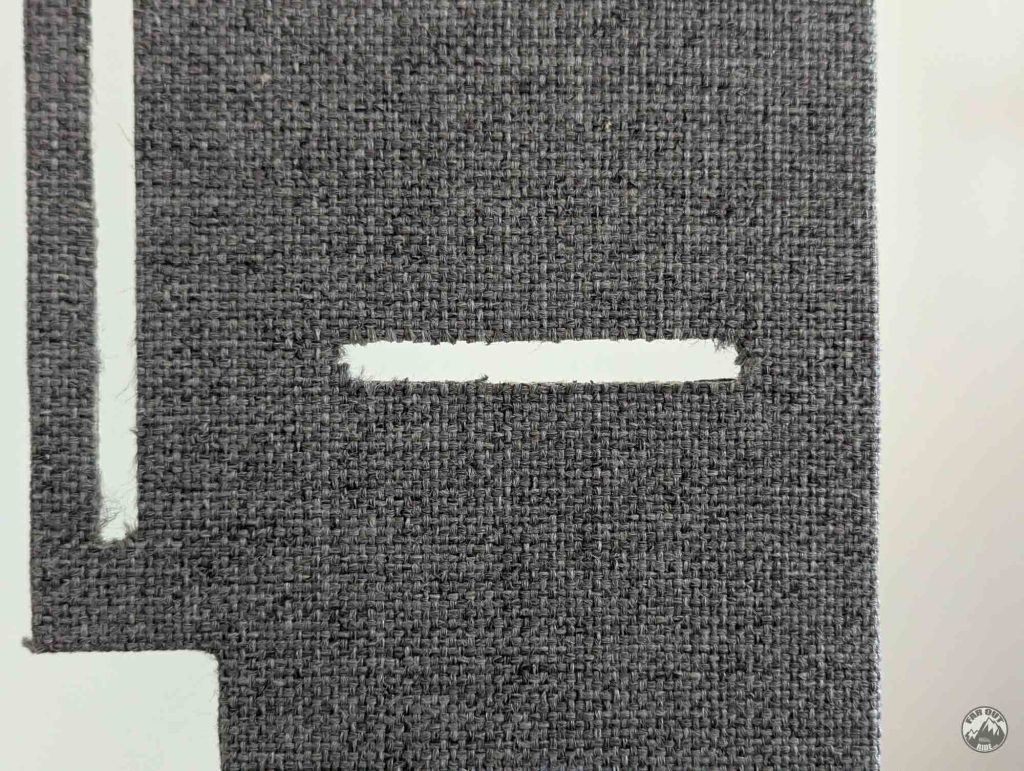
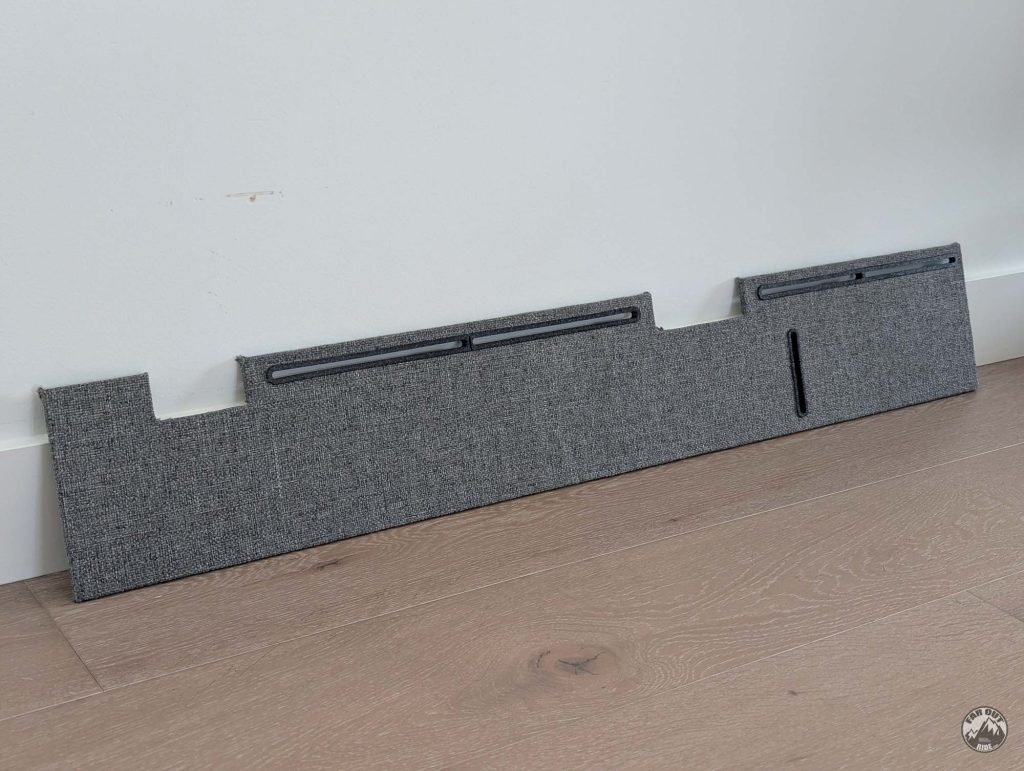
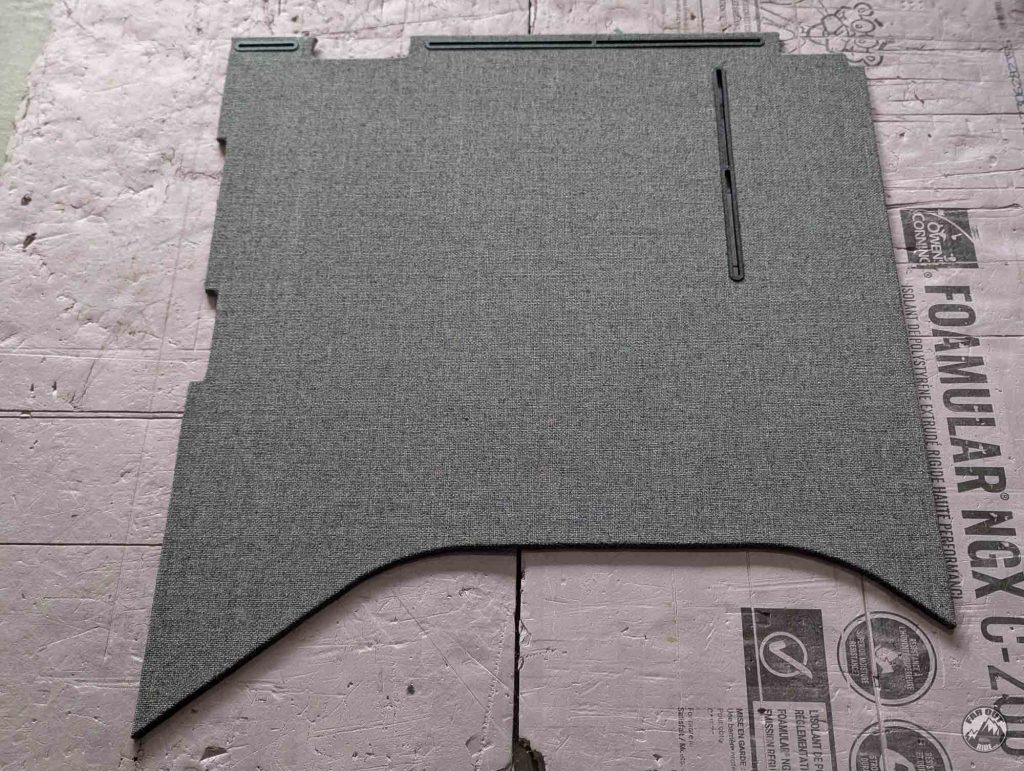
9. This panel has slots to match the 80/20 bed frame behind it. The slots were trimmed with a hobby knife:
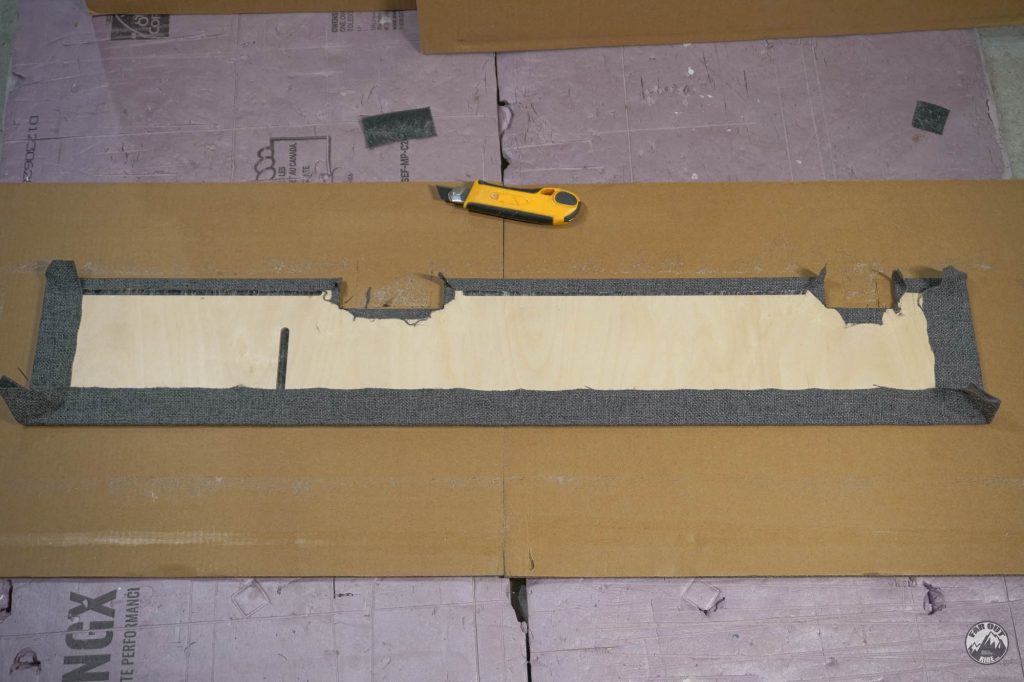
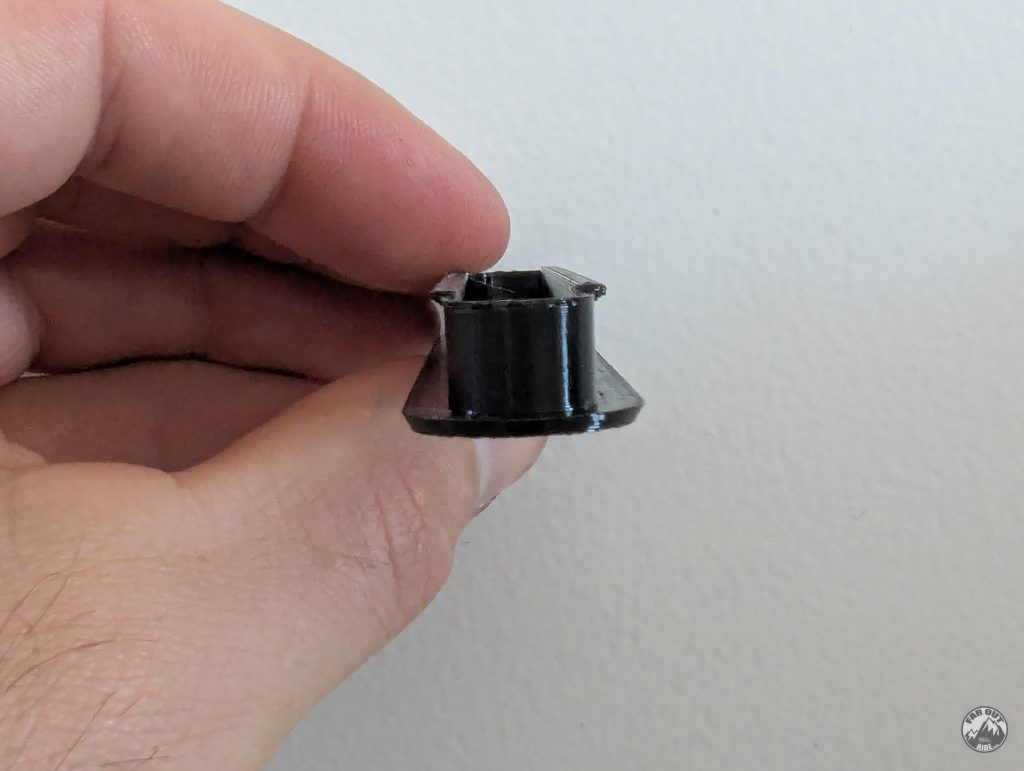
10. The result is a bit rough…
11. … so we 3D printed trims to protect the edges and to improve the look:
12. And we’re done!
Driver-FWD Panel Upholstery
The process is the same as for the AFT panel, so we’ll go through this one quickly…
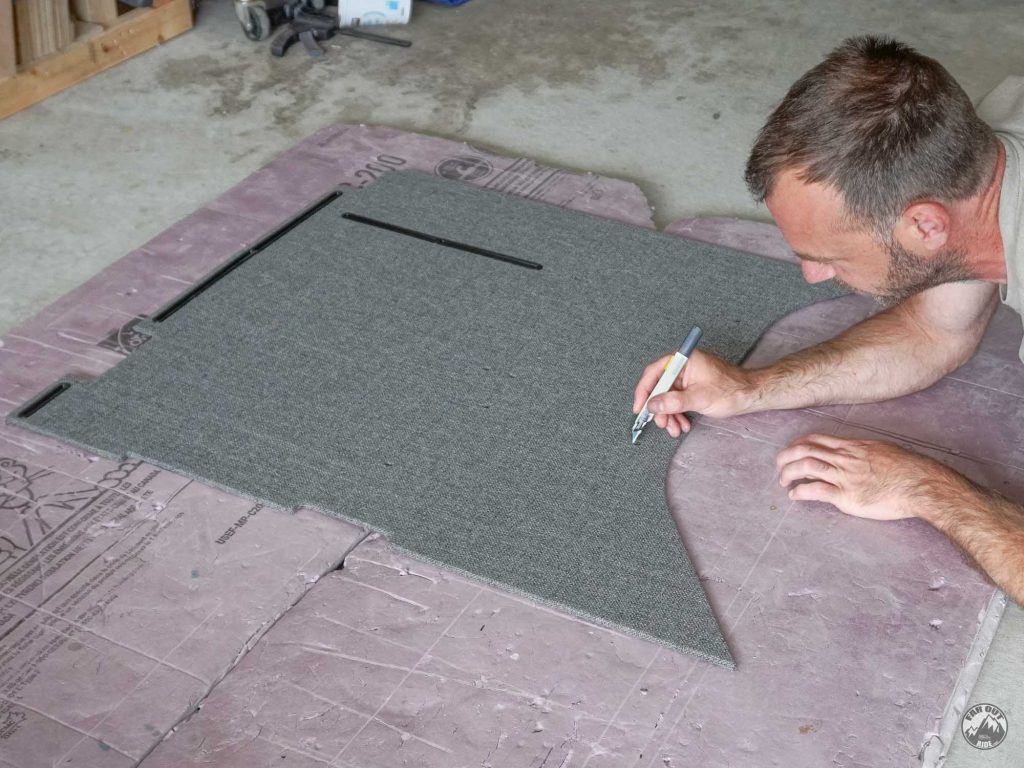
1. Trim the fabric to leave 2-3 inches beyond the edges:
2. First half:

3. Second half:

4. The back side is looking rough but who cares:

5. Final result:
6. Final-final result with 3D printed trims:
7. Final-final-final result with rivet nut locations punched:
Driver Wall Panels Installation
Our goal was to make each component (panels, cabinets, etc) easily removable. I think we succeeded 🙂 The electrical cabinet, wall panels, wheel well cover, and fridge cabinet can be independently removed!
1. Here what’s going on behind the walls. The electrical wires routing is NOT final (one more reason to make the panels removable!):
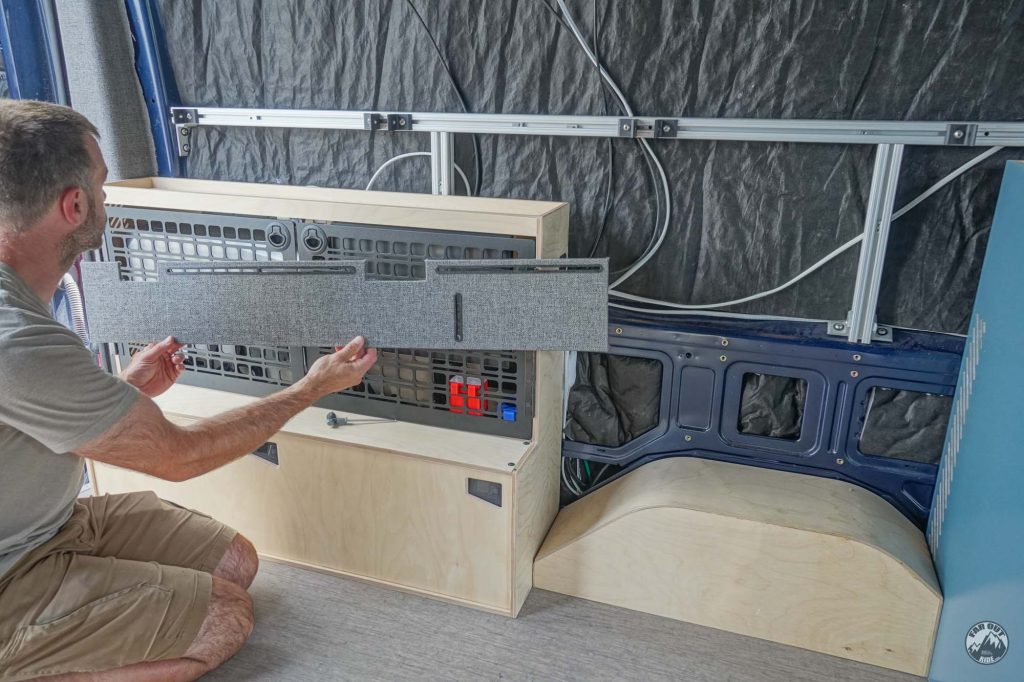
2. The Driver-AFT wall panel is attached to the bed frame:

3. The Driver-FWD panel is attached to the bedframe and to the van. We preinstalled rivet nuts into the wall and punched the wall panel, so we can easily (and firmly) attach components to the wall (shelf, etc.):
Final result with link to components (click on the dots):

Bedroom Wall Panels
Wait for it!


Hi Antoine,
Thanks for all this resource, may I ask what’s the thickness of the plywood used for the garage panels?
I couldn’t find it. Apologies if I missed that.
Thanks in advance!
We’re using 1/4″ for all wall panels.
1/8″ could work but would be “wavy”, we prefer 1/4″.
cheers
Antoine,
Do you know how much total upholstery material ( x feet) you used for all pillar coverage?
We did not measure precisely, unfortunately…
We bought a large roll for the entire van.
I think I remember that in Farout Van #1, you left some of the walls without panels so that the van could breathe. Do you now think this is unnecessary?
Hi!
In FarOutVan #1 we actually covered all the walls with wood, but did not do 100% coverage of EZ-COOL to allow some breathing.
I’m not sure if the breathing thing is necessary to be honest… That being said, we are not backing all our panels with closed-cell foam, so that should allow some breathing.
Is there a reason why you used the landau foam exclusively at the D-pillars and not on B- and C-pillars.
The exposed surface on the B and C pillars, after installing the cabinets and everything, is minimal, so we decided it was not worth covering them with Landau.
We didn’t see too much benefit in terms of insulation (and smoothness) for such a small surface.
That’s the reason 🙂
Looks really good! Can I ask what fabric color you used and if it is a close match to the fabric at the front of the van?
Thank!
We are using Marathon 1010 Grey Heather (equivalent to Gemini Dark Grey GM15).
It’s not identical to the front of the van, but it’s close enough that it blends really well, in our opinion 🙂